Elevating Your Cabinetry: The Definitive Guide to Soft-Close Technology
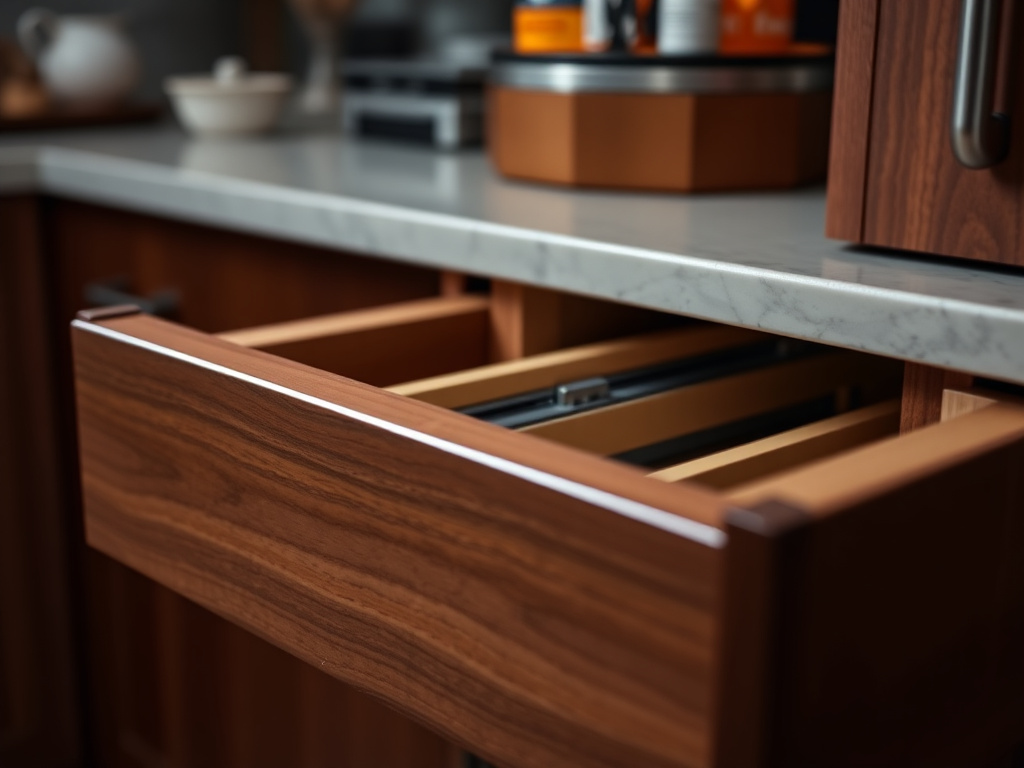
The difference between a kitchen that feels dated and one that feels premium isn't always found in the countertops or the backsplash. More often than not, it is hidden in the mechanics of the drawers. We have all experienced the jarring "clack" of a drawer slamming shut—a sound that signals not just noise, but mechanical wear and tear. This is why how to install soft close drawer slides has become one of the most sought-after skills for homeowners and professional woodworkers alike.
Soft-close technology is more than a luxury; it is a fundamental upgrade in furniture engineering. By integrating a hydraulic dampening system with a spring-loaded tensioner, these slides catch the drawer box just before it impacts the cabinet frame, gently pulling it into a silent, seated position. This "soft landing" prevents the contents of your drawers—from fine china to heavy cast iron—from shifting violently every time you close them.
Beyond the immediate acoustic benefits, soft close drawer installation is an investment in the longevity of your cabinetry. Standard slides rely on the user to control the force of closure. Over time, repeated impacts can loosen the joinery of the drawer box (especially if it’s held together by simple staples or inferior glue) and eventually lead to the face frame of the cabinet pulling away from the box. By installing soft-close hardware, you are effectively installing a shock absorber for your home.
In this mega guide, we are stripping away the fluff to provide you with a technical, high-level blueprint. Whether you are retrofitting old, sticky wooden runners or upgrading basic ball-bearing slides, the precision required is absolute. A fraction of an inch can be the difference between a drawer that glides like silk and one that binds, squeaks, or fails to engage the soft-close mechanism entirely. We will cover the geometry of the installation, the physics of the dampening system, and the professional secrets that ensure a "factory-finish" result every single time.
The Critical Problem: Why Most DIY Soft-Close Installations Fail
The primary reason why "simple" drawer slide projects turn into weekend-long nightmares is a fundamental misunderstanding of clearance and tolerance. In the world of cabinetry, there is a golden rule: the 1/2-inch clearance. Most side-mount soft-close slides require exactly 1/2 inch (12.7mm) of space between the side of the drawer box and the cabinet opening. If your cabinet opening is 15 inches wide, your drawer box must be exactly 14 inches wide.
If the gap is too narrow (even by 1/16th of an inch), the ball bearings will be compressed, leading to a "gritty" feel and premature failure of the slide's races. If the gap is too wide, the slide will not have enough lateral support, causing the drawer to wobble and preventing the soft-close "trigger" from catching the "ram" on the slide. This misalignment is the "Critical Problem" that plagues most installations.
Furthermore, we must address structural deflection. When a drawer is fully extended, it exerts significant leverage on the screws holding the slides to the cabinet walls. Standard wood screws often fail under the weight of a drawer filled with silverware or heavy pots. Expert installers know that the substrate matters. If you are mounting into 1/2-inch particle board, standard screws will eventually pull out. Professional-grade soft-close installation requires the use of Euro-screws or specialized wood screws with aggressive thread patterns to ensure the hardware stays anchored for the life of the cabinet.
Another overlooked issue is leveling across the depth axis. A slide must be level not just from left to right, but from front to back. If the slide is tilted slightly downward toward the back, the drawer may close too quickly, overpowering the soft-close dampener. If it tilts toward the front, the drawer might "creep" open or require excessive force to engage the soft-close mechanism.
Lastly, the soft-close mechanism itself is a masterpiece of small-scale engineering that is surprisingly fragile during the installation phase. These slides contain a small plastic "trigger" or "cocking" mechanism. If you force a drawer into the slides before they are properly aligned, you can snap this trigger. Once that plastic piece is broken, the soft-close feature is dead, and the entire slide must be replaced. Understanding the delicate balance between the force required to seat the drawer and the finesse required to protect the mechanism is the hallmark of a top-tier installer.
BEST CHOICE
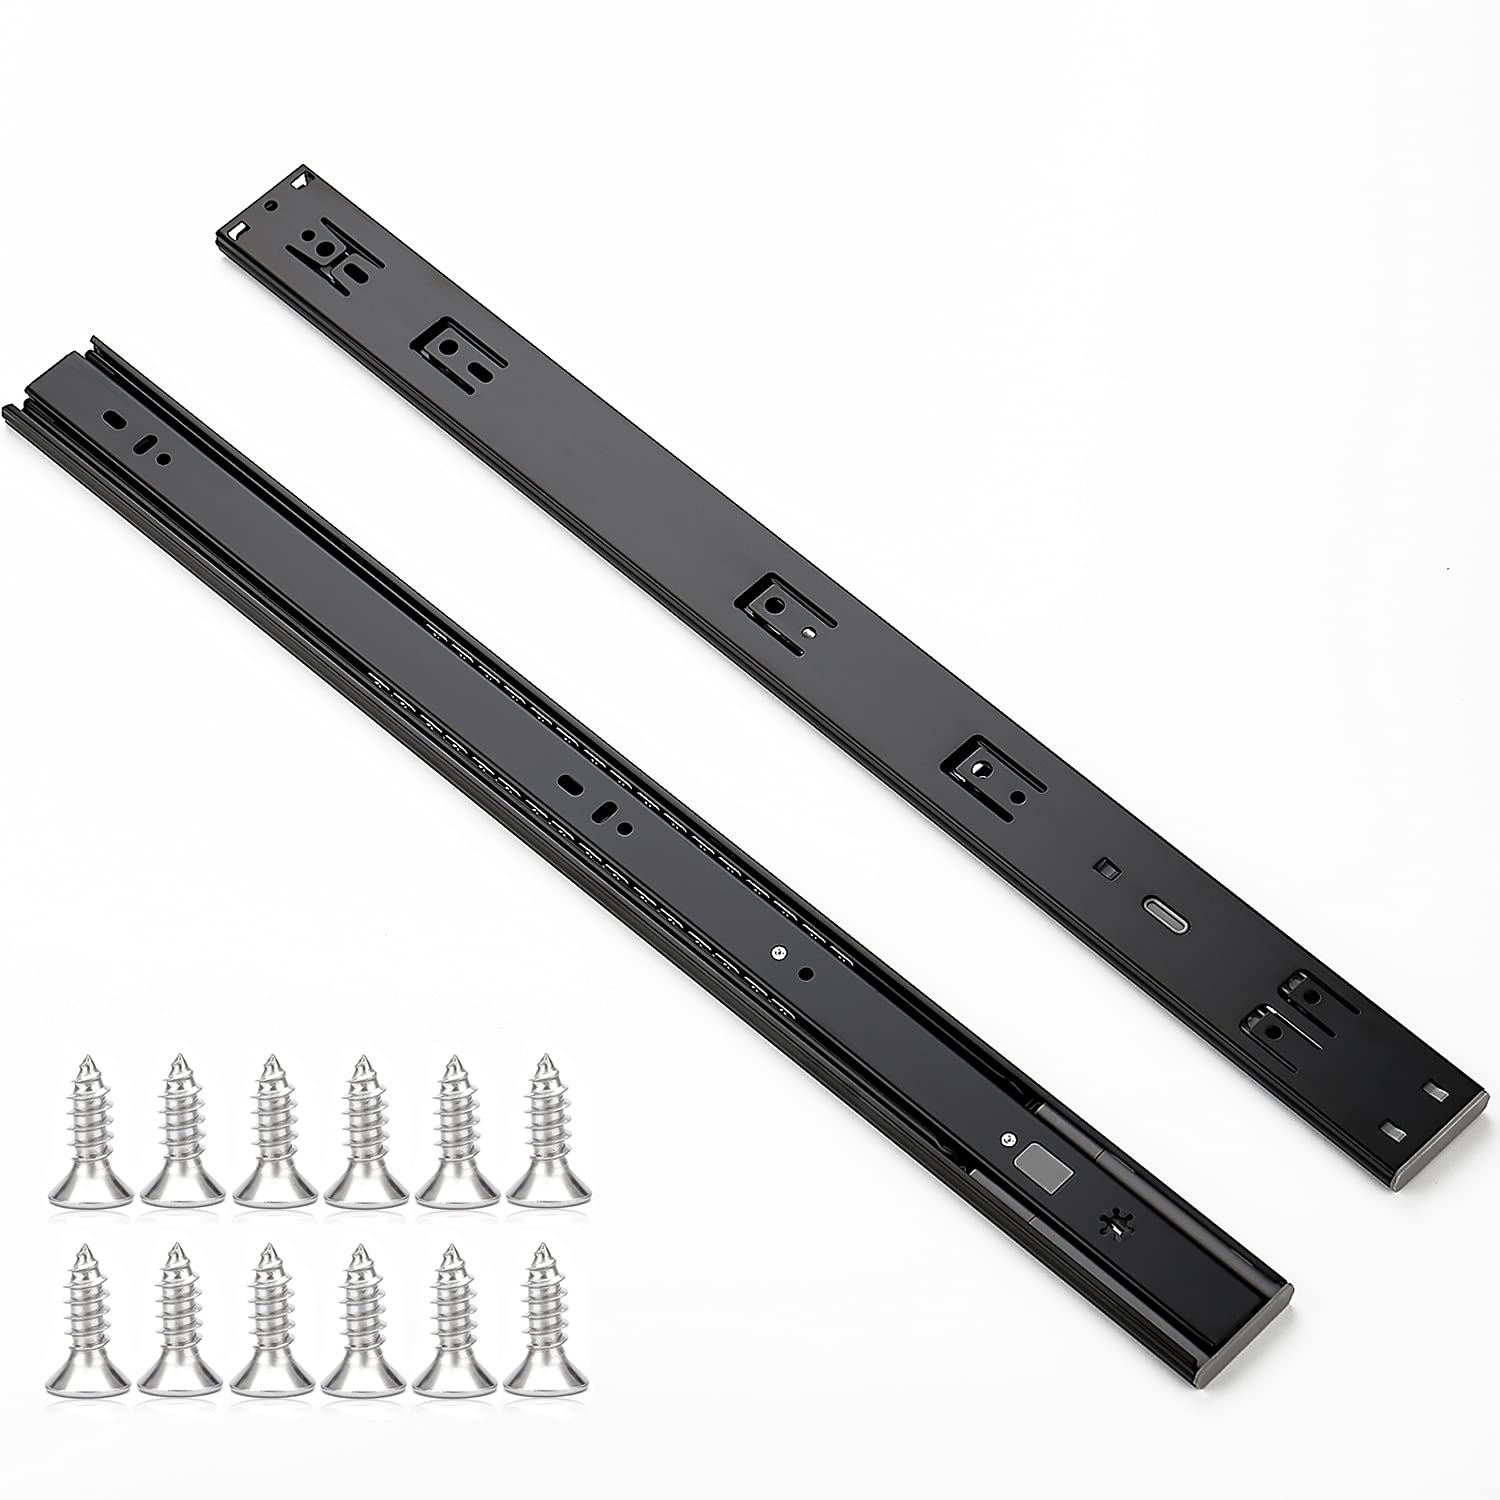
Ravinte 22 Inch Soft Close Drawer Slides 10 Pairs 20 Pack Black Full Extension Ball Bearing Drawer G
- High-quality product
- Customer favorite
- Best value option
Check Price on Amazon
RECOMMENDED
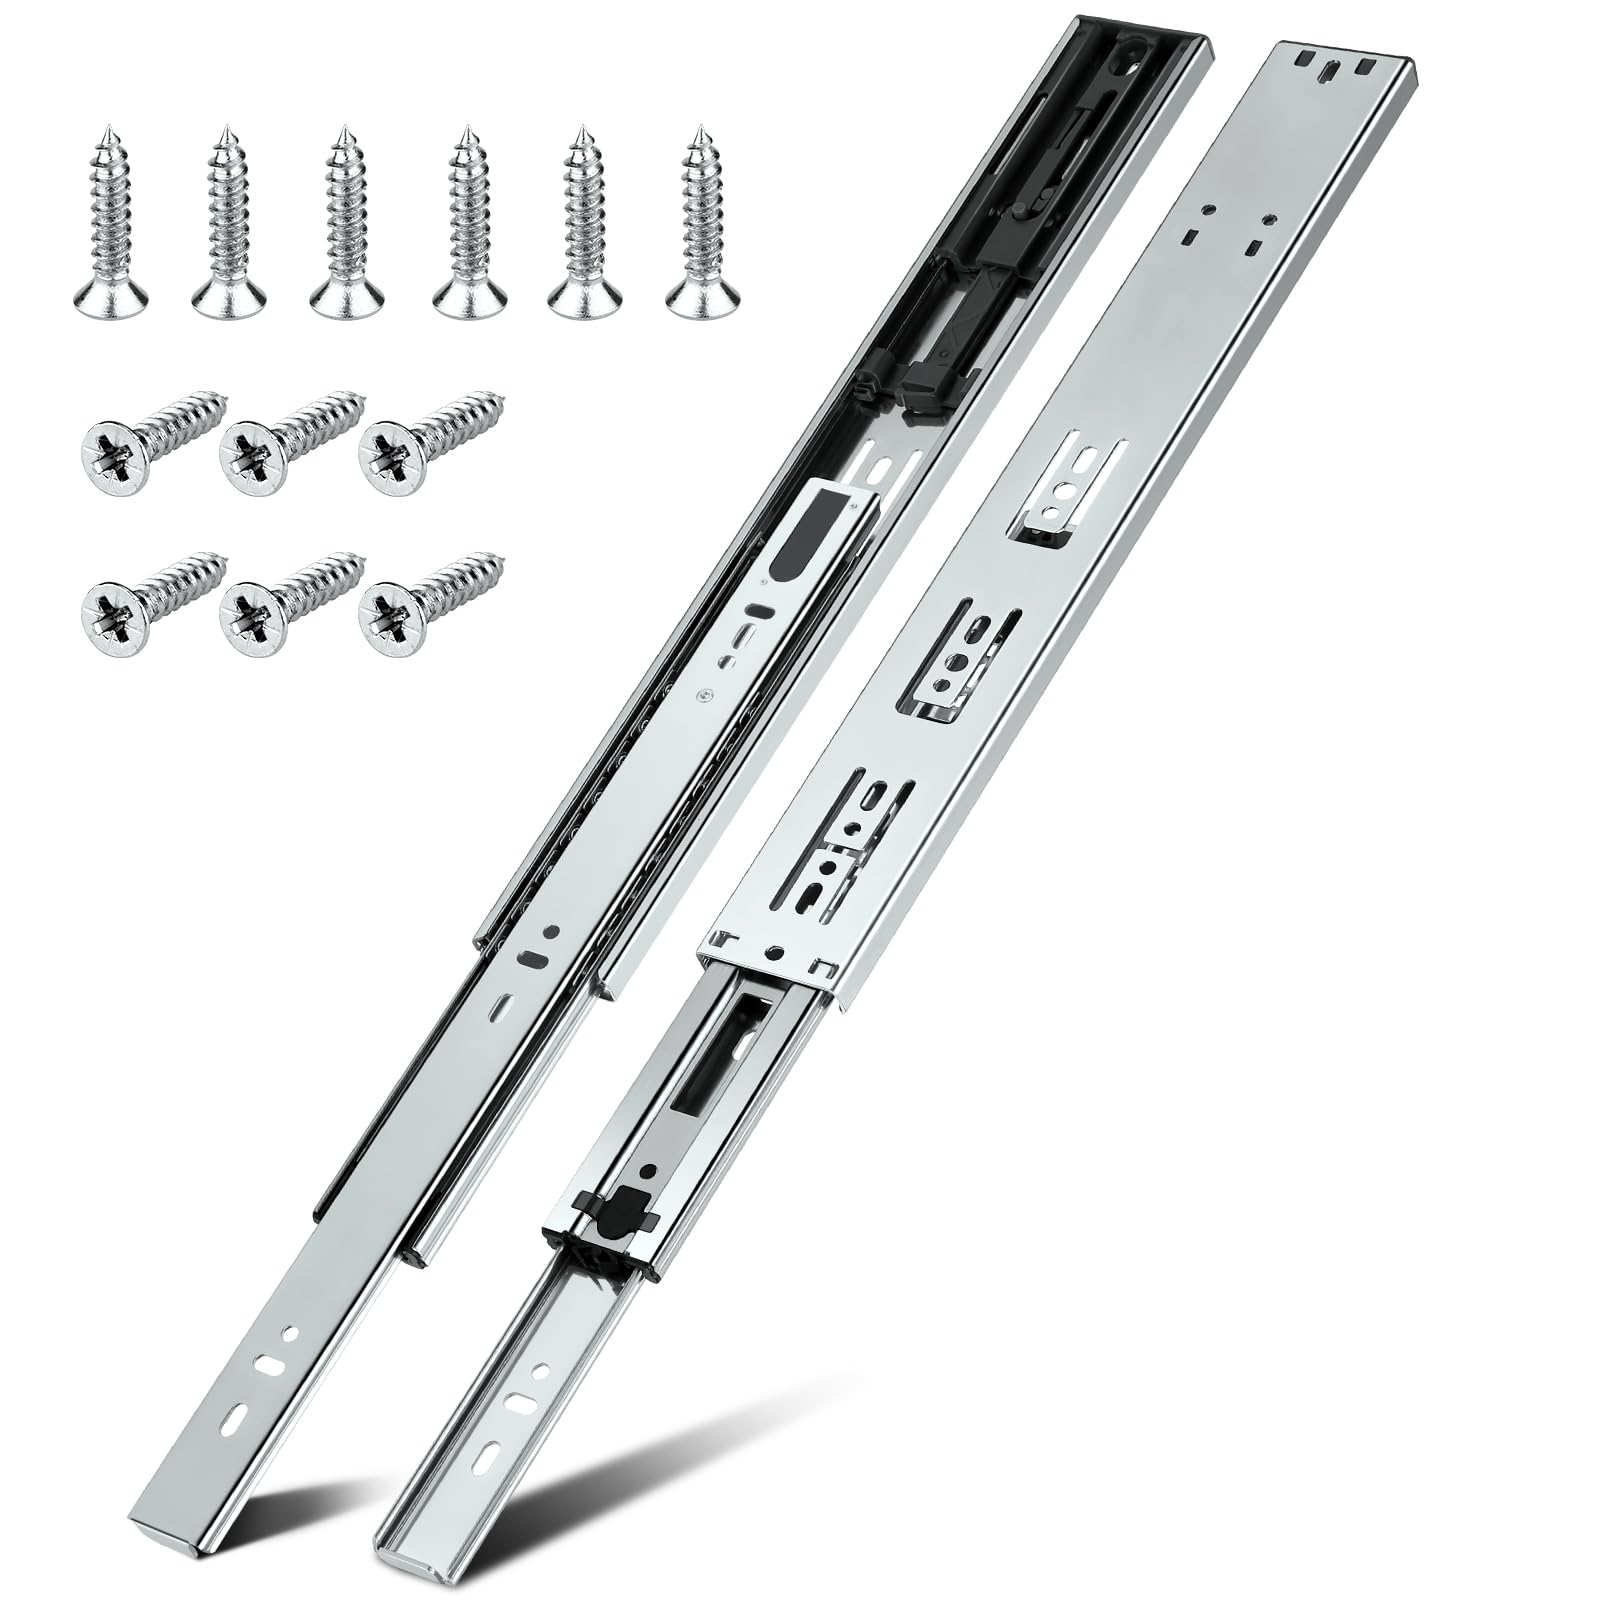
10 Pairs | Soft Close Drawer Slides 22 inch, HBL’ Heavy Duty Cabinet Drawer Slides Replacement – Bal
- High-quality product
- Customer favorite
- Best value option
Check Price on Amazon
BUDGET
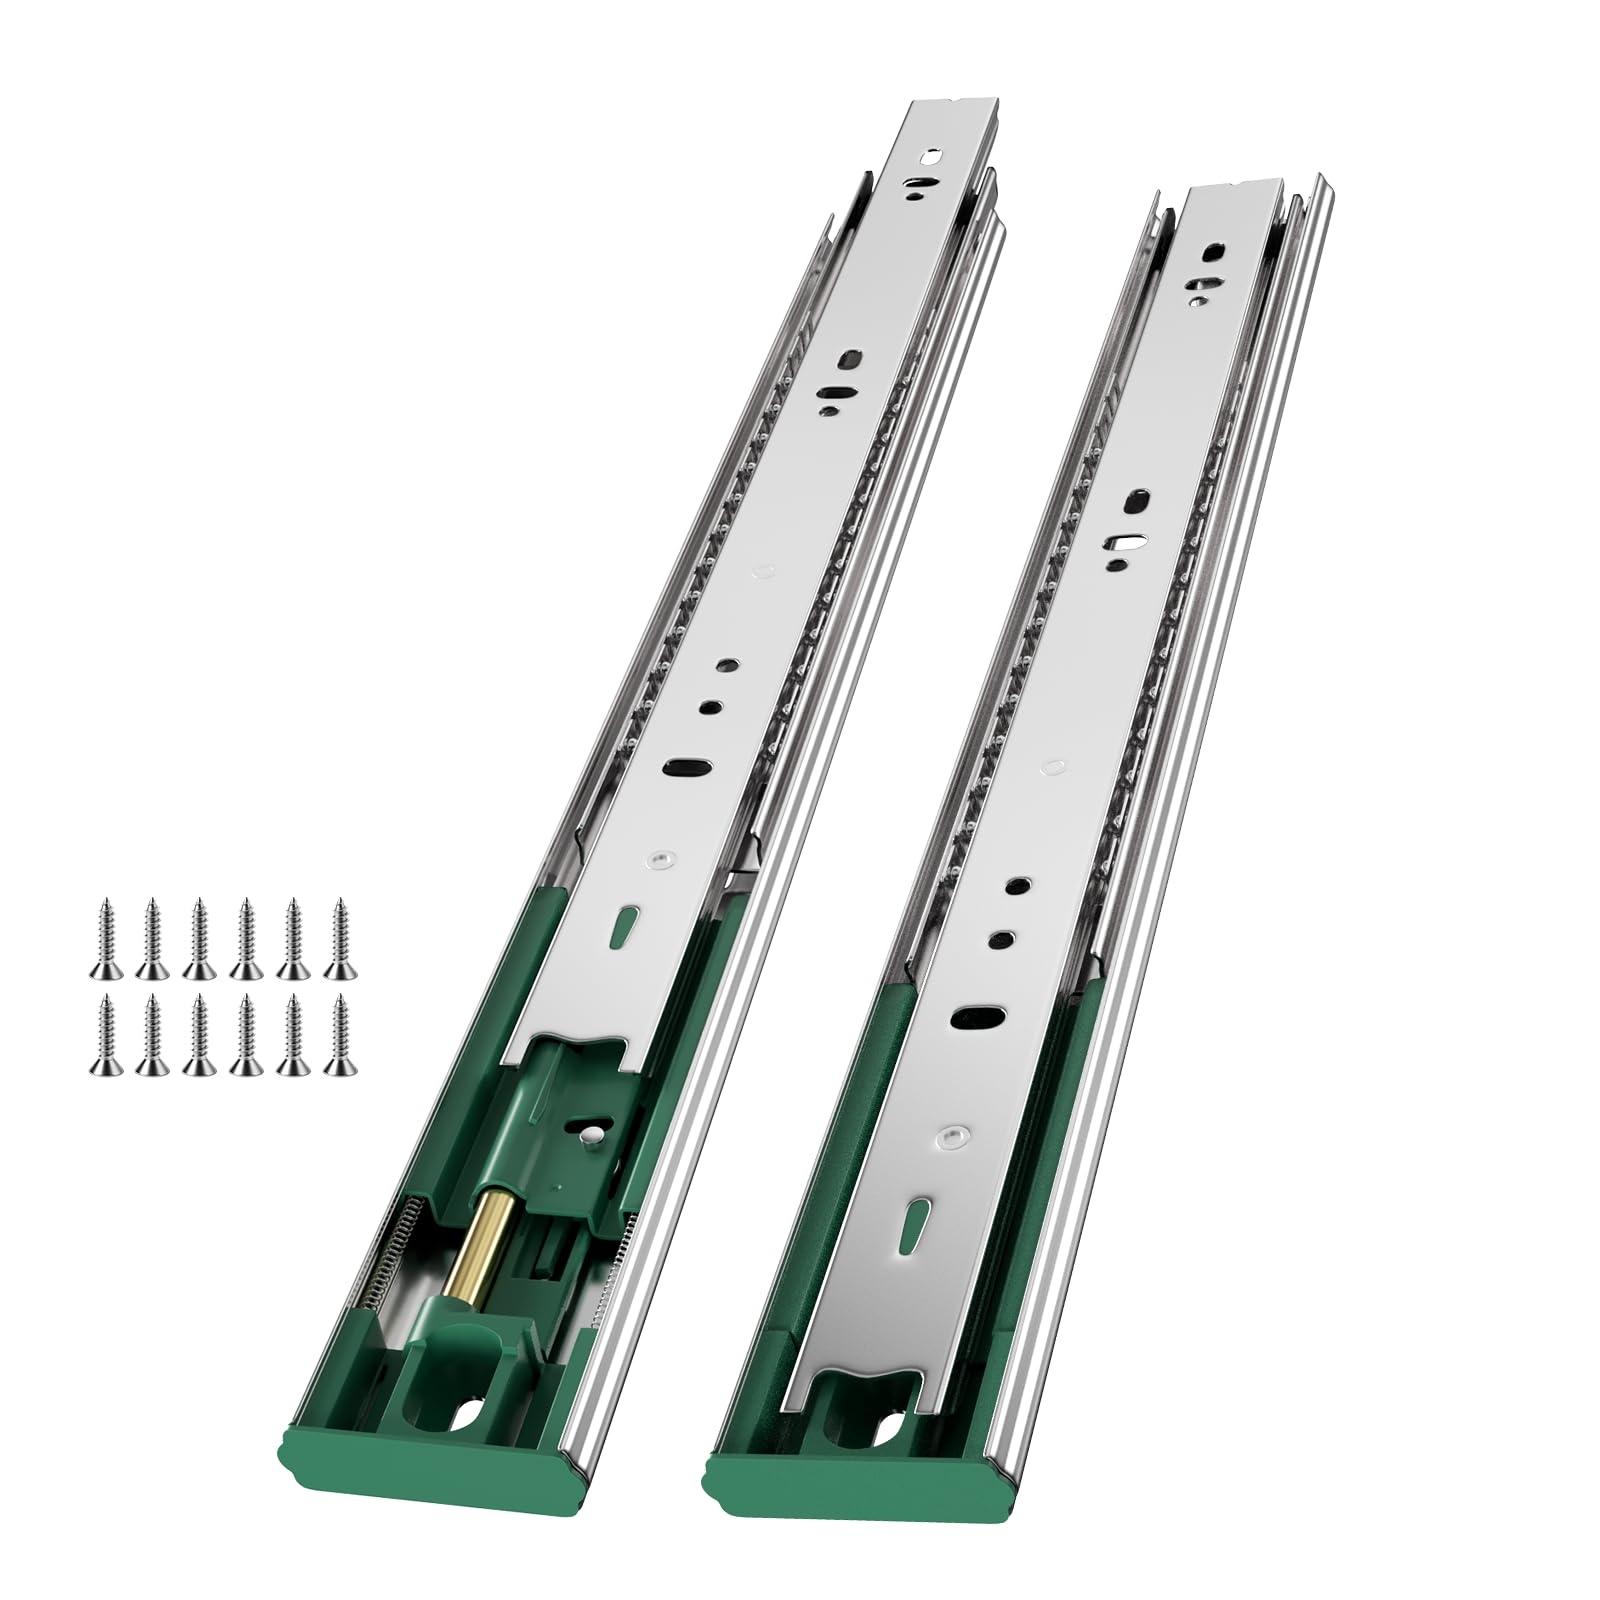
4 Pairs Soft Close Drawer Slides 22 Inch Full Extension Dresser Rails Heavy Duty Ball Bearing Kitche
- High-quality product
- Customer favorite
- Best value option
Check Price on Amazon
Methodology: The Professional Blueprint for Soft Close Installation
To achieve a perfect soft close drawer installation, you must approach the project with a "measure twice, drill once" philosophy. This methodology focuses on side-mount slides, as they are the most common retrofit for existing cabinetry.
Phase 1: Preparation and Geometry
Before purchasing hardware, measure the depth of your cabinet box. Slides come in standard increments (usually every 2 inches). You want the longest slide that will fit inside your cabinet without hitting the back panel. For a 23-inch deep cabinet, a 22-inch slide is ideal.
Tool List:
- Laser level or a high-quality spirit level.
- Combination square.
- Self-centering drill bit (Vix bit).
- Power drill and driver.
- Plywood spacers (crucial for consistency).
Phase 2: Disassembly and Marking
Remove the existing drawers and old hardware. Inspect the cabinet walls. If you are working with face-frame cabinets (where the frame overlaps the box), you will likely need rear mounting brackets. If you have frameless (European-style) cabinets, you will mount directly to the side walls.
Using your combination square, mark a horizontal line on the cabinet interior where the bottom of the slide will sit.
- Pro Tip: Do not measure from the bottom of the cabinet for every drawer. Floors and cabinet bottoms are often out of level. Instead, use a plywood spacer cut to the exact height you want the slide to sit. Rest the slide on this spacer during installation to guarantee perfect parallelism between the left and right slides.
Phase 3: Installing the Cabinet Member
The "cabinet member" is the larger part of the slide.
- Align the front of the slide about 1/16" back from the front edge of the cabinet frame. This ensures the drawer face will pull flush against the cabinet.
- Using a Vix bit, drill pilot holes through the elongated mounting slots. These slots allow for minor height adjustments later.
- Drive your screws. Start with two screws: one at the front and one at the back. Do not fully tighten until you have tested the drawer.
Phase 4: Installing the Drawer Member
The "drawer member" is the thin profile that attaches to the drawer box.
- Draw a level center line down the side of your drawer box.
- Align the slide with this line. Usually, the slide should be flush with the front of the drawer box (not the drawer face).
- Ensure the slide is perfectly level relative to the bottom of the drawer. Even a 1-degree tilt will cause binding.
- Secure with screws through the vertical adjustment slots.
Phase 5: The "First Engagement"
This is the most critical moment.
- Pull the ball-bearing carriages on the cabinet slides all the way to the front.
- Line up the drawer members with the carriages and push the drawer in.
- You will feel resistance as the slides engage. Keep pushing until you hear a "click." This is the soft-close mechanism "cocking" for the first time.
- Open the drawer fully. It should move smoothly. If it feels tight, check your 1/2-inch clearance. If it binds at the back, the slides are likely not parallel.
Phase 6: Final Calibration
Once the drawer is moving smoothly, add the remaining screws into the round "fixed" holes to lock the slides in place. If the drawer face is crooked, use the elongated slots to make micro-adjustments before final locking.
Expert Hacks & Maintenance
Even the best hardware requires proper care and expert tricks to reach its maximum lifespan.
The "Vix Bit" Secret: Never free-hand your pilot holes. A self-centering Vix bit ensures the screw enters perfectly in the center of the slide’s hole. If a screw is even slightly off-center, the head of the screw will sit at an angle, potentially snagging the ball-bearing carriage as it passes over.
Weight Distribution: Soft-close slides are rated for specific loads (typically 75lbs or 100lbs). If you are installing these in a pantry for canned goods, always opt for the heavy-duty 100lb+ versions. Overloading a 75lb slide will cause the hydraulic fluid in the dampener to leak over time, rendering the soft-close feature useless.
Lubrication: High-quality slides come pre-lubricated. Never use WD-40 on drawer slides; it acts as a solvent and will strip the factory grease. If the slides become noisy after years of use, use a small amount of white lithium grease on the ball-bearing races.
Jig Usage: If you are doing more than three drawers, buy a drawer slide jig (like those from Kreg or Rockler). These tools clamp to the face frame and hold the slide in the exact position, eliminating the need for manual leveling and reducing the margin of error to near zero.
Mega FAQ: Expert Solutions for Soft Close Installation
1. Can I install soft-close slides on old wooden drawers?
Yes, but you must ensure the 1/2-inch side clearance exists. Most old wooden runners are bottom-mount or center-mount. You will likely need to "size down" the drawer box by trimming the sides or rebuilding it to accommodate the thickness of modern ball-bearing slides.
2. Why won't my drawer close all the way?
This is usually due to the soft-close "pin" not being engaged. Remove the drawer and ensure the plastic trigger on the cabinet member is pulled toward the front. If it’s stuck in the back, the drawer cannot "catch" it to pull shut.
3. What is the difference between side-mount and undermount?
Side-mounts are visible when the drawer is open and are easier to retrofit. Undermounts are hidden beneath the drawer box, providing a cleaner look and allowing for wider drawers, but they require very specific drawer box construction (notches and holes).
4. How much weight can soft-close slides hold?
Standard residential slides typically handle 75 to 100 pounds. Industrial versions can handle up to 250 pounds. Always calculate the weight of the drawer box itself plus the maximum expected contents.
5. My drawer is 21 inches deep; what size slide do I need?
Always round down. Use a 20-inch slide. If the slide is longer than the drawer, it will protrude. If it's much shorter, you lose "full extension" access to the back of the drawer.
6. Can I use soft-close slides on a face-frame cabinet?
Yes, but you must use rear mounting brackets. These plastic or metal sockets attach to the back of the cabinet and hold the tail of the slide, as there is no side wall to screw into.
7. Why does my drawer feel "bouncy" when it closes?
This happens if the drawer is too light. Soft-close mechanisms require a certain amount of momentum to engage the hydraulic piston. If the drawer is empty and very light, it may seem to struggle. This usually resolves once the drawer is loaded.
8. Is there an adjustment for the "softness" of the close?
Most mid-range slides do not have adjustable tension. However, high-end European brands like Blum or Grass often have a small switch or dial to increase or decrease the dampening force.
9. What do I do if my cabinet walls aren't square?
Use shims. If the back of the cabinet is wider than the front, place thin veneers or plastic shims behind the rear of the slide to keep them perfectly parallel.
10. Do I need to lubricate new slides?
No. Quality slides come with a specialized synthetic grease. Adding more can actually attract dust and debris, which will eventually grind down the ball bearings.
11. Can I install these vertically for a pull-out spice rack?
Yes, but ensure you are using slides rated for that orientation. Lateral force is different from vertical force; look for "over-travel" slides for deep pantry pull-outs.
12. How do I remove the drawer once it's installed?
Most soft-close slides have a small lever on the drawer member (the part attached to the box). Push one lever up and the other down (or both in opposite directions) to release the locking mechanism and pull the drawer out.
Closing Thoughts
Mastering how to install soft close drawer slides is a rite of passage for any serious DIYer or professional. It is a project that demands patience and surgical precision, but the rewards are immediate and long-lasting. By moving away from the "slam" of traditional cabinetry and toward the silent, controlled glide of hydraulic technology, you aren't just fixing a drawer—you are upgrading the tactile experience of your home.
Remember that the hardware is only as good as the installation. Take the time to shim, level, and measure with obsessive care. When that drawer catches and pulls itself shut with a whisper, you’ll know that the effort was worth every second. Happy building.