
The Unseen Hero of Your Morning Brew: Why Mastering the Filter Change Matters
For millions of coffee aficionados, the morning ritual begins not with the first sip, but with the familiar hum and hiss of a Keurig machine. It is a marvel of modern convenience, delivering a piping hot cup of caffeine in under sixty seconds. However, there is a silent guardian inside that water reservoir that often goes ignored until the quality of your coffee begins to plummet. Learning how to replace keurig water filter units is not just a maintenance chore; it is an essential skill for anyone who values the integrity of their daily bean.
Most users underestimate the role that water plays in the extraction process. Coffee is, by volume, approximately 98% water. If the medium used to extract the oils and flavors from your K-Cup is compromised by chlorine, heavy metals, or sedimentary particulates, even the most expensive gourmet roast will taste flat, metallic, or acrid. The Keurig charcoal filter is a small but mighty component designed to strip away these impurities, ensuring that the only thing hitting your palate is the intended flavor profile of the coffee.
Neglecting to change keurig filter cartridges doesn't just hurt your taste buds—it endangers the mechanical lifespan of your brewer. Modern Keurigs are precision instruments with narrow internal tubing and sensitive heating elements. When water isn't properly filtered, mineral deposits (scale) and organic debris can accumulate rapidly. This leads to slower brew times, inconsistent temperatures, and eventually, the dreaded "Prime" error message that signals a pump failure.
The good news? The entire process of swapping out an old filter for a fresh one takes exactly 120 seconds once you know the methodology. This guide is designed to transform you from a casual user into a Keurig maintenance expert. We are moving beyond the basic instruction manual to provide you with a high-level understanding of the "why" and "how," ensuring your machine runs at peak performance for years to come. Whether you own a K-Classic, a K-Elite, or the newer K-Supreme series, the principles of pure water remain the same. Let’s dive into the technical reality of what’s happening inside your reservoir and how to fix it fast.
The Critical Problem: The Science of Stagnation and Scale
To understand why you must how to replace keurig water filter cartridges every two months, we have to look at the chemistry of tap water. Most municipal water supplies are treated with chlorine or chloramines to ensure safety. While effective for sanitation, these chemicals are the enemy of coffee. They react with the delicate compounds in coffee grounds, creating a "chemical" aftertaste that no amount of cream or sugar can fully mask.
Furthermore, tap water contains varying degrees of "hardness"—primarily calcium and magnesium carbonates. When this water is heated within your Keurig’s internal boiler, these minerals precipitate out, forming a hard crust known as scale. While a water filter is not a total substitute for a full descaling cycle (which uses acidic solutions to dissolve existing buildup), a fresh charcoal filter acts as the first line of defense. It traps larger mineral particulates and organic matter before they ever enter the internal pump system.
There is also the "biofilm" factor. The water reservoir of a Keurig is a room-temperature environment that is frequently exposed to light—the perfect breeding ground for microscopic organic growth. An old, saturated charcoal filter can actually become a liability. Once the carbon is "spent," it can no longer adsorb impurities. In fact, an expired filter can become a localized site for bacterial accumulation. If you’ve noticed a slight "swampy" or musty smell when you open your reservoir, your filter has transitioned from a purifier to a pollutant.
From an engineering perspective, a clogged or expired filter forces the Keurig’s vibratory pump to work harder to pull water through the system. This increased resistance leads to heat buildup in the pump motor and premature wear on the rubber o-rings. By learning to change keurig filter units on a strict schedule, you are effectively performing preventative surgery on your machine. You are ensuring that the flow rate remains within the manufacturer's specifications, which in turn ensures that the water contact time with the coffee grounds is optimal for flavor extraction. If the flow is too slow, the coffee over-extracts and becomes bitter. If the filter is missing and the flow is too fast (due to pump strain or scaling), the coffee may come out weak and under-developed. Consistency is the hallmark of a great cup, and that consistency starts with the water filter.
Methodology: The 120-Second Filter Replacement Sprint
Replacing your filter is a five-step process that requires precision rather than strength. Follow this expert-level methodology to ensure your new filter is properly "activated" and installed.
Step 1: Preparation and Extraction (0-15 Seconds)
Begin by removing the water reservoir lid. Reach into the reservoir and grasp the tall plastic handle (the filter holder). Depending on your model, you may need to twist or simply pull upward to release it from the base of the tank. Once removed, look at the bottom of the holder. There are two tabs; pinch them together to release the filter housing and discard the old, greyed-out charcoal pod.
Step 2: The Critical Pre-Soak (15-75 Seconds)
This is the step most people skip, and it is the most vital. A new charcoal filter is filled with dry, compressed carbon. If you install it dry, air bubbles will be trapped inside, creating "channeling" where water bypasses the carbon entirely.
- The Action: Submerge the new filter pod in a glass of cold water.
- The Pro-Tip: Let it soak for at least 60 seconds. You will see tiny bubbles escaping; this is the air being replaced by water, activating the charcoal's surface area.
Step 3: The High-Pressure Rinse (75-90 Seconds)
After the soak, remove the filter from the glass and hold it under a cold water faucet for 15 seconds. This flushes out any "carbon dust"—the fine black particles that can sometimes settle at the bottom of your reservoir or, worse, end up in your cup.
Step 4: Reassembly and Seating (90-105 Seconds)
Place the wet, rinsed filter into the lower portion of the filter holder. Snap the top handle back on until you hear a definitive "click." This sound is crucial; an unseated filter can float or allow unfiltered water to bypass the intake valve.
Step 5: Final Installation and Reset (105-120 Seconds)
Align the base of the filter holder with the circular intake at the bottom of your water reservoir. Push down firmly. You should feel a slight resistance as the silicone gasket seats itself. If your Keurig has a digital display with a "Filter Reminder," navigate to the settings and reset the timer. If you have an older model with a manual dial on the filter handle, rotate it to the current month so you know when 60 days have passed.
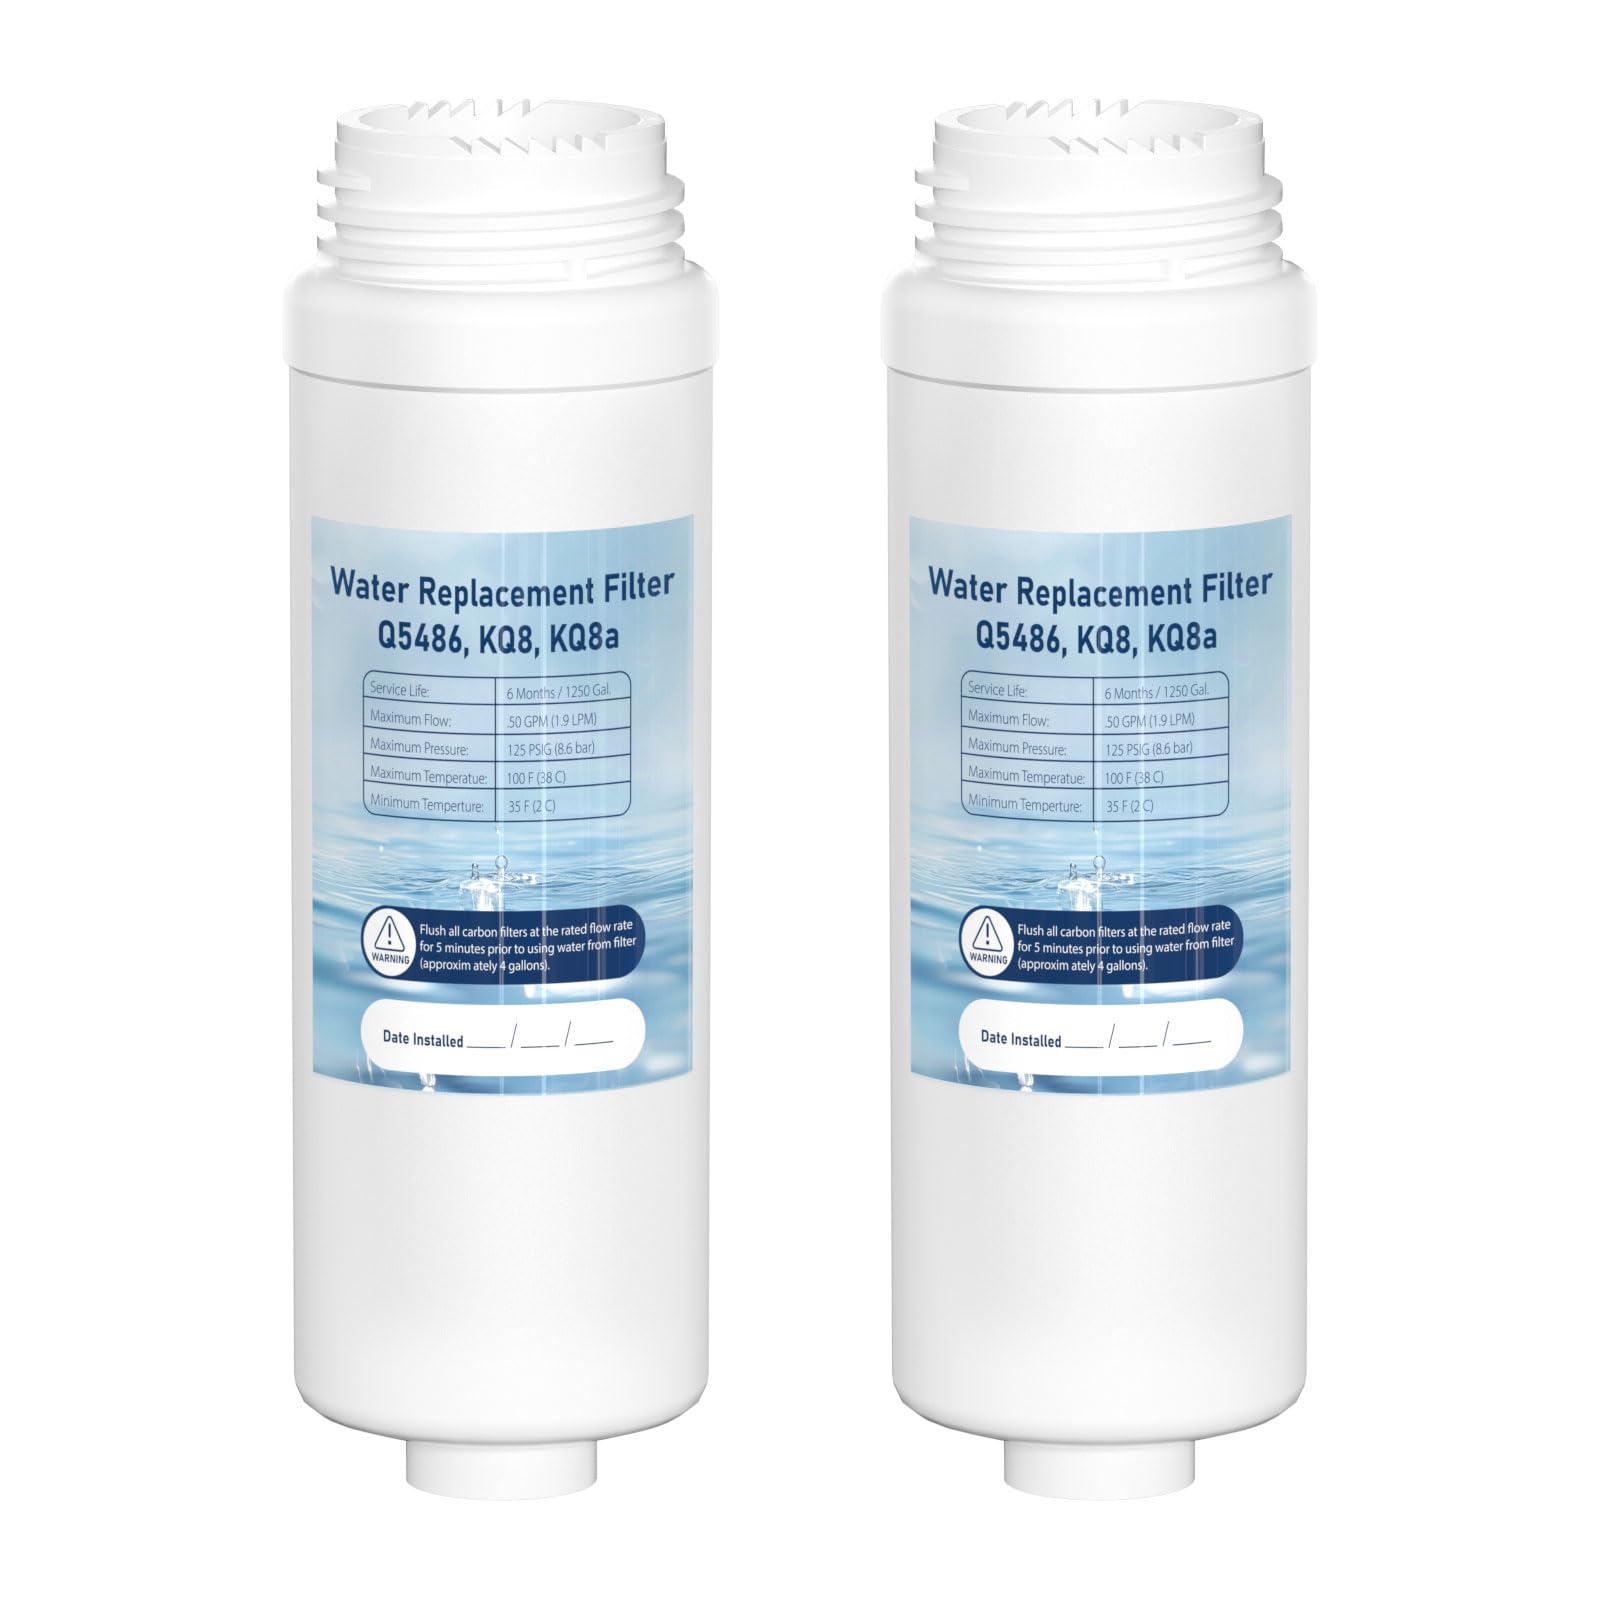
B150/K150 Water Filter Replacement Cartridge Compatible with Keurig Brewers B150P/K150P, B155/K155,
- High-quality product
- Customer favorite
- Best value option
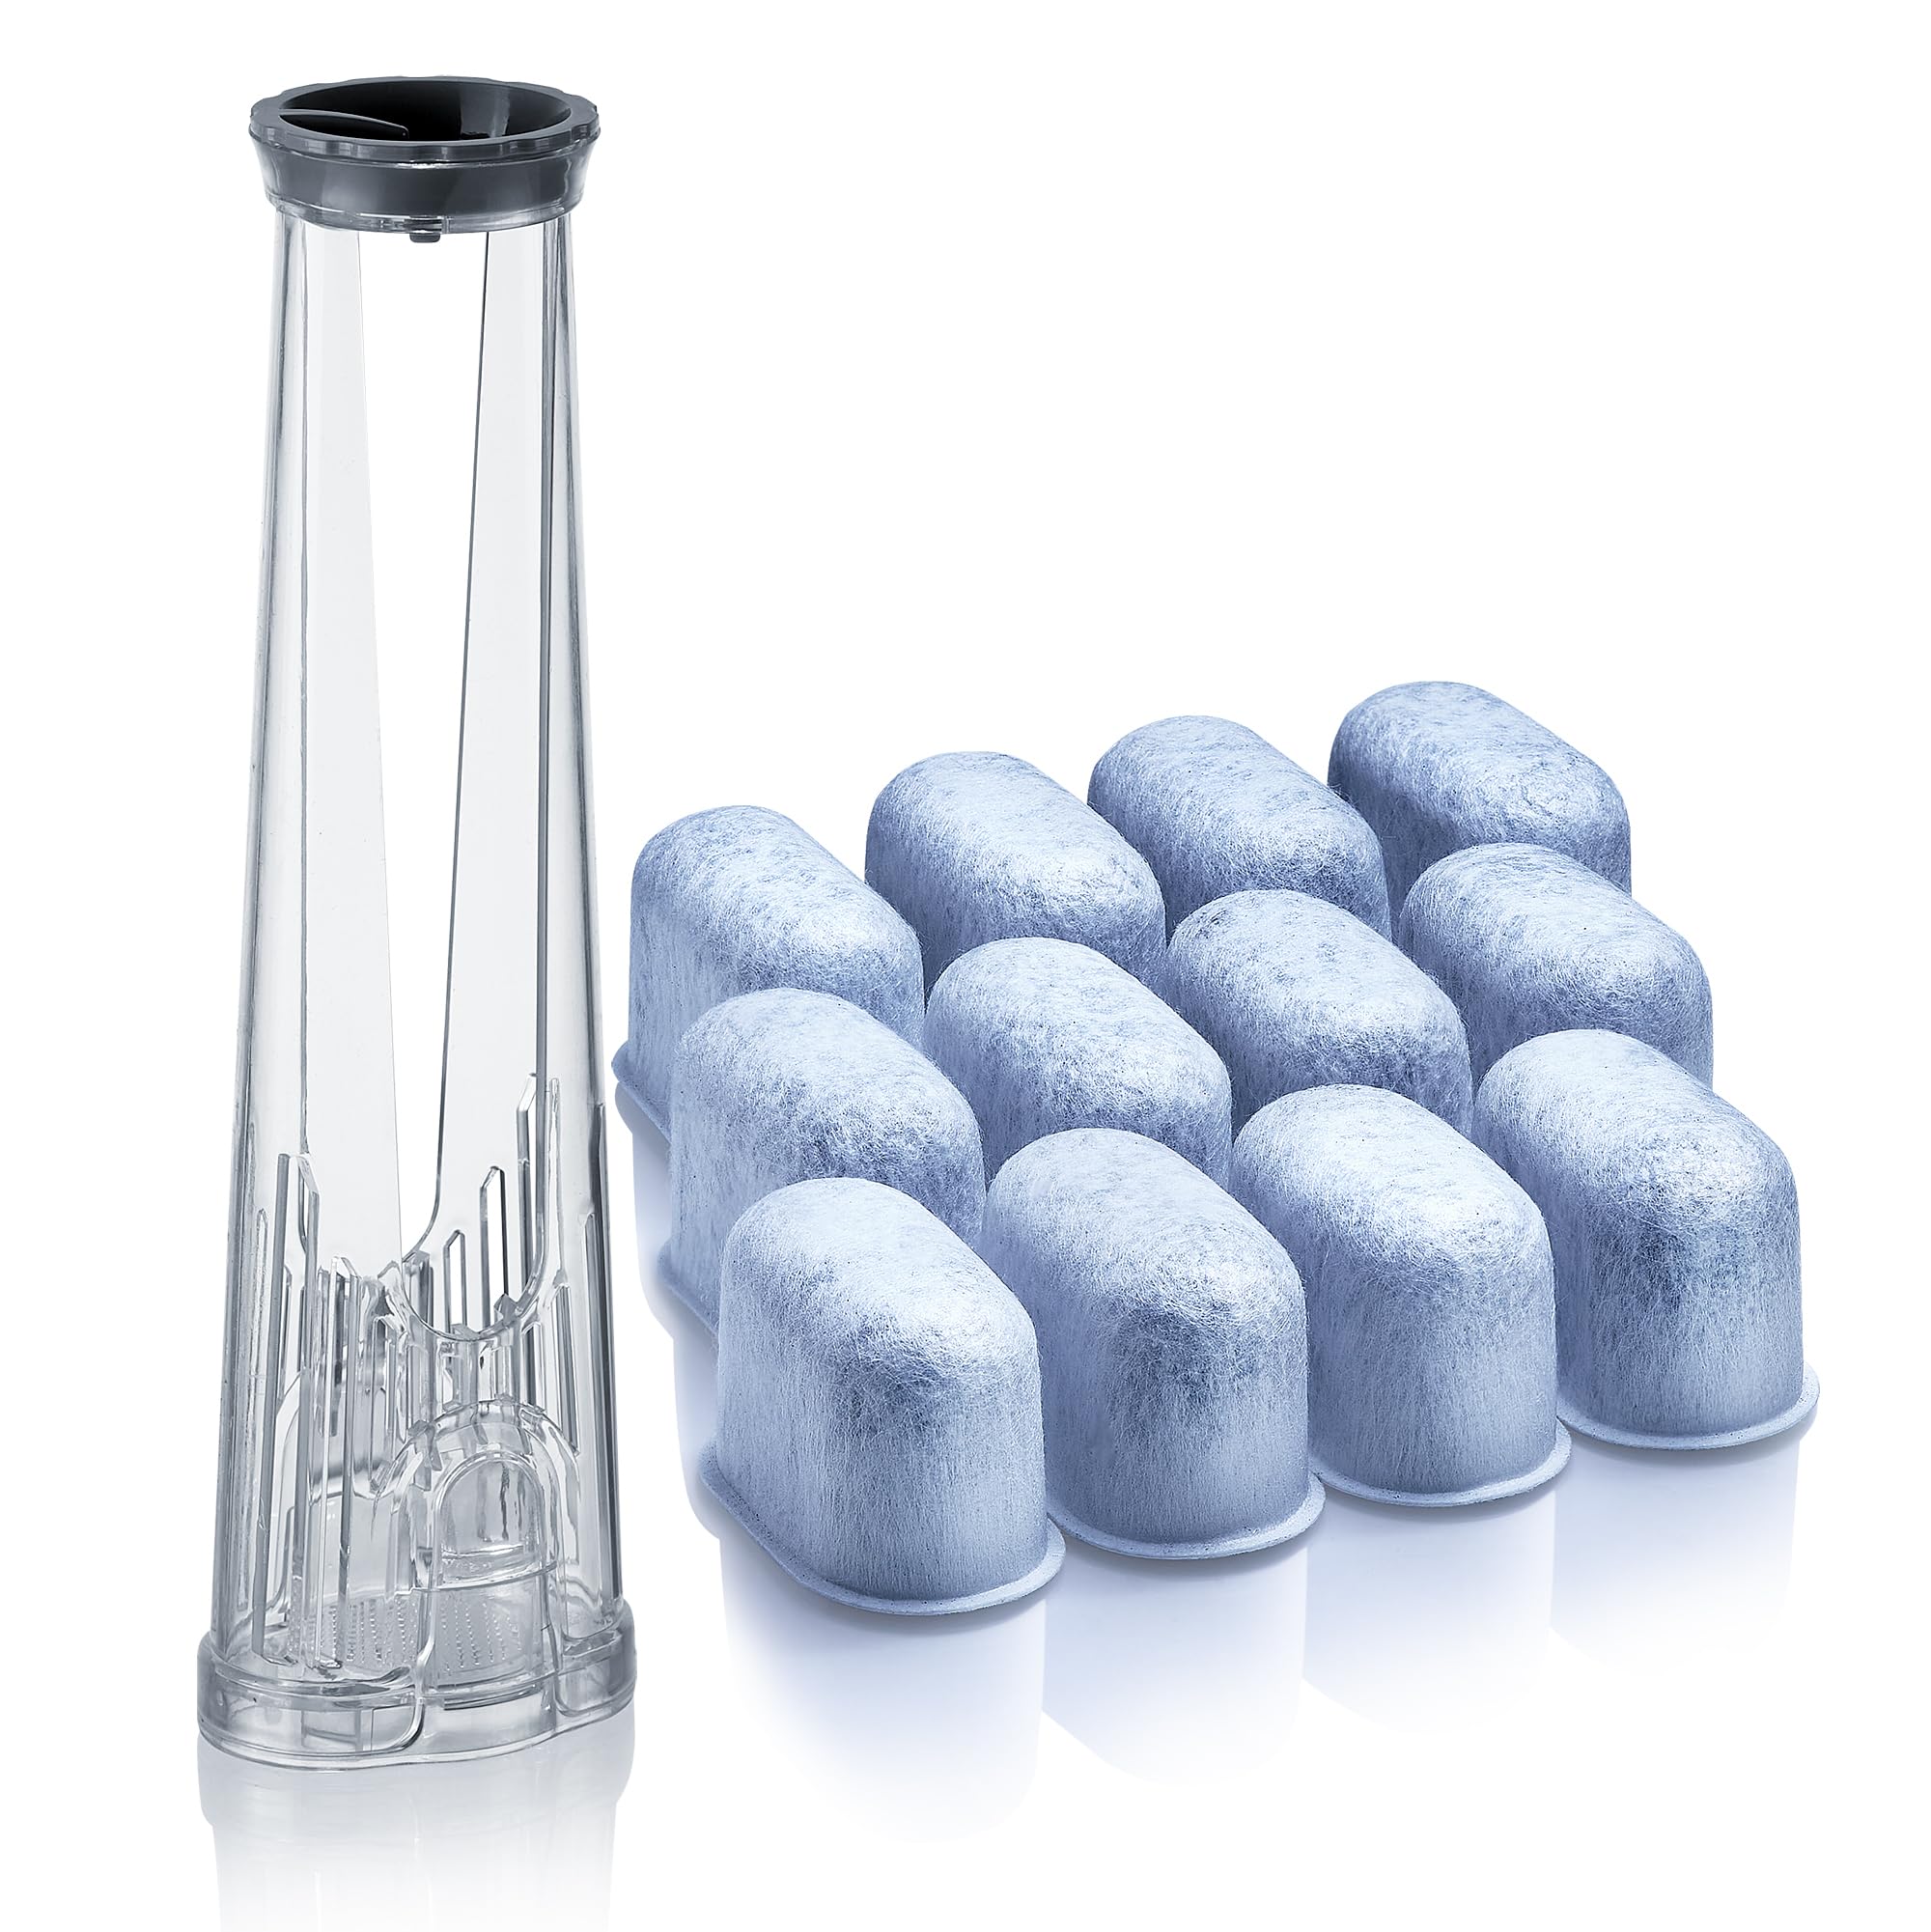
Water Filter Holder and 12 Water Filters for Keurig K-Supreme, K-Slim, K-Express, K-Select, K-Classi
- High-quality product
- Customer favorite
- Best value option

Keurig Starter Kit Replacement Water Filter Holder for Keurig 2.0, K-Slim, K Express, K-Supreme, K-C
- High-quality product
- Customer favorite
- Best value option
Expert Hacks & Advanced Maintenance
Knowing how to replace keurig water filter cartridges is the baseline. To truly master your machine, you should implement these expert-level maintenance hacks.
The Distilled Water Debate
A common question among Keurig owners is whether they can skip the filter by using distilled water. As an authority, my advice is: Proceed with caution. While distilled water prevents scale, it can also lead to "flat" tasting coffee because some mineral content is required for proper extraction. Furthermore, many Keurig models use electrical conductivity sensors to detect water levels. Pure distilled water does not conduct electricity well, which can lead to the machine falsely claiming it is empty. The "Goldilocks" solution is to use filtered tap water or spring water with a fresh charcoal filter.
The "Double-Flush" Rule
Every time you change keurig filter units, you should perform two "cleansing brews." This means running a large-cup cycle with only water (no K-Cup). This clears any residual air pockets in the internal lines that may have been introduced during the reservoir removal and ensures the first cup of coffee you brew is pure.
Deep Cleaning the Tank
The filter can only do so much if the tank itself is dirty. Once a month, when you are replacing the filter, wash the reservoir with warm, soapy water (avoid the dishwasher unless the manual explicitly states it is safe). This prevents the build-up of the aforementioned biofilm on the walls of the tank.
Mega FAQ: Everything You Need to Know About Keurig Filters
1. How often should I realistically change my Keurig filter?
The official recommendation is every 2 months or every 60 tank refills. However, if you live in a region with extremely hard water, you should aim for every 45 days to prevent scale-related pump stress.
2. Can I use generic filters instead of Keurig-branded ones?
Yes, provided they are high-quality activated charcoal. Many third-party filters are functionally identical to the OEM versions, but ensure they have a high mesh count to prevent carbon leakage.
3. What happens if I never change the filter?
Initially, your coffee will taste worse. Over time, the internal components will scale up, the pump will become noisy, and the machine will eventually stop brewing entirely due to internal blockages.
4. Does the water filter remove fluoride?
Standard charcoal filters are designed to remove chlorine, taste, and odor. They are not typically effective at removing fluoride. If fluoride removal is a priority, you would need a specialized reverse osmosis system.
5. My new filter is floating. What did I do wrong?
Floating indicates that you skipped the 60-second pre-soak. There is air trapped inside the charcoal. Remove the filter, submerge it until the bubbles stop, and reinstall it.
6. Why is there black dust in my water reservoir?
This is carbon dust. It is harmless but unsightly. It occurs when a new filter isn't rinsed properly under a faucet for 15-20 seconds before installation.
7. Does the K-Mini need a water filter?
Most K-Mini and K-Mini Plus models do not have a built-in filter holder because they do not have a standing reservoir. For these models, using pre-filtered water is essential.
8. Can I clean and reuse an old filter?
No. Once the activated sites on the charcoal are saturated with impurities, they cannot be "cleaned." The filter must be replaced.
9. How do I know which filter holder I have?
Keurig uses two main types: the "Tall" handle (for K-Classic, K-Elite, K-Select) and the "Short" handle (for K-Supreme, K-Slim). Ensure your replacement kit matches your model's height.
10. Does the filter help with "Plastic" taste?
Yes. New machines often have a residual manufacturing scent. A fresh charcoal filter, combined with a few vinegar-based descaling cycles, is the most effective way to eliminate the plastic taste.
11. Is it okay to leave water in the reservoir for a week?
It is not recommended. Stagnant water can develop bacterial growth. If you aren't using the machine for more than 3 days, empty the reservoir and dry it.
12. Does a water filter replace the need for descaling?
No. Filtering removes impurities before they enter the machine. Descaling removes the minerals that have already solidified inside the heating element. You must do both.
Closing Thoughts: The Path to the Perfect Pour
Mastering how to replace keurig water filter units is the single most impactful thing you can do to protect your investment. It is a 2-minute task that pays dividends in every single cup you brew. By removing the chemical interference of chlorine and the mechanical threat of scale, you allow the true essence of your coffee to shine through.
Remember, a Keurig is only as good as the water you put into it. Don't wait for the "Change Filter" light to blink or for your morning coffee to start tasting like the kitchen sink. Set a recurring reminder on your phone, keep a stash of fresh charcoal pods in your pantry, and commit to the 120-second sprint. Your machine—and your taste buds—will thank you.