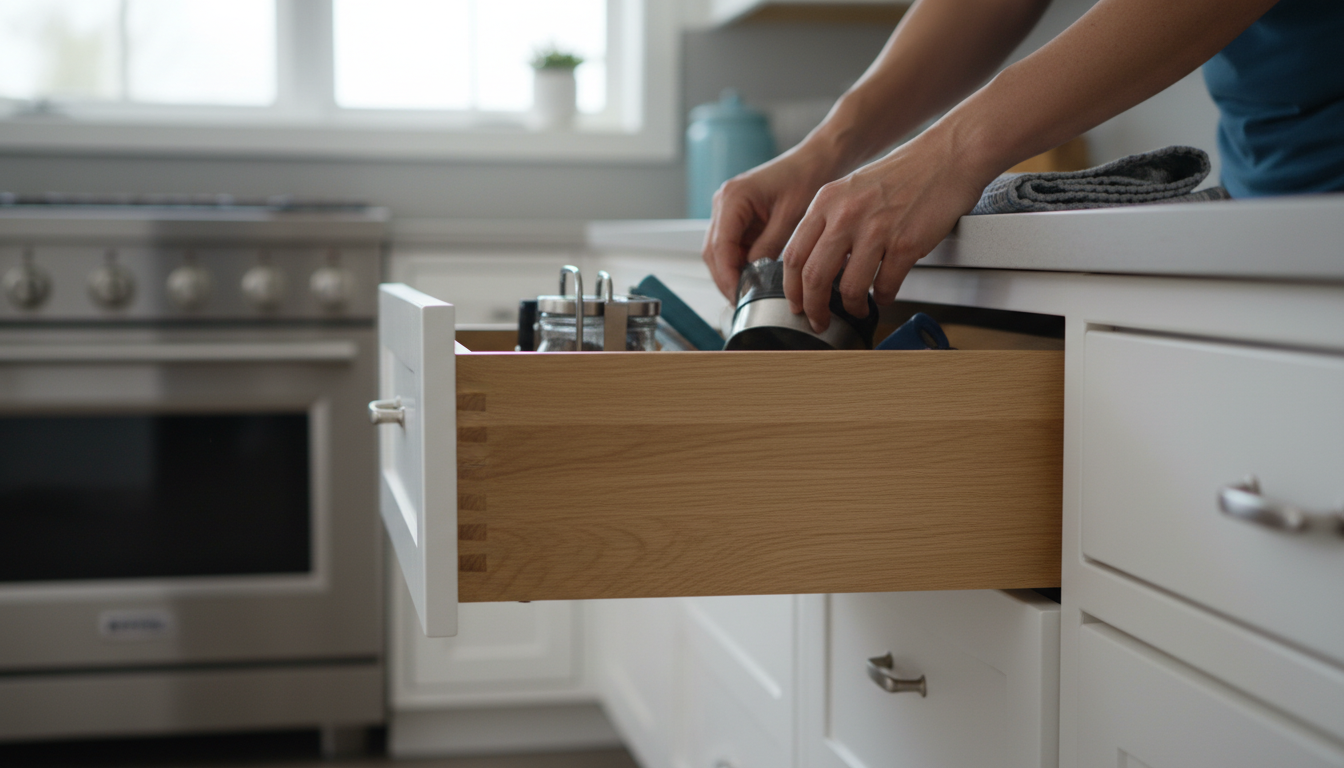
The Unseen Backbone: Why Drawer Slide Integrity Matters
When we interact with high-end cabinetry or well-built furniture, we often attribute the "premium feel" to the wood grain, the finish, or the hardware handles. However, the true arbiter of quality is the silent, mechanical symphony occurring behind the drawer face. Drawer slides are the unsung heroes of domestic ergonomics. When they function perfectly, they are invisible. When they fail, they become a source of daily friction—both literal and psychological. Learning how to replace drawer slides is not merely a repair task; it is an upgrade to your living environment’s efficiency.
The hardware industry has evolved significantly over the last two decades. We have moved from simple wooden runners and plastic friction guides to sophisticated, ball-bearing, soft-close telescopic systems. Yet, despite these technological leaps, the mechanical stress placed on these components is immense. A standard kitchen drawer might be opened and closed 10,000 times in its lifespan, often carrying loads exceeding 50 pounds. Over time, the steel tracks can warp, the nylon rollers can flat-spot, and the ball bearings can escape their races due to "housing fatigue."
Replacing these slides is often viewed with trepidation by DIYers because of the perceived precision required. There is a common fear that a 1/16th-inch misalignment will render the drawer useless. While precision is paramount, the process is governed by repeatable logic and specific measurements. By mastering the methodology to install drawer slides correctly, you transition from someone who "fixes a broken drawer" to a craftsman who restores mechanical harmony to a piece of furniture. This guide is designed to strip away the ambiguity of the process, providing you with the technical depth needed to execute a professional-grade replacement that will likely outlast the original factory installation.
The Anatomy of Failure: Why Drawer Slides Give Out
To solve a problem permanently, one must understand the root cause of the failure. Most people assume a drawer "sticks" because it’s old. In reality, slide failure is usually a symptom of three specific issues: Load-Bearing Exhaustion, Environmental Expansion, or Geometric Misalignment.
Load-Bearing Exhaustion and Mechanical Fatigue
Every drawer slide has a dynamic load rating. In many "big box" furniture pieces, manufacturers cut costs by installing slides rated for 35 lbs in drawers meant for heavy pots or tools. When a slide is overloaded, the steel "C-channel" begins to splay. Once the channel widens by even a fraction of a millimeter, the ball bearings no longer make consistent contact with the inner and outer races. This leads to "skidding" rather than rolling, which grinds down the metal and eventually leads to a catastrophic jam. When you replace drawer slides, upgrading the load rating (e.g., moving from a 75lb to a 100lb or 150lb rating) is the single best way to ensure you never have to do the job again.
The Impact of "The Tolerance Gap"
Precision is the enemy of failure. Most side-mount drawer slides require exactly 1/2 inch (12.7mm) of clearance between the drawer box and the cabinet opening on each side. If the cabinet box was built slightly out of square, or if the wood has bowed over time, that gap might fluctuate. If the gap is too tight (15/32"), the slide will bind and create excessive heat and friction. If it is too wide (17/32"), the slide will "chatter" and the ball bearings will eventually pop out because they aren't being held under the correct lateral tension. Identifying this "tolerance gap" is the first step in a professional assessment.
Environmental Degradation
In kitchens and bathrooms, humidity is a constant factor. While most modern slides are zinc-plated or stainless steel, the lubricants inside the ball-bearing races are susceptible to "clogging" with household dust, pet hair, and aerosolized cooking oils. This creates a gummy paste that prevents the bearings from rotating. Furthermore, if the drawer box is made of solid wood, it will expand and contract with the seasons. A slide installed in the dry winter may bind in the humid summer as the wood swells, putting immense pressure on the mounting screws and eventually stripping the pilot holes. Understanding these variables allows you to choose the right replacement hardware and installation technique.
Methodology: The Definitive Guide to Replacing Drawer Slides
Replacing drawer slides is a four-phase operation: Assessment, Selection, Extraction, and Calibration. To install drawer slides with professional results, follow this rigorous technical methodology.
Phase 1: Precision Measurement and Selection
Before you touch a screwdriver, you must measure. Do not rely on the length of the drawer box alone.
- Length: Measure the length of the drawer box itself. Slides are typically sold in 2-inch increments (12", 14", 16", etc.). Your slide should be as long as the drawer box but never longer than the depth of the cabinet.
- Extension Type: Decide between ¾ extension (cheaper, leaves the back of the drawer inside the cabinet), Full Extension (the drawer comes out completely), or Over-travel (the drawer clears the countertop entirely—ideal for file drawers).
- Clearance: Measure the space between the drawer box and the cabinet carcass. If it’s 1/2 inch, you need standard side-mount slides. If there is no gap, you likely have under-mount slides.
Phase 2: Extraction and Surface Preparation
Remove the drawer by pulling it out until it stops. Most ball-bearing slides have a small plastic lever in the track. Push one up and the other down to release the drawer from the cabinet.
- Removal: Unscrew the members from the drawer box and the cabinet.
- Hole Assessment: Inspect the old screw holes. If they are stripped or "blown out," you must repair them. Dip a toothpick in wood glue, jam it into the hole, snap it off, and let it dry. This gives your new screws fresh wood to "bite" into.
- Cleaning: Wipe down the interior cabinet walls. Dust and debris are the primary killers of new ball bearings.
Phase 3: Installing the Cabinet Member
The cabinet member (the larger part of the slide) must be perfectly level and set back slightly from the face frame.
- The Setback: Position the slide 1/16th of an inch back from the front edge of the cabinet. This ensures the drawer closes flush against the frame.
- The Leveling Hack: Use a "story pole" or a scrap piece of wood cut to the exact height where you want the slide to sit. Rest the slide on this block while screwing it in. This guarantees that both the left and right sides are at the exact same height, eliminating the risk of a tilted drawer.
- Screw Placement: Start with the "horizontal" slots. These allow you to adjust the slide forward or backward before you lock it in with the permanent round holes.
Phase 4: Installing the Drawer Member
- Centerline Alignment: Draw a level line across the center of the drawer box side. Align the drawer member (the thin part) with this line.
- Front Alignment: Ensure the front of the slide is flush with the front of the drawer box (not the decorative drawer face).
- The "Click" Test: Once both sides are mounted, align the drawer members with the cabinet tracks. Push the drawer in firmly. You will hear a click as the bearings engage. If you feel significant resistance, stop. Do not force it—realign and try again.
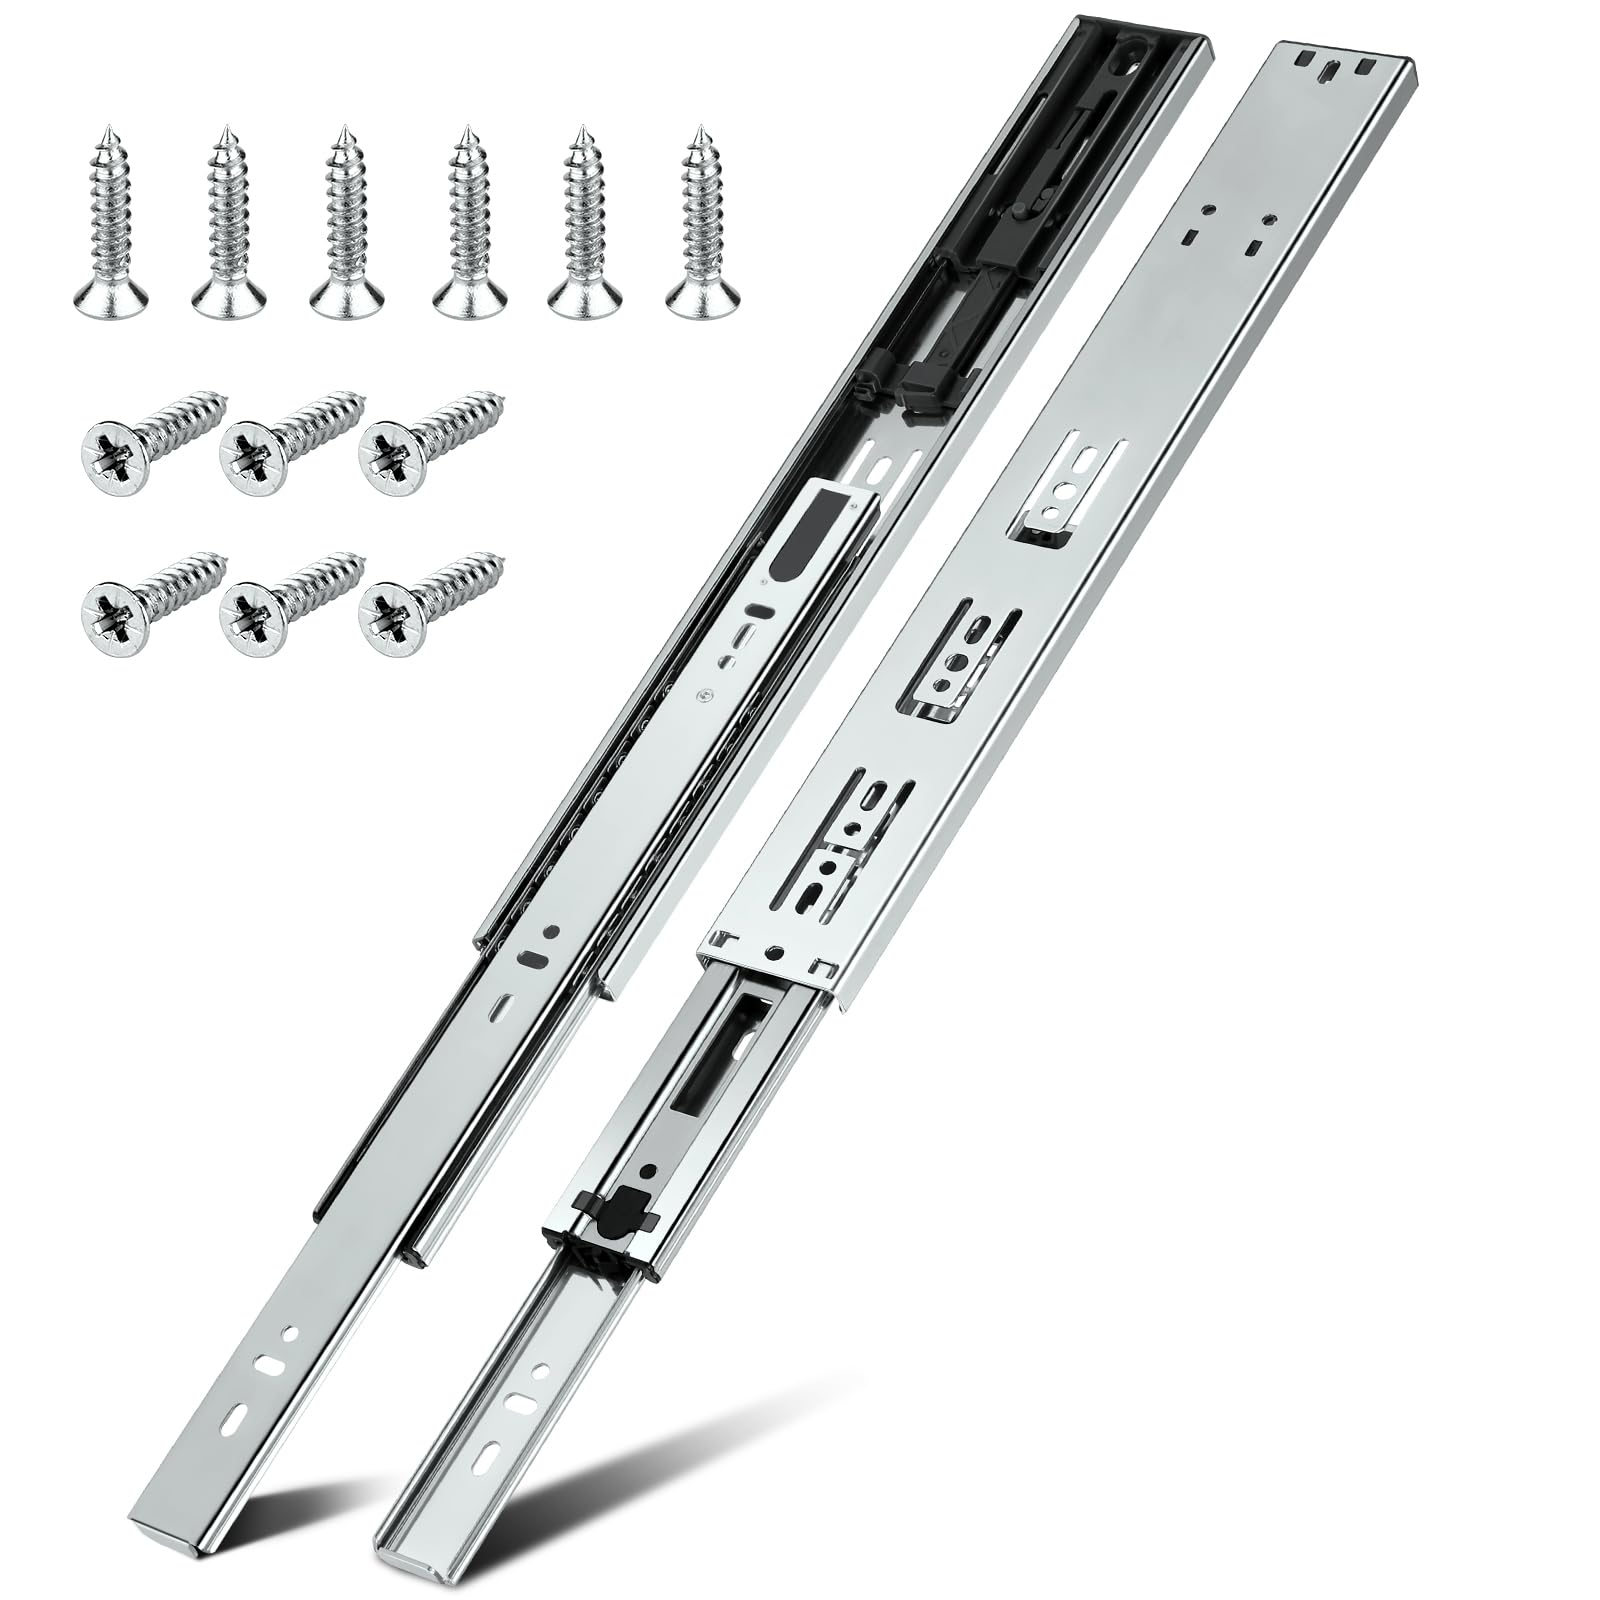
10 Pairs | Soft Close Drawer Slides 22 inch, HBL’ Heavy Duty Cabinet Drawer Slides Replacement – Bal
- High-quality product
- Customer favorite
- Best value option
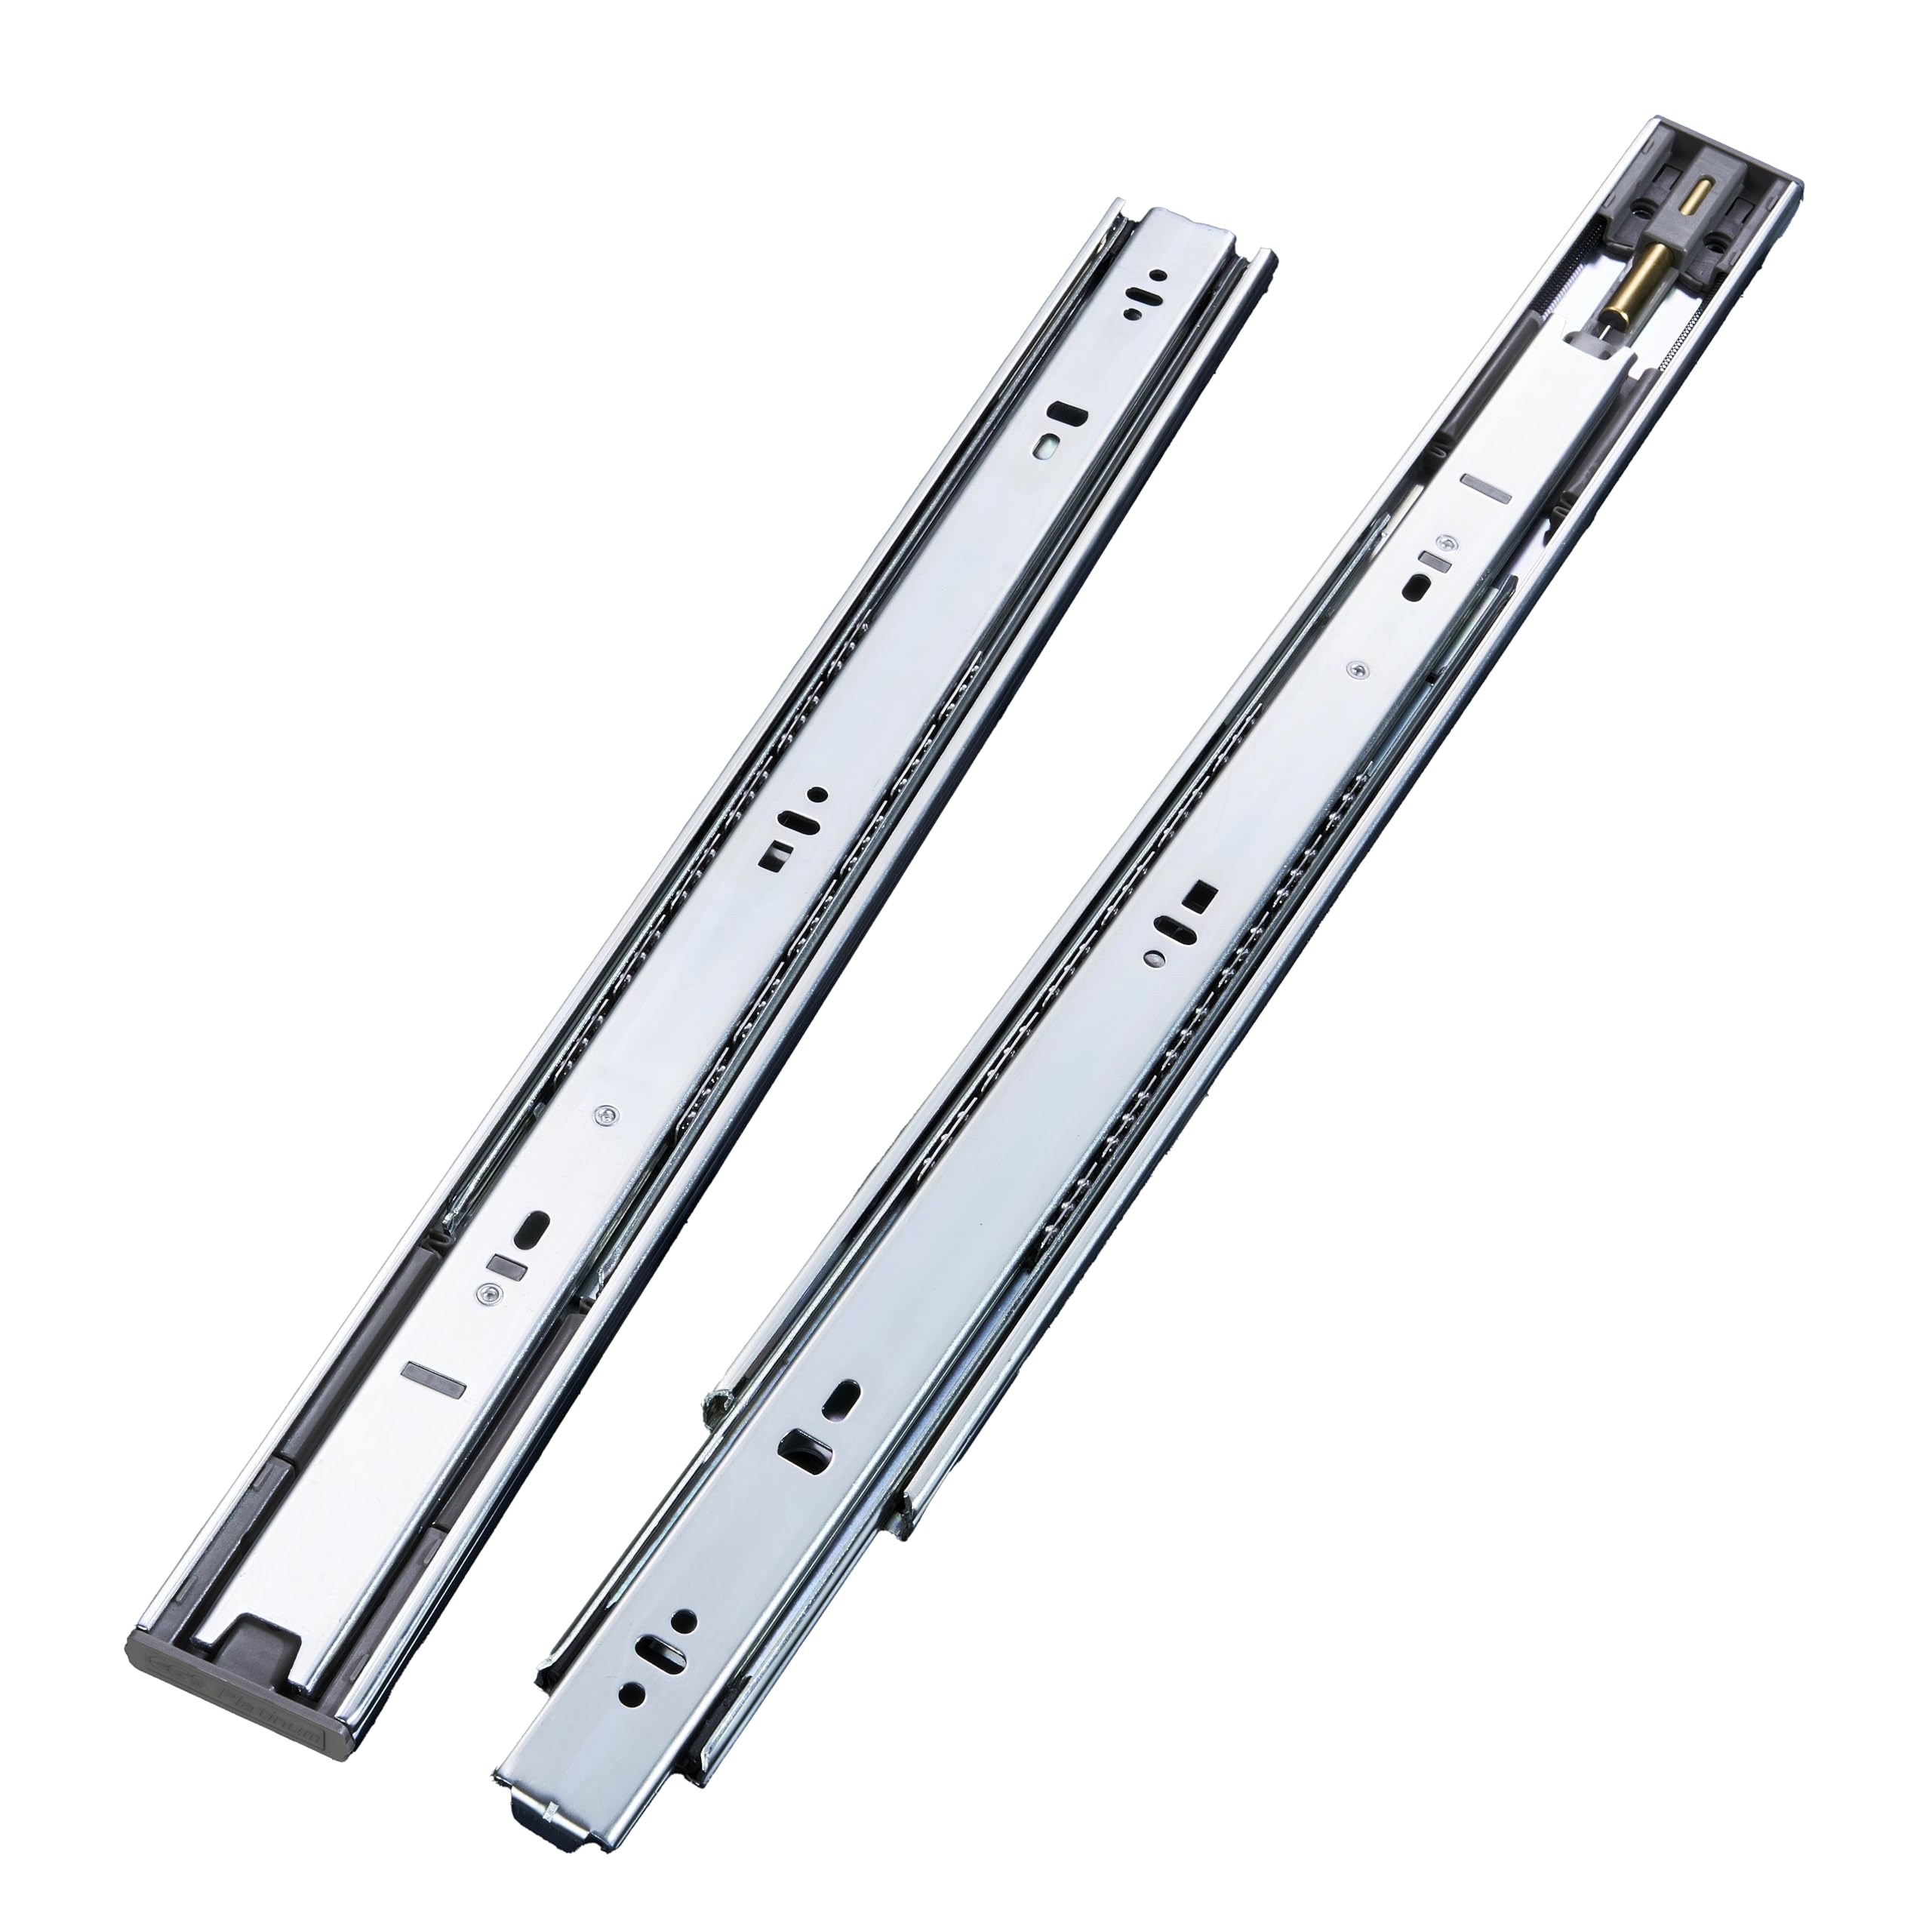
CGS Platinum 24 inch Soft Close Cabinet Drawer Slides 10-Pairs Full Extension Ultra Thick 1.2mm Stai
- High-quality product
- Customer favorite
- Best value option
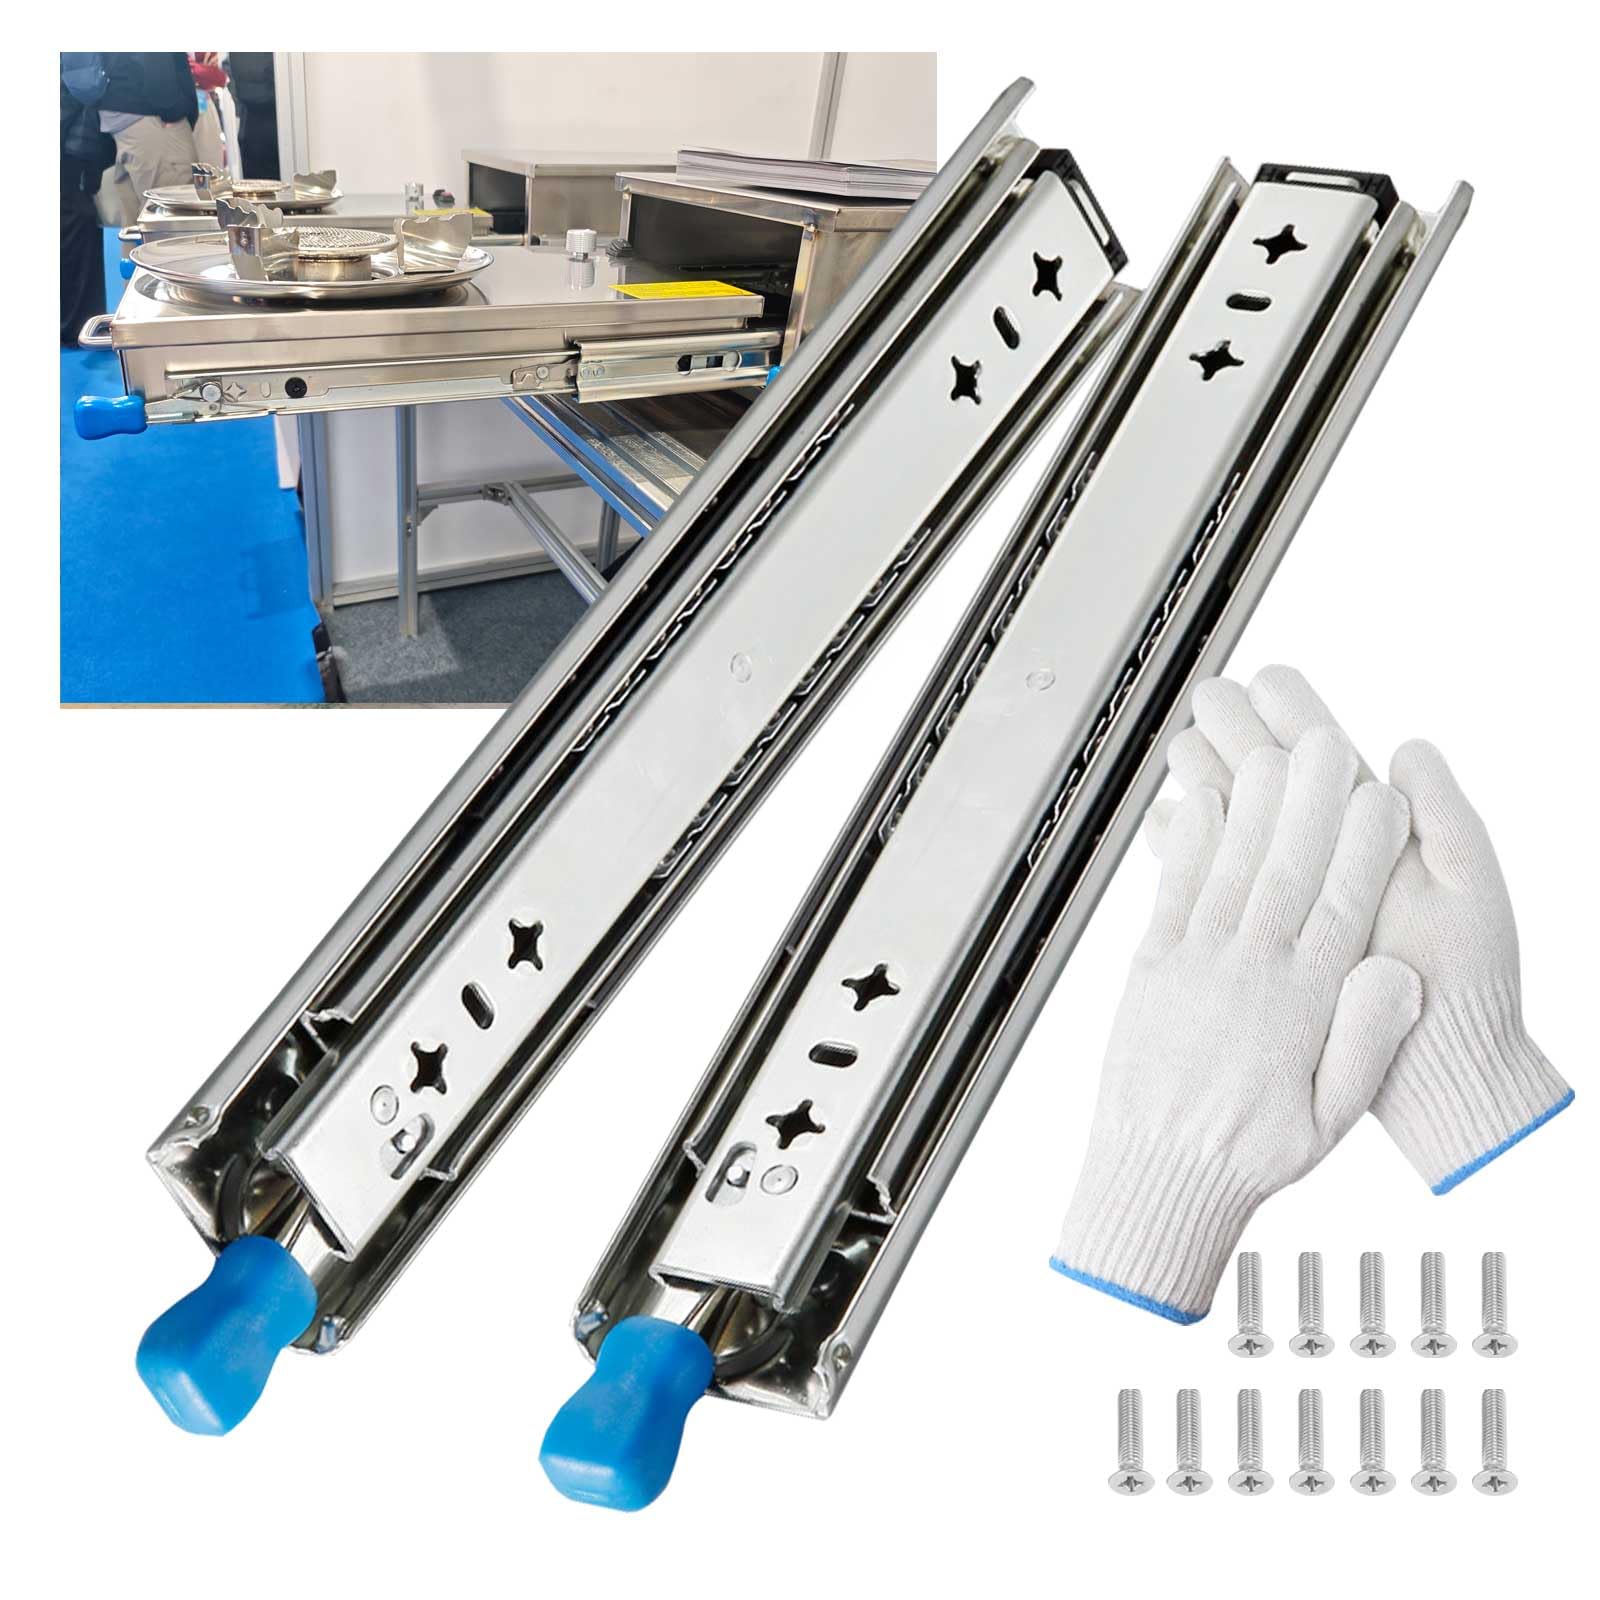
Heavy Duty Drawer Slide with Lock 20 Inch,Full Extension Ball Bearing Runners Locking & Lock-Out, Up
- High-quality product
- Customer favorite
- Best value option
Expert Hacks & Maintenance for Longevity
Once you have successfully learned how to replace drawer slides, the goal shifts to maintenance and optimization. Expert installers use several "tricks of the trade" to ensure a drawer feels like a luxury component.
The Pilot Hole Secret
Never drive a screw directly into the cabinet side without a pilot hole. Cabinet carcasses are often made of MDF or plywood, which can split or "mushroom" if a screw is forced in. Use a self-centering Vix bit. This tool ensures your pilot hole is perfectly centered in the slide's mounting hole, preventing the slide from shifting as you tighten the screw.
The Shim Technique for "Out-of-Square" Cabinets
If you find that your cabinet is wider at the back than the front, your slides will bind. Use plastic furniture shims or even thin pieces of veneer behind the cabinet member at the back to bring the slide into a perfectly parallel orientation. A slide that is parallel to its partner within 1/32" will operate 50% more quietly.
Lubrication and Cleaning
Contrary to popular belief, you should not use WD-40 on drawer slides. WD-40 is a degreaser, not a long-term lubricant; it will actually strip the factory grease and attract more dust. If your slides become sluggish, use a dry silicone spray or a high-quality white lithium grease. Apply it sparingly to the ball bearing races and cycle the drawer several times to distribute it.
Weight Management
Distribute weight strategically. Place the heaviest items at the back of the drawer. This reduces the leverage force applied to the slides when the drawer is fully extended, significantly extending the life of the ball bearings.
Mega FAQ: Expert Insights into Drawer Slide Replacement
1. How do I know if I need side-mount or under-mount slides?
Side-mount slides are visible on the sides of the drawer box when opened. Under-mount slides are hidden beneath the drawer box and are often preferred for high-end aesthetics. They are not interchangeable without rebuilding the drawer box due to different clearance requirements.
2. Can I upgrade my old rollers to soft-close slides?
Yes, provided you have the 1/2" side clearance. Most modern ball-bearing soft-close slides are designed to fit the same footprint as older "European" style epoxy rollers, though you will need to drill new mounting holes.
3. What does "Full Extension" actually mean?
Full extension means the drawer box travels completely out of the cabinet carcass, giving you 100% access to the contents at the very back. Standard slides are often "partial extension," leaving the last 3-4 inches of the drawer hidden.
4. Why does my drawer "creep" open on its own?
This is a sign that the cabinet members are not level. If the slide is tilted slightly downward toward the front, gravity will pull the drawer open. Use a level to ensure the tracks are perfectly horizontal or tilted slightly backwards.
5. How much weight can a standard drawer slide hold?
Most residential-grade slides are rated for 75 to 100 lbs. Heavy-duty slides for pantries or toolboxes can be rated for 250 lbs or more. Always check the dynamic load rating before purchasing.
6. Do I need to replace both sides if only one is broken?
Absolutely. Slides are sold in pairs for a reason. Replacing only one side leads to uneven wear, as the new slide will have different tension and friction characteristics than the old one, likely causing the new one to fail prematurely.
7. My drawer box is made of thin material. How do I prevent screws from coming through?
If your drawer sides are thinner than 1/2", use shorter screws (like 3/8" pan head screws) or add a small wooden "cleat" on the inside of the drawer to give the screw more material to grip.
8. What tool is most critical for this job?
A high-quality 12-inch level and a self-centering drill bit. Without these, you are guessing at the geometry, which leads to binding.
9. Can I install drawer slides on a face-frame cabinet?
Yes, but you will need "Rear Mounting Brackets." These attach to the back of the slide and screw into the back wall of the cabinet, as there is no side wall to attach to in a face-frame design.
10. How do I measure for the "Clearance" if the drawer is already gone?
Measure the width of the cabinet opening and subtract the width of the drawer box. Divide that number by two. If the result is 1/2", you are in the standard range for side-mount hardware.
11. What is the difference between "Soft-Close" and "Self-Close"?
Self-close slides use a spring to pull the drawer shut firmly when it gets within an inch or two of the cabinet. Soft-close adds a hydraulic damper to that spring, so the drawer slows down before it closes, preventing slamming.
12. Why are my new slides making a grinding noise?
This usually means they are "racking"—the two tracks are not perfectly parallel. Even a 1/16" difference in width between the front and back of the tracks will cause the bearings to grind.
13. Is stainless steel better than zinc-plated?
For kitchens and bathrooms, yes. Stainless steel offers superior corrosion resistance against steam and cleaning chemicals.
Closing Thoughts on Mechanical Precision
Mastering the ability to replace drawer slides is a fundamental skill in the arsenal of any serious homeowner or furniture restorer. It is a task that rewards patience and punishes haste. By moving beyond a "quick fix" mentality and adopting the professional methodologies outlined in this guide—such as precise setback alignment, the use of story poles, and repairing stripped pilot holes—you ensure that your furniture operates with the "silk-on-glass" smoothness that defines quality craftsmanship.
Remember, the goal is not just to make the drawer move; it is to restore the mechanical integrity of the piece. High-quality hardware, like the soft-close and heavy-duty options mentioned, provides a tactile upgrade that you will appreciate every single time you reach for a utensil or a tool. Treat your cabinetry with the precision it deserves, and it will provide decades of silent, effortless service.