What causes a blender to leak from the bottom?
A leaking blender typically results from a compromised seal between the blade assembly and the jar, worn gaskets, cracked containers, or overtightened components. These failures allow liquid to escape during operation, often due to wear, improper assembly, or material degradation over time. The most frequent point of failure is the rubber or silicone gasket located beneath the blade base, which loses elasticity after repeated exposure to heat, pressure, and cleaning chemicals.
Blender leakage from the bottom specifically indicates a breach in the jar-to-base interface. This area houses critical sealing elements that maintain hydraulic integrity during blending cycles. When these components degrade—whether through physical damage, thermal stress, or chemical exposure—fluid migrates past the seal and drips onto countertops or motor bases. In high-performance blenders operating above 10,000 RPM, even minor seal imperfections can cause significant leakage due to internal pressure buildup.
Manufacturers design modern blender jars with precision-molded gaskets rated for specific torque ranges and temperature thresholds. Exceeding these limits—such as blending hot soups without venting or overfilling beyond the max line—accelerates seal deterioration. Additionally, hand-washing with abrasive sponges or using dishwasher cycles above 65°C (149°F) degrades rubber compounds faster than gentle hand-washing with mild detergent.
How do I identify if my blender gasket is damaged?
A damaged blender gasket exhibits visible cracks, warping, discoloration, or permanent deformation when removed from the blade assembly. Functional testing confirms failure if liquid seeps during operation despite correct assembly. Gaskets made from low-quality silicone or nitrile rubber often harden within 6–12 months of regular use, losing their compression set and allowing micro-gaps to form.
Inspect the gasket by unscrewing the blade base counterclockwise and lifting it from the jar. A healthy gasket should return to its original shape after compression and show no signs of flattening or tearing. Compare its thickness to manufacturer specifications; most OEM gaskets measure 3–5 mm when new. If the gasket appears shiny or brittle, it has likely undergone oxidative degradation from repeated exposure to oxygen and heat.
Leakage patterns also indicate gasket condition. Consistent dripping at low speeds suggests complete seal failure, while intermittent leaks during high-speed blending point to partial compression loss. For blenders used daily, replace gaskets every 6–12 months as preventive maintenance. Third-party replacement gaskets must match exact dimensions and durometer hardness (typically 50–70 Shore A) to ensure compatibility.
[INTERNAL_LINK: "how to replace blender gasket" → "blender-gasket-replacement-guide"]
Why does my blender leak only when blending thick mixtures?
Thick mixtures increase internal pressure within the blender jar, exceeding the sealing capacity of worn or improperly seated gaskets. Viscous ingredients like nut butters, frozen fruit smoothies, or dough create hydraulic resistance that forces liquid past compromised seals. This phenomenon occurs because thicker fluids generate higher shear forces against the jar walls and blade assembly, amplifying stress on the gasket interface.
Blenders rated below 800 watts struggle to maintain consistent RPM with dense loads, causing motor stalling and pressure spikes that exacerbate leaks. High-torque motors (1000W+) mitigate this by sustaining blade speed, reducing pressure fluctuations. However, even powerful units leak if the gasket lacks sufficient compression force. Overfilling compounds the issue—liquids expand during blending, and excess volume raises internal pressure beyond design limits.
To test, blend water at medium speed. If no leak occurs, gradually add ice cubes or frozen fruit. Leakage during this test confirms pressure-related seal failure. Solutions include reducing fill volume by 20%, pulsing instead of continuous blending, and ensuring the gasket is clean and properly seated. For frequent thick blending, upgrade to a model with reinforced seals or metal blade assemblies.
Which blender components are most prone to cracking and causing leaks?
The blender jar, blade base threads, and gasket housing are the primary failure points for leakage. Polycarbonate jars develop stress fractures after repeated thermal cycling—especially when blending hot liquids followed by cold rinsing. These micro-cracks propagate from the base upward, often invisible until leakage occurs. Tritan copolyester jars resist cracking better but remain vulnerable to impact damage.
Blade base threads wear down from over-tightening, creating gaps between the jar and base. Metal-threaded bases (common in Vitamix and Blendtec models) outlast plastic ones but can still strip if cross-threaded during assembly. The gasket housing—the recessed area holding the seal—may warp if exposed to direct heat sources like stovetops or dishwashers, preventing uniform compression.
Inspect jars under bright light at a 45-degree angle to detect hairline cracks. Tap the base gently; a dull sound indicates internal fractures. Replace cracked jars immediately—continued use risks complete failure and injury. For thread wear, apply food-grade silicone grease to reduce friction during assembly, but avoid over-tightening. Most manufacturers specify torque values between 10–15 in-lbs for blade base attachment.
How does improper assembly cause blender leakage?
Incorrect assembly disrupts the critical seal between the jar, gasket, and blade base, allowing liquid to bypass the gasket. Common errors include cross-threading the blade base, omitting the gasket, or failing to hand-tighten sufficiently. Even minor misalignment creates uneven pressure distribution, leaving gaps where fluid escapes.
Assembly requires aligning the blade base threads precisely with the jar opening before rotating clockwise. Skipping this step bends threads, preventing full engagement. The gasket must sit flat in its groove without twisting or folding—any protrusion creates a leak path. After assembly, the unit should not wobble when inverted; movement indicates poor seating.
Manufacturers provide torque specifications to prevent over-compression, which flattens gaskets permanently. Use only hand pressure—never tools—to tighten. If leakage persists after correct assembly, inspect for debris in the thread grooves or gasket channel. Food particles or mineral deposits prevent full contact, requiring thorough cleaning with a soft brush and vinegar solution.
[INTERNAL_LINK: "proper blender assembly steps" → "blender-assembly-instructions"]
When should I replace my blender instead of repairing leaks?
Replace your blender when repair costs exceed 50% of a new unit’s price, the motor shows signs of burnout, or the jar exhibits structural damage beyond sealing fixes. Older models (5+ years) often lack replacement parts, making repairs impractical. Persistent leaks after gasket and assembly corrections indicate underlying design flaws or material fatigue.
Motor burnout symptoms include burning smells, reduced power, or failure to start—signs the unit cannot sustain safe operation. Cracked jars pose laceration risks if they shatter during blending. For blenders under warranty, contact the manufacturer; many cover gasket and seal failures for 1–3 years.
Budget $80–$150 for reliable countertop models with replaceable gaskets and metal drive sockets. High-end blenders ($300+) offer longer warranties (7–10 years) and superior sealing systems. Avoid ultra-cheap units (<$40); they use brittle plastics and substandard gaskets prone to immediate failure.
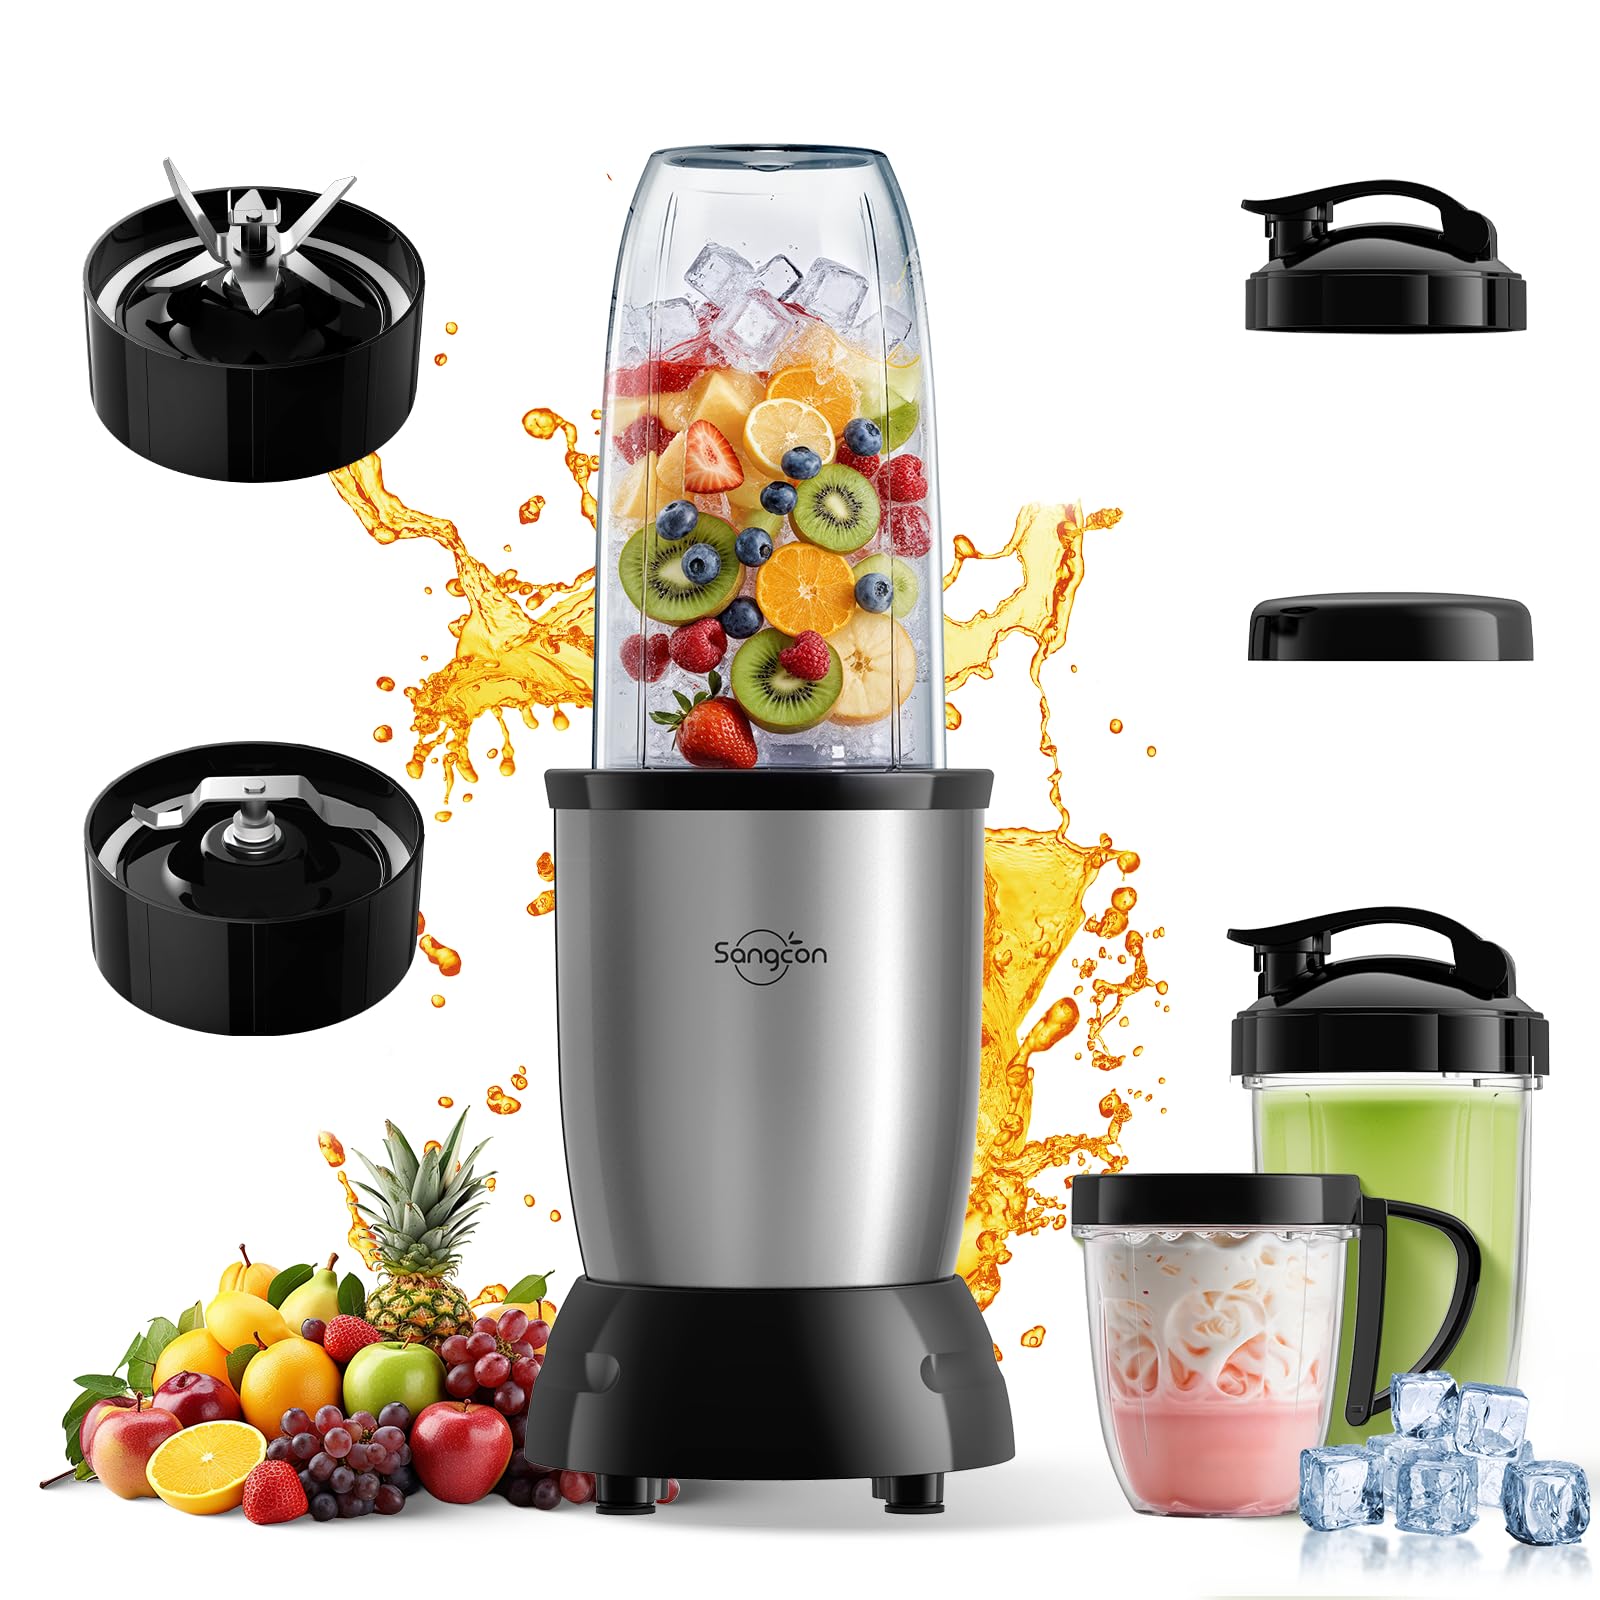
Sangcon 1000w Smoothie Blender for Kitchen, Blender for Smoothies, with 24oz/19oz/10oz Bpa-Free Cups
- High-quality product
- Customer favorite
- Best value option

Amazon Gift Card Balance Reload
- High-quality product
- Customer favorite
- Best value option

why is my blender leaking – BUDGET
- High-quality product
- Customer favorite
- Best value option
Where can I find OEM replacement parts for my leaking blender?
OEM replacement parts are available directly from the manufacturer’s website, authorized retailers, or appliance parts distributors like AppliancePartsPros or RepairClinic. Always verify model numbers (found on the base label) before ordering. Third-party gaskets and seals may fit but often lack material certifications for food safety or durability.
Manufacturers such as Ninja, Oster, and Hamilton Beach provide online part lookup tools using serial numbers. For discontinued models, search eBay or specialty forums for used jars or bases. Ensure replacement gaskets match the original material—silicone for high-heat applications, nitrile for oil-based blends. Avoid universal seals; dimensional inaccuracies cause leaks.
[INTERNAL_LINK: "OEM blender parts suppliers" → "blender-replacement-parts-directory"]
Frequently Asked Questions About why is my blender leaking
Can I use food-grade silicone to fix a leaking blender gasket?
Food-grade silicone sealant is not recommended for gasket repairs. It lacks the compression set and elasticity required for dynamic sealing under pressure. Permanent adhesion also prevents future disassembly for cleaning.
Is it safe to blend hot liquids in a leaking blender?
No. Hot liquids increase internal pressure and can cause sudden seal failure, leading to scalding or motor damage. Always repair leaks before blending heated ingredients.
How often should I replace my blender gasket?
Replace gaskets every 6–12 months with daily use, or immediately if cracks or hardening appear. Preventive replacement avoids unexpected leaks.
Why does my new blender leak from the bottom?
New blenders leak due to manufacturing defects, missing gaskets, or improper assembly. Check the manual and contact the seller if issues persist after correct setup.
Can dishwasher cleaning cause blender leaks?
Yes. High-temperature dishwasher cycles degrade rubber gaskets and warp plastic components. Hand-wash jars and bases with warm, soapy water.
Do all blenders have replaceable gaskets?
Most modern countertop blenders feature user-replaceable gaskets. Check the user manual or manufacturer website for part availability.
Will over-tightening stop a leak?
Over-tightening damages threads and flattens gaskets permanently. Hand-tighten only—excessive force worsens leaks.
Are glass blender jars less prone to leaking?
Glass jars resist cracking from heat but are heavier and more fragile to impact. Leak susceptibility depends on gasket quality, not jar material.
Can I use a leaking blender temporarily?
Temporary use risks motor contamination, electrical shorts, and food contamination. Discontinue use until repaired.
Why does my blender leak only at high speeds?
High-speed blending generates maximum internal pressure. Weak or worn seals fail under these conditions but hold at lower speeds.
Do blender leaks void warranties?
Most warranties cover seal and gasket failures but exclude damage from misuse, overfilling, or improper cleaning.
How do I test for leaks without blending?
Fill the jar with water, assemble correctly, and let it sit for 10 minutes. Check for drips—this isolates seal integrity from motor operation.
Blender leakage stems from seven primary causes: degraded gaskets, cracked jars, worn threads, improper assembly, overfilling, thermal stress, and low-quality materials. Address each through inspection, correct maintenance, and timely part replacement. When repairs fail, invest in a model with robust sealing systems and replaceable components.