
Replacing an Instant Pot sealing ring requires three simple steps: remove the old ring, clean the lid groove, and install the new ring. This process ensures optimal pressure cooking performance and prevents steam leaks. A properly installed sealing ring maintains airtight integrity, which is critical for safe and efficient operation.
What is the correct way to remove an old Instant Pot sealing ring?
The correct method involves gently pulling the sealing ring out of the lid’s inner groove using your fingers. Start at any point along the ring and work your way around the circumference, applying even pressure. Do not use tools like screwdrivers or pliers, as they can tear or deform the silicone. The ring should slide out smoothly if it has been used for several months or shows signs of wear.
Silicone sealing rings lose elasticity over time due to repeated exposure to high heat and food oils. When the ring becomes stiff, discolored, or retains odors despite cleaning, removal is necessary. Always inspect the lid groove after removal for food debris or residue that could interfere with the new ring’s seal. For detailed guidance on identifying wear indicators, see our comprehensive guide on [INTERNAL_LINK: "how to tell if your Instant Pot sealing ring needs replacement" → "instant-pot-sealing-ring-replacement-signs"].
How do you clean the Instant Pot lid before installing a new sealing ring?
Cleaning the lid requires washing the inner pot lid with warm, soapy water and a soft sponge. Focus on the groove where the sealing ring sits, ensuring all grease, food particles, and soap residue are removed. Rinse thoroughly and dry completely with a lint-free cloth. Avoid abrasive scrubbers or harsh chemicals that could damage the stainless steel or silicone surfaces.
Residual oils from cooking—especially from dairy, cheese, or strongly scented dishes like curry—can compromise the new ring’s ability to form a tight seal. Moisture left in the groove may also cause the ring to slip during installation. For best results, allow the lid to air-dry upside down on a clean towel for at least 15 minutes before proceeding. If you frequently cook aromatic foods, consider using dedicated sealing rings for sweet and savory dishes to prevent cross-contamination of flavors.
What is the proper technique for installing a new Instant Pot sealing ring?
Install the new sealing ring by aligning one section with the lid groove and gently stretching the rest around the circumference. Begin at the top of the lid and work downward, ensuring the ring sits evenly without twists or folds. The ring should snap securely into place with minimal force—excessive stretching can cause premature failure.
Use only genuine or high-quality third-party silicone rings designed specifically for your Instant Pot model (e.g., 6-quart, 8-quart). Generic rubber gaskets may not fit correctly or withstand high-pressure conditions. After installation, perform a quick visual check: the ring must be fully seated, with no gaps or bulges. For troubleshooting installation issues, refer to our step-by-step visual guide on [INTERNAL_LINK: "Instant Pot sealing ring installation mistakes to avoid" → "instant-pot-sealing-ring-installation-errors"].

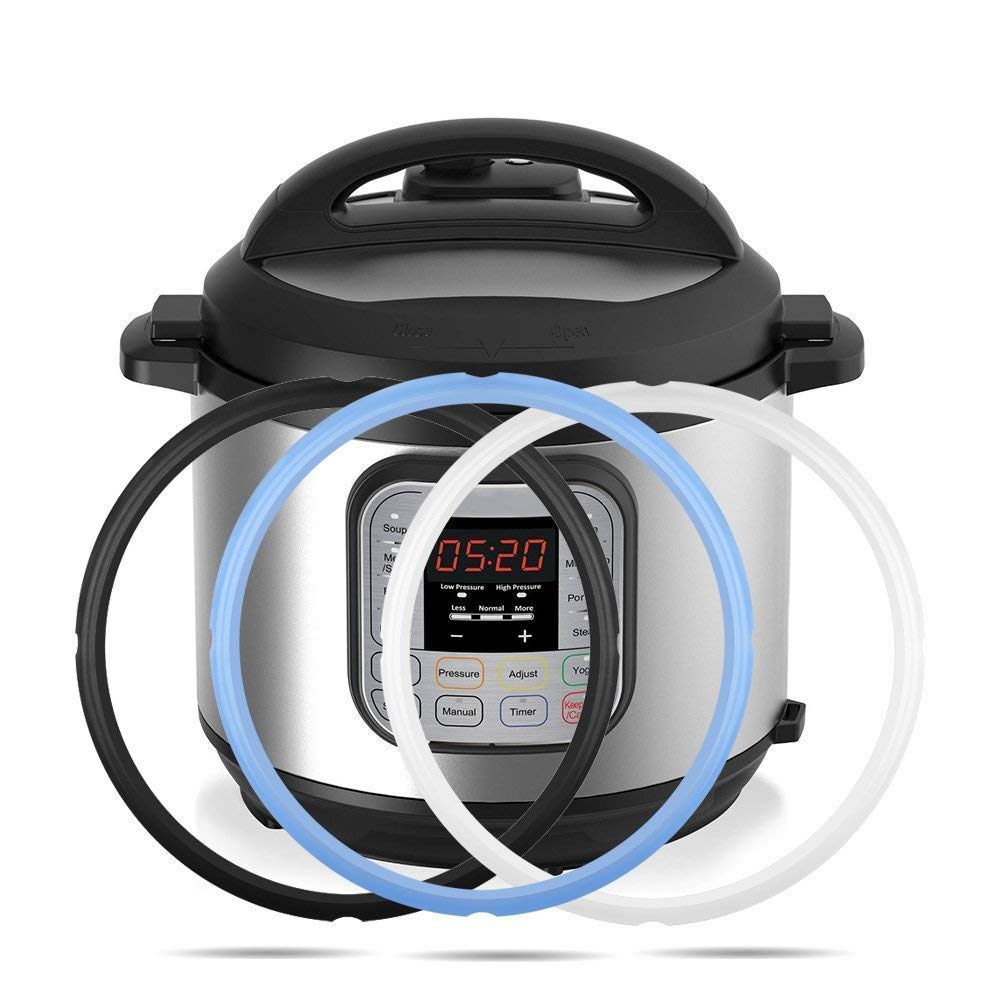
Silicone Sealing Ring 6qt for Instant Pot Sealing ring for 6 5qt Insta Pot, Sweet and Savory, Food-g
- High-quality product
- Customer favorite
- Best value option
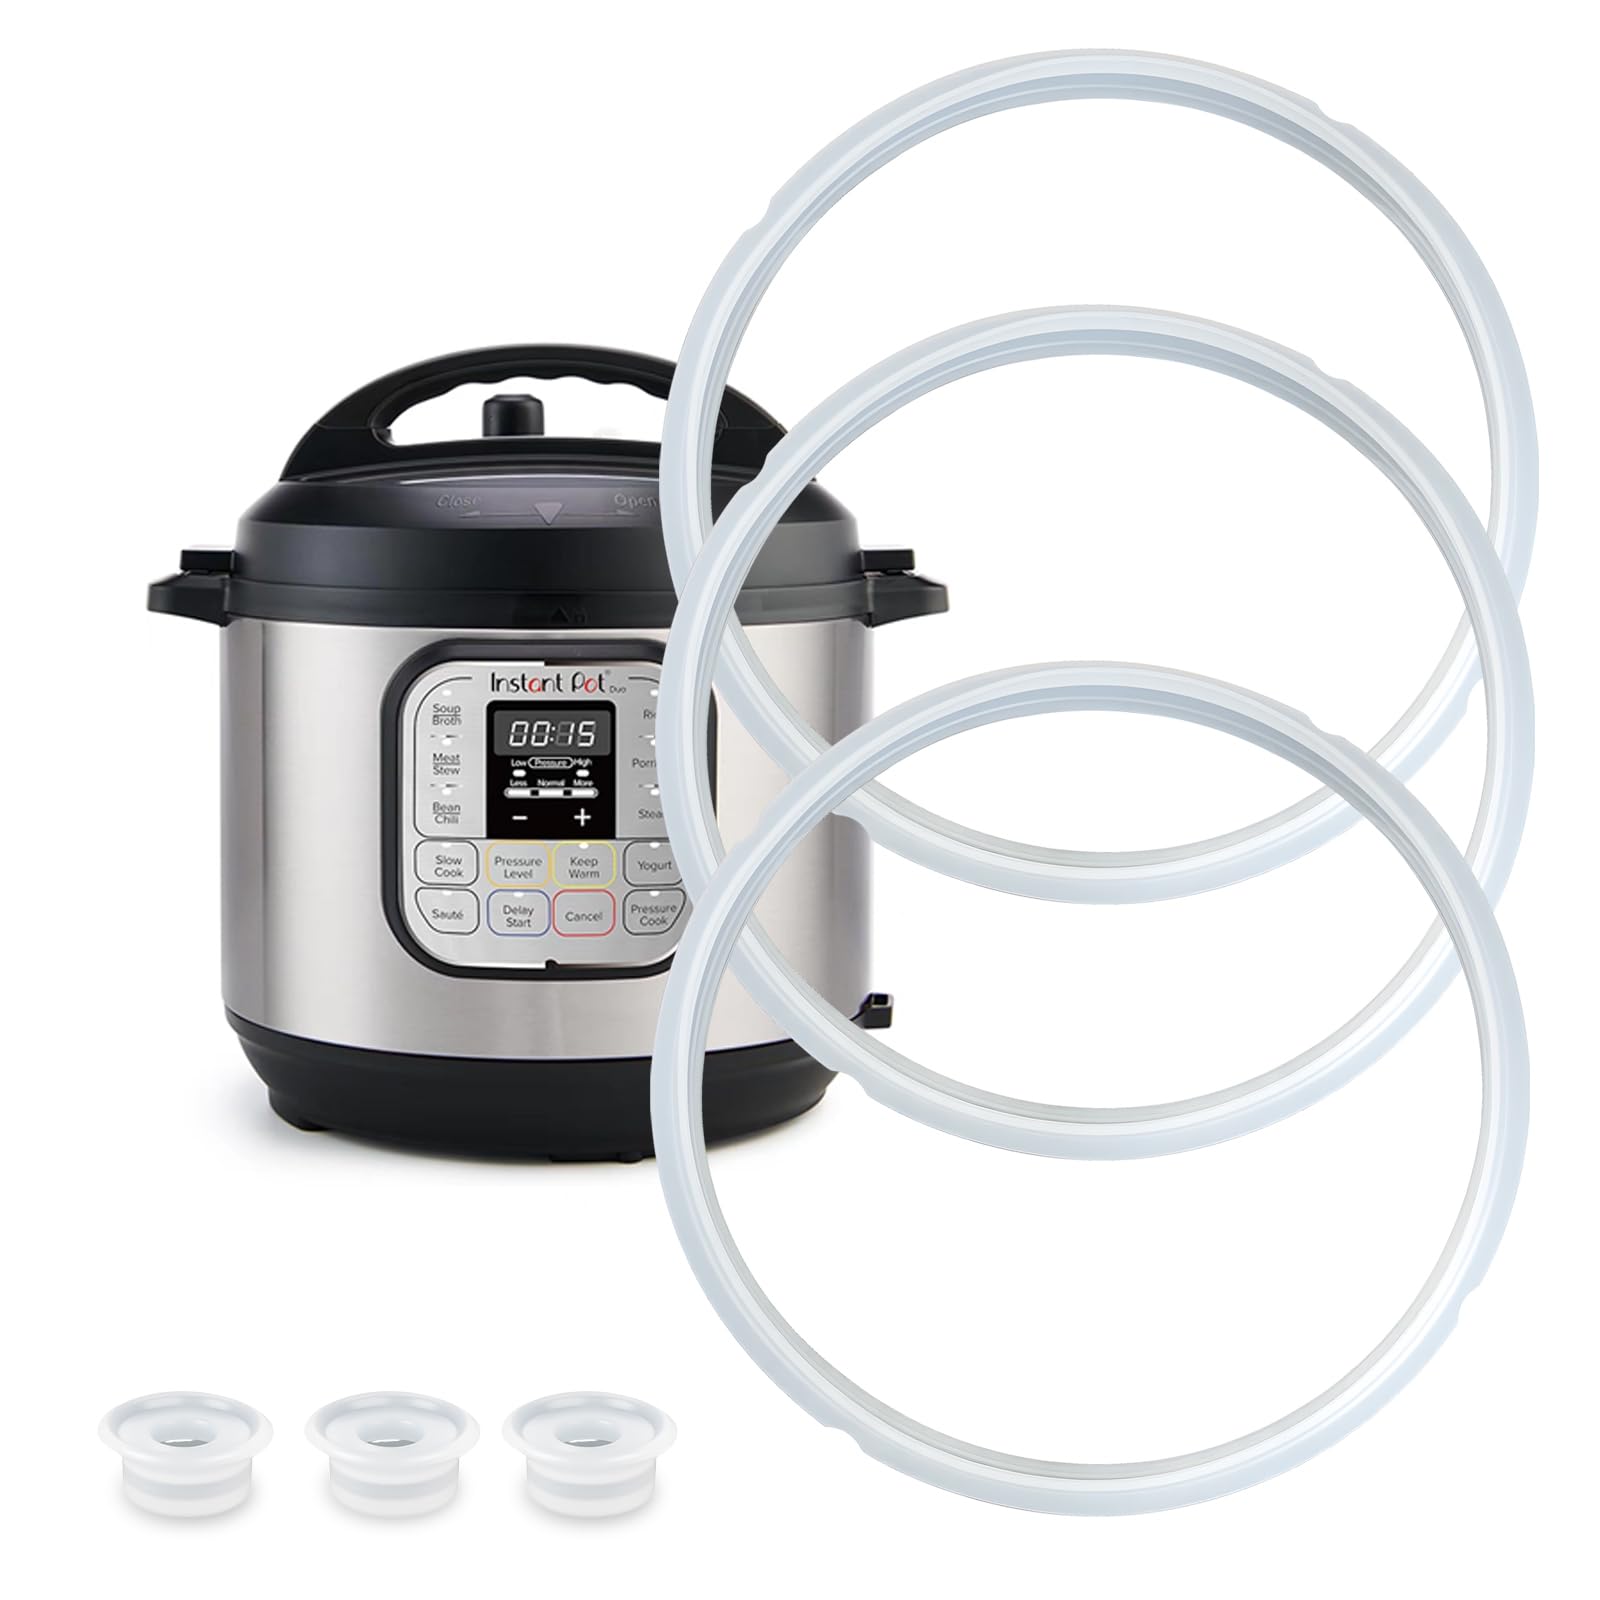
3PCS Silicone Sealing Ring for Instant Pot 6 Quart, Insta Pot Seals Replacement Gasket 6 Qt Instapot
- High-quality product
- Customer favorite
- Best value option
3 Pack Silicone Sealing Rings for Instant Pot 6 Qt, Inner Pot Seal Ring, Replacement Seal Gasket, Fo
- High-quality product
- Customer favorite
- Best value option
How often should you change your Instant Pot sealing ring?
Replace your Instant Pot sealing ring every 6 to 12 months, depending on usage frequency and cooking habits. Heavy users who pressure cook daily should replace the ring closer to the 6-month mark. Light users may extend replacement to 12 months if the ring shows no visible degradation.
Signs that indicate immediate replacement include persistent odors after washing, visible cracks or tears, loss of elasticity, or frequent steam leakage during operation. Silicone naturally degrades under repeated thermal cycling and exposure to acidic or oily foods. Using a degraded ring compromises safety by reducing pressure retention and increasing the risk of blowouts. For maintenance schedules based on usage patterns, consult our detailed timeline on [INTERNAL_LINK: "Instant Pot sealing ring replacement schedule by usage" → "instant-pot-sealing-ring-replacement-timeline"].
Which Instant Pot sealing ring material is safest and most durable?
Food-grade silicone is the safest and most durable material for Instant Pot sealing rings. It is BPA-free, heat-resistant up to 450°F (232°C), and chemically inert, meaning it won’t react with acidic or alkaline foods. High-quality silicone maintains flexibility across multiple pressure cycles and resists odor absorption better than natural rubber alternatives.
Avoid generic rubber or TPE (thermoplastic elastomer) gaskets, as they may contain unknown additives and degrade faster under high heat. Always verify that replacement rings are labeled “food-grade silicone” and compatible with your specific Instant Pot model (e.g., DUO, LUX, or MAX series). Third-party manufacturers like Genuine Instant Pot, SealSmart, and Vitalise produce certified replacements that meet OEM specifications.
Why does my Instant Pot leak steam even with a new sealing ring?
Steam leakage with a new sealing ring typically results from improper installation, lid misalignment, or debris in the sealing groove. Ensure the ring is fully seated without twists and that the lid closes evenly on the inner pot. Check the float valve and steam release handle for obstructions—food particles or mineral buildup can prevent full closure.
Another common cause is using the wrong ring size. A 6-quart ring will not seal properly in an 8-quart model, and vice versa. Additionally, overfilling the inner pot beyond the “Max Fill” line can force liquid into the sealing area, breaking the vacuum. Always follow the manufacturer’s fill guidelines and inspect all sealing surfaces before each use.
Can you use two sealing rings in an Instant Pot for extra security?
Using two sealing rings in an Instant Pot is not recommended and can create a hazardous condition. Double rings increase friction, prevent proper lid closure, and may cause uneven pressure distribution. This can lead to steam blowouts, lid deformation, or failure of the safety locking mechanism.
The Instant Pot’s design relies on a single, precisely fitted silicone gasket to create an airtight seal. Adding a second ring disrupts this engineering balance and voids the appliance’s safety certifications. If you suspect inadequate sealing, replace the ring with a high-quality OEM or certified third-party version instead of doubling up.
Frequently Asked Questions About how to replace instant pot sealing ring
How do I know which size sealing ring to buy for my Instant Pot?
Match the ring size to your Instant Pot’s inner pot capacity: 3-quart, 6-quart, or 8-quart. Check the bottom of your device or the original packaging for the model number. Most popular models like the DUO60 use a 6-quart ring.
Is it safe to cook with a slightly cracked sealing ring?
No. Even minor cracks compromise the seal and increase the risk of steam leaks or pressure loss. Replace any ring showing physical damage immediately.
Can I wash the sealing ring in the dishwasher?
Yes, but only on the top rack and at low temperatures. High heat can accelerate silicone degradation. Hand washing with mild soap is preferred for longevity.
Do I need to lubricate the new sealing ring before installation?
No lubrication is required. Silicone rings are self-lubricating and designed to slide into place dry. Adding oil or grease can attract debris and weaken the seal.
Why does my new sealing ring smell like chemicals?
New silicone rings may emit a mild odor due to manufacturing residues. Rinse thoroughly with vinegar water (1:1 ratio) and air-dry before first use to eliminate the smell.
Can I use a vegan or allergen-free sealing ring?
All food-grade silicone rings are inherently vegan and allergen-free. No animal products or common allergens are used in their production.
How long does it take for a new sealing ring to stop absorbing odors?
With proper care, a new ring should not retain strong odors. If odors persist after washing, replace the ring—absorption indicates material breakdown.
Should I replace the sealing ring if I only use my Instant Pot for slow cooking?
Yes, but less frequently (every 12–18 months). Even without pressure, heat and moisture degrade silicone over time.
What happens if I forget to install the sealing ring?
The Instant Pot will not build pressure and will default to slow cook or sauté mode. Steam will escape continuously, preventing proper cooking.
Can I repair a torn sealing ring with tape or glue?
No. Adhesives are not food-safe and will fail under heat and pressure. Always replace damaged rings.
Are colored sealing rings safe to use?
Yes, as long as they are made from food-grade silicone. Colors help distinguish between sweet and savory rings but do not affect performance.
How do I store spare sealing rings?
Keep them in a cool, dry place away from direct sunlight. Roll gently or lay flat—do not fold or crease, as this can cause permanent deformation.
Replacing your Instant Pot sealing ring in three easy steps ensures consistent performance, safety, and flavor integrity. Always use high-quality replacements, inspect regularly, and follow proper installation techniques to maximize your appliance’s lifespan.