Mastering the Refresh: Why You Must Reset Roomba After Battery Replacement
Owning an iRobot Roomba is an exercise in delegating one of life’s most tedious chores to a sophisticated piece of autonomous machinery. However, even the most advanced robotics are tethered to the limitations of chemical energy storage. Eventually, every Roomba owner faces the inevitable: the dreaded "short run time" or the refusal to leave the home base. You do the right thing—you purchase a high-capacity replacement battery, install it with surgical precision, and expect your robot to return to its factory-fresh glory. But often, the robot continues to act as if it’s powered by a dying cell. This is where the crucial, yet often overlooked, step of the process comes in: you must reset Roomba after battery installation to synchronize the hardware with the software.
The internal logic of a Roomba is more complex than a simple "on/off" circuit. It utilizes a Battery Management System (BMS) that tracks charge cycles, voltage curves, and discharge rates over hundreds of hours. When a battery degrades, the BMS adapts, shortening cleaning cycles to protect the remaining cells from deep discharge. Simply swapping the physical battery does not automatically update this digital log. Without a manual override, your Roomba remains "convinced" it is still operating on a degraded power source. This leads to premature docking, incomplete cleaning maps, and inefficient charging.
As a veteran in home robotics maintenance, I have seen countless users return perfectly good batteries, claiming they are "defective," when the real culprit was a failure to perform a roomba reset battery procedure. This guide is designed to eliminate that frustration. We aren't just looking for a temporary fix; we are looking to recalibrate the brain of your vacuum to ensure it recognizes every milliampere-hour of its new power source. Whether you are running a vintage 500 series or the latest s9+, understanding the nuances of the reset protocol is the difference between a robot that cleans your whole house and one that merely circles the rug before giving up. By the end of this mega guide, you will possess the expert knowledge required to perform a factory-grade recalibration, ensuring your investment in a new battery pays off in years of continued service.
The Ghost in the Machine: The Science of the "Old Battery Memory"
To understand why a reset is mandatory, we must look at the "Critical Problem" of battery memory—not in the traditional Ni-MH sense, but in the software sense. The iRobot firmware is designed to be cautious. As a battery ages, its internal resistance increases, and its voltage drops more rapidly under load. The Roomba’s onboard computer monitors these telemetry points to calculate "Estimated Time Remaining."
When you perform a roomba reset battery operation, you are essentially clearing the "Fuel Gauge" registers in the robot’s EEPROM (Electrically Erasable Programmable Read-Only Memory). If you skip this, the robot carries over the "learned behavior" from the old, failing battery. This is known as "Capacity Drift." The robot might see a full 14.4V or 16.8V from the new battery, but because its historical data says the battery should fail after 20 minutes, the software triggers a "Return to Base" command long before the new battery is actually depleted.
Furthermore, the charging algorithm itself needs to be reset. Roomba units use a multi-stage charging process. For Ni-MH batteries (common in older 500-800 series), the charger uses a "Negative Delta V" detection to stop charging. For newer Li-ion models, it uses a constant current/constant voltage (CC/CV) curve. If the robot thinks it is still charging an old, high-resistance battery, it may apply a "trickle charge" or an "equalization charge" that is inappropriate for a brand-new, low-resistance cell. This doesn't just reduce performance; it can actually shorten the lifespan of your new battery by causing unnecessary heat buildup during the initial charge cycles.
Expert analysis shows that a "Hard Reset" forces the Roomba to enter a "Discovery Phase." In this phase, the robot ignores previous discharge logs and performs a fresh analysis of the voltage drop-off during its first cleaning run. This is why the first run after a reset is the most important. It sets the baseline for the next 500 cycles. If the robot is interrupted or moved manually during this first post-reset run, the calibration will be flawed. We are solving a synchronization problem: the physical reality of the new chemistry must match the digital expectations of the firmware. Without this alignment, you are essentially putting a Ferrari engine into a car with a speed limiter stuck at 20 mph.
Methodology: How to Reset Roomba After Battery Installation (Step-by-Step)
The procedure to reset Roomba after battery replacement varies significantly across the different generations of iRobot hardware. Follow the specific methodology for your model below to ensure a successful recalibration.
1. The 500 and 600 Series (The Classic Reset)
These workhorse models rely on a specific button combination to clear the RAM.
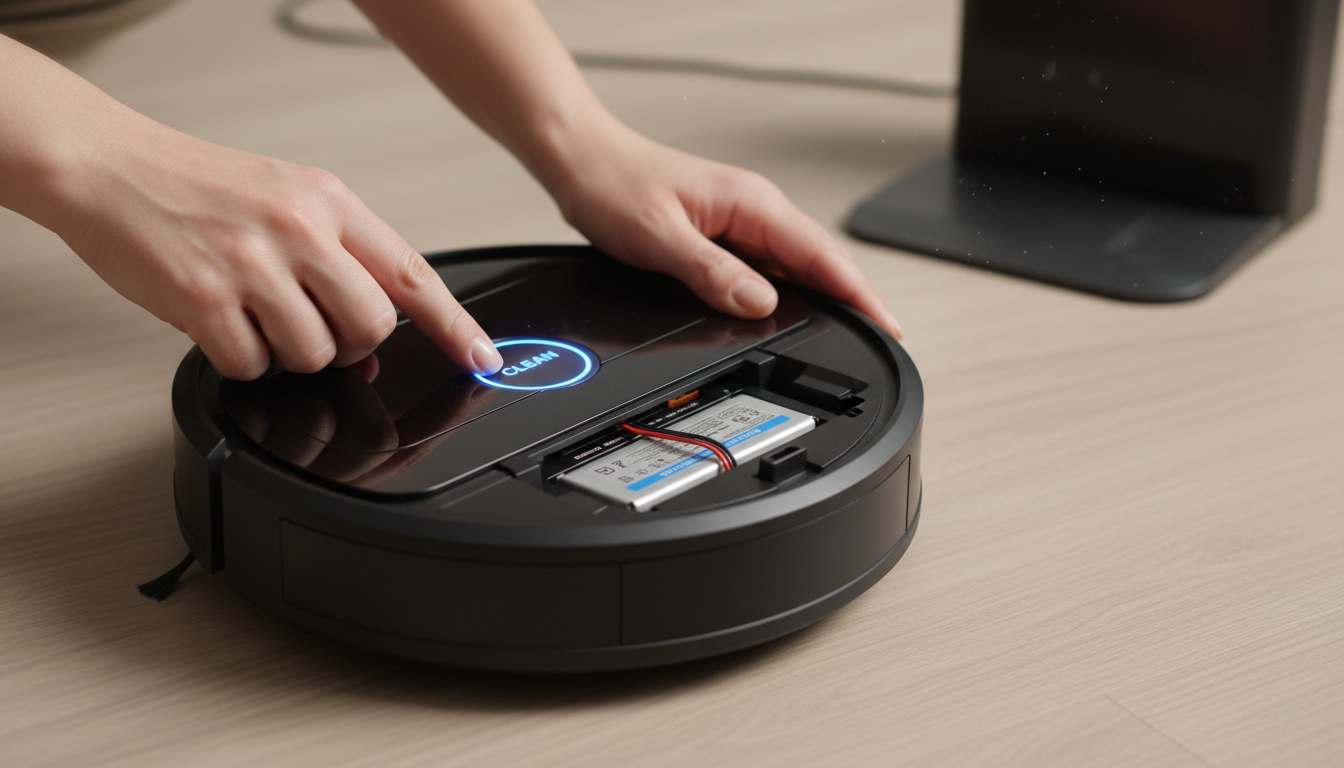
- Step 1: With the new battery installed, turn the Roomba on by pressing the "Clean" button.
- Step 2: Simultaneously press and hold the "Spot" and "Dock" buttons (located above and below the Clean button).
- Step 3: Keep them held for exactly 10 to 15 seconds. You are waiting for the "Clean" button light to turn off or for the robot to emit a special reset tone (a series of beeps).
- Step 4: Release the buttons. The Roomba will reboot.
- Step 5: Place the Roomba on the charger and let it charge until the light turns solid green (or the "Clean" light goes out, depending on the specific sub-model). Crucial: iRobot recommends a 16-hour "Refresh Charge" for these older models immediately after a reset.
2. The 700 and 800 Series (The Mid-Gen Reset)
These models are slightly more sensitive to timing.
- Step 1: Ensure the Roomba is not on the dock.
- Step 2: Press and hold the "Clean" button.
- Step 3: Continue holding for 10-12 seconds until the display shows "rSt" (on models with a screen) or until all lights flash.
- Step 4: Release the button. The robot will emit a chime, indicating the logic board has rebooted.
- Step 5: Charge the unit until the battery indicator is solid green.
3. The 900 Series (960, 980)
These models introduced Wi-Fi and more complex mapping, requiring a slightly different approach.
- Step 1: Press and hold the "Dock" and "Spot Clean" buttons along with the "Clean" button.
- Step 2: Wait for all the LEDs to illuminate.
- Step 3: Release the buttons. The robot will reboot and play the start-up melody.
- Step 4: You may need to re-link the robot to the iRobot Home App, as this can sometimes trigger a full factory reset.
4. The i, s, and j Series (The Modern Era)
For the newest models (i3, i7, s9, j7), the "reset" is often handled via the app, but a physical reset is still the "Gold Standard" for battery calibration.
- Step 1: Press and hold the "Clean" button for a full 20 seconds.
- Step 2: The light ring around the Clean button will begin to swirl white (clockwise).
- Step 3: Continue holding until the light ring turns off, then release.
- Step 4: The robot will take up to 90 seconds to reboot. Once the light ring stops swirling and the robot chirps, the internal battery registers have been cleared.
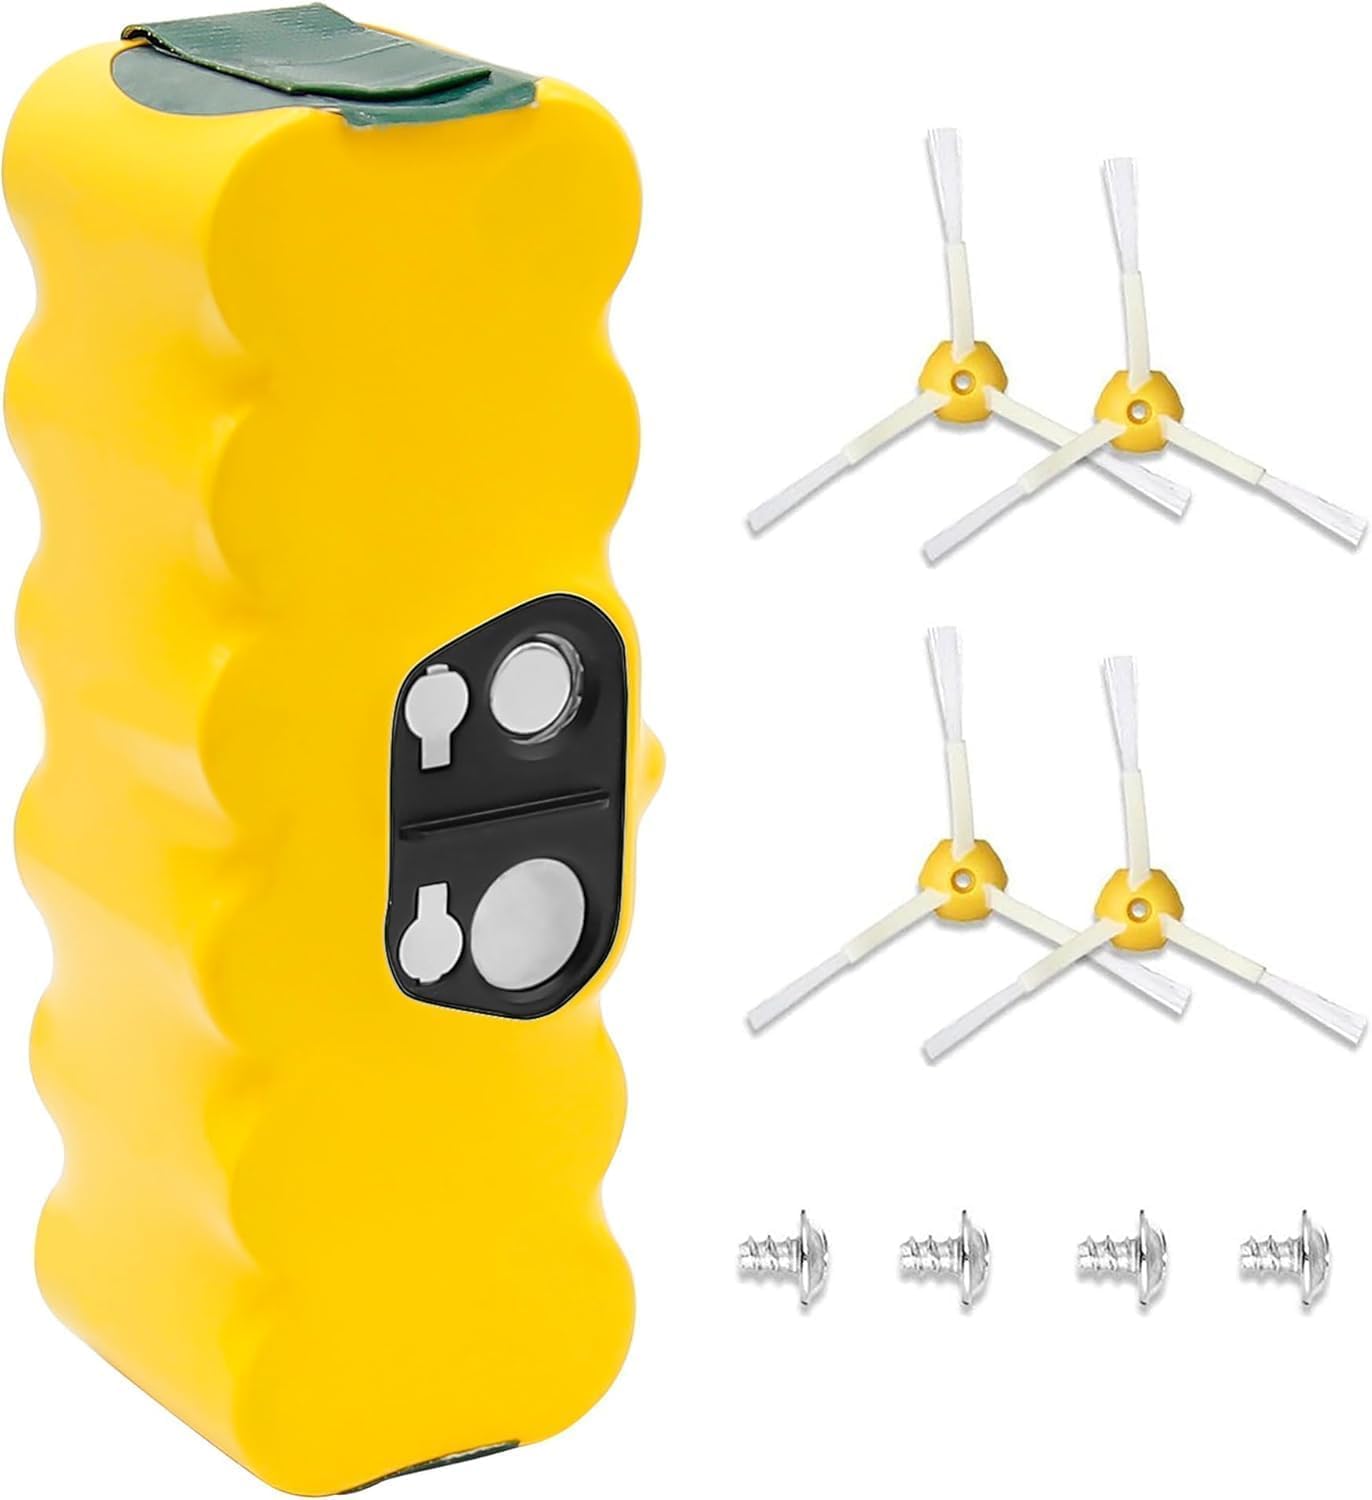
5000mAh 14.4V Replacement for Irobot Roomba 14.4V NI-MH Battery Compatible with iRobot Roomba 500 60
- High-quality product
- Customer favorite
- Best value option
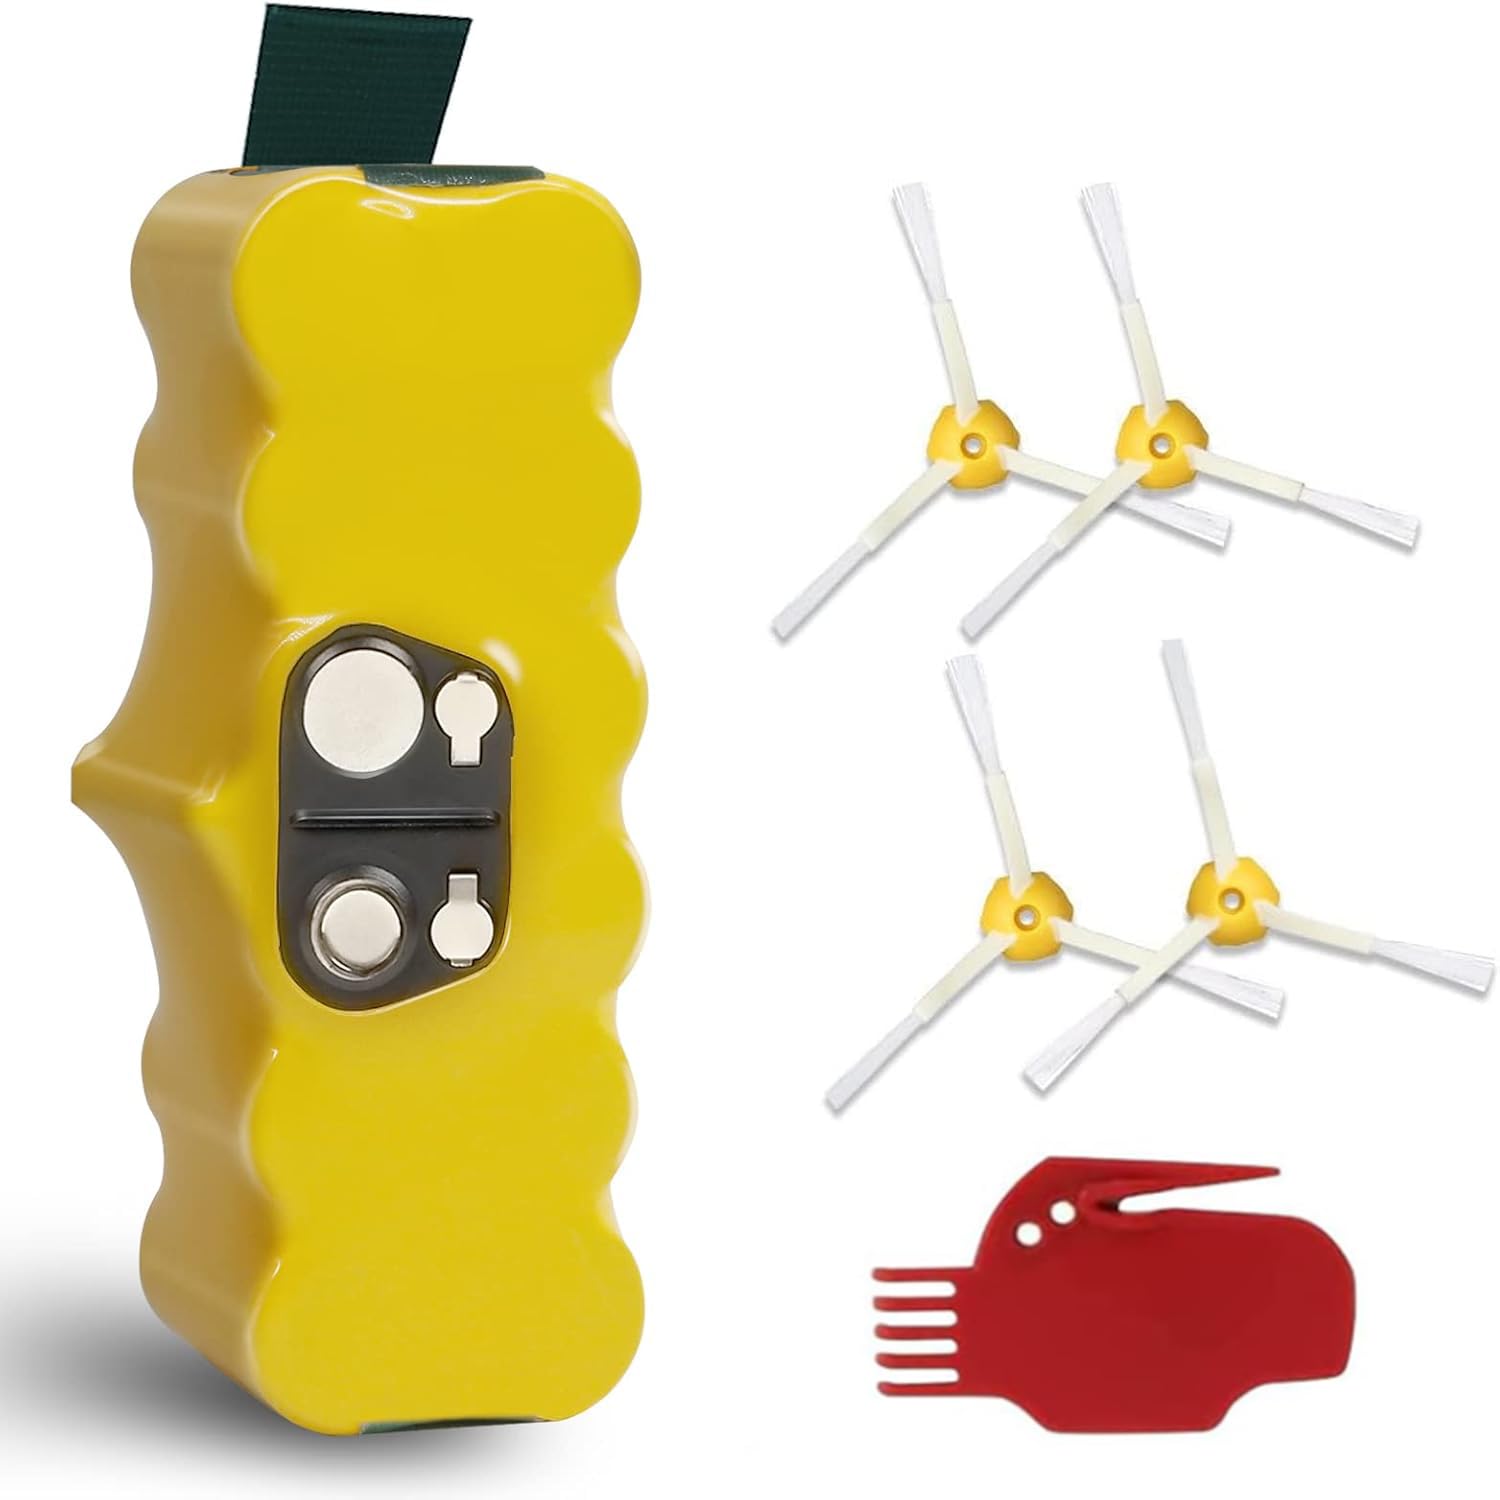
5.0Ah 14.4V Ni-Mh Battery Compatible with iRobot Roomba Battery Replacement R3 500 600 700 800 900 S
- High-quality product
- Customer favorite
- Best value option
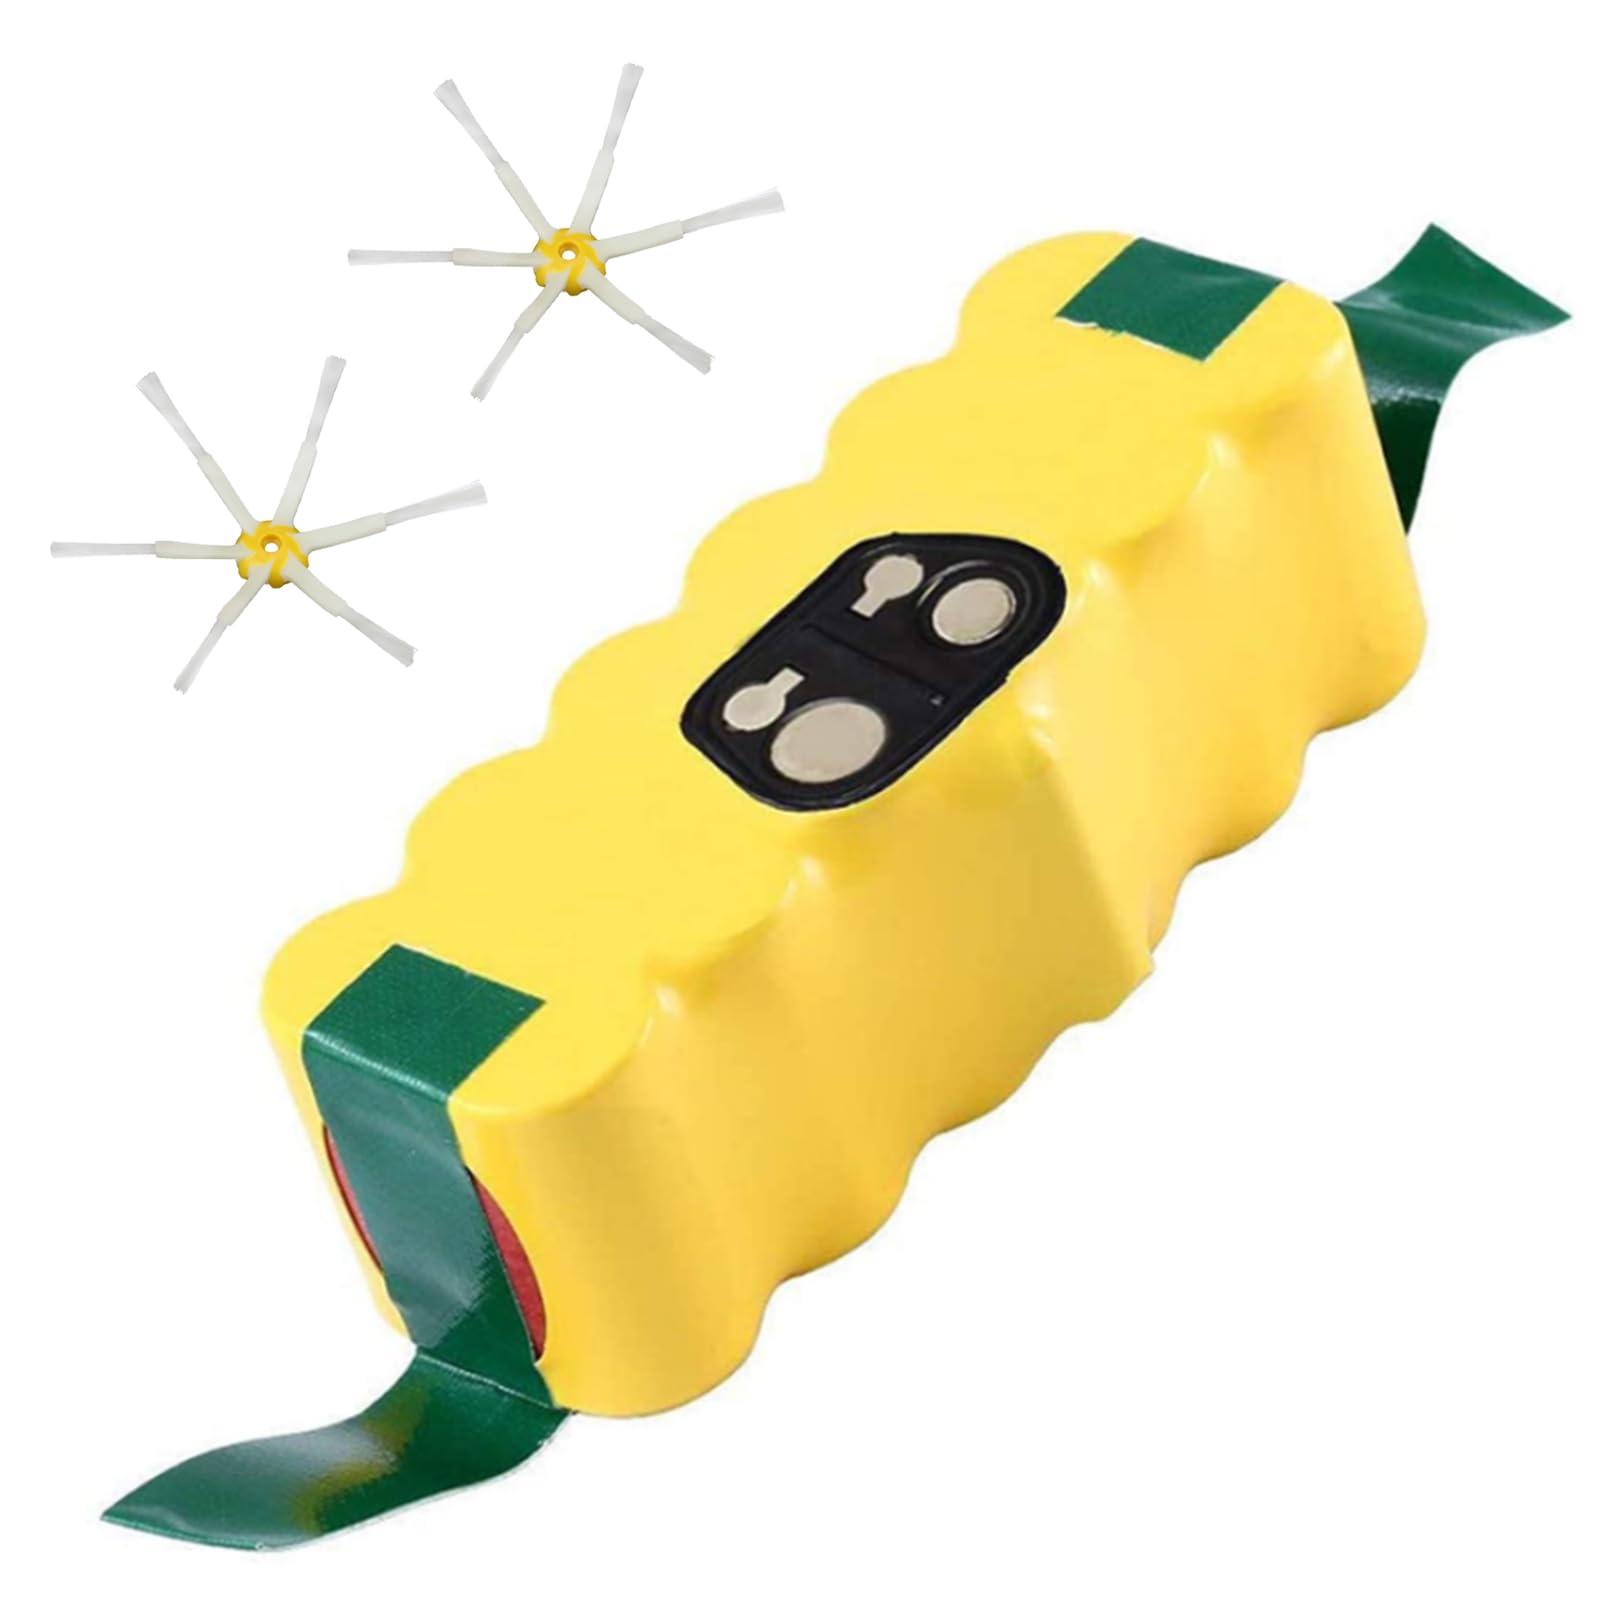
14.4V 4.5Ah Replacement Battery for Roomba Compatible with Roomba Battery R3 500 600 700 800 900 Ser
- High-quality product
- Customer favorite
- Best value option
Expert Hacks & Maintenance: Maximizing Your New Battery’s Life
Once you have successfully performed a roomba reset battery procedure, the real work of maintenance begins. To prevent the need for another replacement in 12 months, follow these advanced expert protocols:
The "Deep Cycle" Calibration
After the initial 16-hour charge, do not just run a standard cleaning cycle. Instead, run the Roomba until it is completely exhausted and cannot return to its base. This forces the BMS to "see" the true floor of the battery's voltage. Do this twice in the first week. This "seats" the chemical ions and ensures the software has an accurate map of the battery's capacity from 100% down to 0%.
Contact Optimization
One of the most common reasons a reset roomba after battery fails to show results is high resistance at the charging contacts. Use a "Magic Eraser" or a cloth dampened with 90% Isopropyl alcohol to clean the two metal plates on the bottom of the Roomba and the two pins on the Home Base. Even a microscopic layer of dust acts as an insulator, confusing the charging logic and causing the robot to "think" the battery is full when it is only partially charged.
Temperature Management
Lithium-ion and Ni-MH batteries both hate heat. If your Home Base is located on a thick carpet in a sunlit room, your battery life will be halved. Place the dock on a hard surface in a cool, shaded area. Heat buildup during the charging phase is the leading cause of premature battery failure.
Mega FAQ: Expert Solutions for Roomba Battery Resets
1. Does a factory reset delete my maps?
Yes, on i-series and s-series models, a full factory reset via the app will delete maps. However, the 20-second button hold (soft reset) typically retains map data while clearing the battery logic.
2. My Roomba still won't turn on after the reset. What now?
Check the battery pull-tabs. If a small piece of plastic is left in the battery well, the circuit won't close. Also, ensure the battery contacts are bent slightly upward to make firm contact with the battery.
3. How often should I perform a roomba reset battery?
Only when you replace the battery or if you notice a significant, unexplained drop in run time (e.g., dropping from 90 minutes to 30 minutes over a single week).
4. Can I use a third-party battery?
Yes, but ensure it has built-in overcharge protection. When using third-party cells, the roomba reset battery procedure is even more critical because the voltage curves may differ slightly from OEM iRobot batteries.
5. Why is my "Clean" button pulsing orange after a reset?
This usually indicates the Roomba has entered the "16-hour refresh charge" mode. Do not interrupt this cycle. It is balancing the internal cells.
6. Will resetting the battery fix "Error 5"?
Error 5 is a charging system error. A reset can sometimes clear a "logic hang," but usually, Error 5 indicates a fault in the charging base or the charging circuit on the motherboard.
7. My Roomba resets every time it hits a bump. Is the battery loose?
Yes. If you didn't tighten the screws on the bottom cover (on 500-800 series) or if the battery isn't seated in the clips, the connection will break momentarily, causing a reboot.
8. Does the app notify me if I need to reset the battery?
No. The iRobot Home app is not sophisticated enough to know you've swapped a physical component. You must manually perform the reset.
9. What is the difference between a soft reset and a hard reset?
A soft reset reboots the software. A hard reset (factory reset) wipes all user data, including schedules and Wi-Fi credentials. For battery replacement, a soft reset (button hold) is usually sufficient.
10. Can I reset the battery via the iRobot Home app?
You can perform a "Reboot" via the app settings, but the physical button-hold method is more reliable for clearing the hardware-level power registers.
11. Is it okay to leave my Roomba on the charger all the time?
Yes. Roomba is designed to stay on its dock. The BMS handles the trickle charge to keep the battery healthy. Never leave a Roomba unplugged for weeks, as this will deep-discharge the battery and kill it.
12. How long should a new battery last?
A high-quality Li-ion replacement should provide 2–3 years of service (approx. 400-600 cycles) if maintained properly and reset correctly at the start.
Closing Thoughts
The act of replacing a battery is only half the battle. To truly reset roomba after battery installation is to respect the sophisticated interplay between robotic hardware and its governing software. By following the precise button sequences and calibration steps outlined in this guide, you aren't just fixing a vacuum; you are restoring the efficiency of an autonomous system. Remember, the goal of a Roomba is to provide "set it and forget it" convenience. A properly reset and calibrated battery is the foundation of that promise. Treat your robot with the technical respect it deserves, and it will continue to keep your floors pristine for years to come.