The Anatomy of Robotic Failure: Why Your Roomba Stops
When you invested in an iRobot Roomba, you weren't just buying a vacuum; you were purchasing time. The promise of autonomous floor care is one of the pillars of the modern smart home. However, that promise is often interrupted by a melancholic two-tone chime or a stern voice announcing a specific numerical failure. Understanding roomba error codes is the difference between a seamless automated lifestyle and a frustrating afternoon spent chasing a plastic puck around your living room.
In the early days of consumer robotics, troubleshooting was a guessing game. You listened for the number of beeps and consulted a paper manual that was likely buried in a kitchen junk drawer. Today, the ecosystem has evolved. With the advent of the iRobot Home App and the sophisticated diagnostics of the i, j, and s series, the machine is more communicative than ever. Yet, despite this intelligence, the roomba error meanings can still feel cryptic to the average user.
The psychological toll of a "stuck" robot is surprisingly high. We expect these machines to navigate the complexities of human environments—scattered toys, varying floor transitions, and the occasional pet mishap—without intervention. When a Roomba throws an error, it represents a breakdown in the "contract" of automation. This guide is designed to restore that contract. We aren't just looking at how to clear a code; we are looking at the mechanical and logic-based reasons why these errors occur in the first place. Whether you are dealing with a legacy 600-series unit or the latest Roomba Combo, the underlying physics of robotic cleaning remain consistent. By mastering the diagnostic language of your device, you transition from a frustrated consumer to an empowered technician.
The Critical Problem: Why Smart Robots Make "Dumb" Mistakes
To truly understand roomba error codes, one must understand the concept of "Sensor Fusion." A Roomba is essentially a mobile computer equipped with an array of infrared, tactile, and optical sensors. Every movement it makes is a calculation based on feedback loops. When a Roomba stops and issues an error, it is because one of these feedback loops has been broken. The "Critical Problem" isn't usually a catastrophic hardware failure; it is a data mismatch.
For example, if the motor that drives the right wheel is drawing too much current, the Roomba’s onboard logic assumes the wheel is jammed. It doesn't "see" the tangled hair; it feels the electrical resistance. This triggers a specific code. Similarly, if the cliff sensors—infrared emitters located on the bottom of the unit—don't receive a reflected signal within a certain timeframe, the robot "thinks" it is hanging over a ledge. This is why dark-colored rugs often trigger "Error 6"; the dark fibers absorb the IR light rather than reflecting it, leading the robot to believe it’s about to fall down a flight of stairs.
Furthermore, the environment is often the primary antagonist. Dust is the natural enemy of robotics. Over time, a fine layer of particulates coats the internal sensors, leading to "ghost" errors where the Roomba claims it is dirty or stuck even when the floors are clear. This is compounded by software-hardware desynchronization. As iRobot pushes over-the-air (OTA) updates to improve mapping or object avoidance, older hardware components might struggle to keep up with the new processing demands, leading to timeout errors or navigation failures like Error 15 or 17.
The "Critical Problem" is also one of maintenance neglect. Most users treat a Roomba like a traditional vacuum—something you use until it stops. But a robot is a high-precision instrument. When you ignore the roomba error meanings or bypass them with a simple restart, you are often accelerating the wear on the motors and the battery. A "stuck bumper" (Error 9) isn't just an annoyance; it’s a constant strain on the tactile switches that can eventually lead to a permanent motherboard failure if the debris isn't cleared properly. Understanding the root cause—the why behind the code—is the only way to ensure the longevity of your investment.
Methodology & Core Guide: Decoding the Most Common Roomba Error Codes
Navigating the library of potential failures requires a systematic approach. We have categorized the most frequent roomba error codes into three functional groups: Navigation & Movement, Cleaning & Suction, and System & Power.
Group 1: Navigation and Movement Errors
These errors typically occur when the robot's physical progress is impeded or when its "eyes" are blinded.
- Error 1 (Left/Right Wheel Stuck): This is the most common mechanical error. It occurs when a wheel cannot rotate freely.
- Solution: Flip the robot over and manually rotate the wheels. Look for hair, string, or carpet fibers wrapped around the axle. If the wheel feels "crunchy," the internal gears may be stripped.
- Error 6 (Cliff Sensor Failure): The robot believes it is on a ledge.
- Solution: Clean the four to six rectangular sensor windows on the underside with a dry microfiber cloth or a "magic eraser." If you have dark rugs, you may need to use "virtual walls" to prevent the robot from entering those areas, as the dark color mimics a drop-off.
- Error 9 (Bumper Stuck): The tactile sensors behind the front bumper are depressed.
- Solution: Briskly tap the bumper several times to dislodge trapped debris. If this doesn't work, compressed air can be blown into the gap between the bumper and the chassis.
- Error 15 & 17 (Navigation/Communication Error): Specific to the i, j, and s series, these errors involve the robot getting lost or failing to complete a map.
- Solution: Ensure there is adequate lighting in the room (the VSLAM camera needs light to "see"). Check for moved furniture that might have altered the "landmarks" the robot uses for navigation.
Group 2: Cleaning and Suction Errors
These roomba error meanings relate to the actual job of vacuuming—the brushes, the bin, and the vacuum motor.
- Error 2 (Main Brushes Cannot Turn): Usually caused by a "hair bridge" forming between the brush and the side bearings.
- Solution: Remove the brush rollers. Pull the yellow (or grey) caps off the ends of the brushes. You will almost always find a tightly wound nest of hair here that is creating friction.
- Error 8 (Vacuum Motor Failure): The internal fan is not spinning or is drawing incorrect power.
- Solution: Often, this is a communication issue with the bin. Ensure the bin is fully seated. If you have an "i" series, check the filter; a completely clogged filter can cause the motor to overheat and throw this code.
- Error 14 (Bin Not Detected): The robot doesn't think the dustbin is installed.
- Solution: Clean the metal contact points on both the bin and the robot chassis with a small amount of rubbing alcohol.
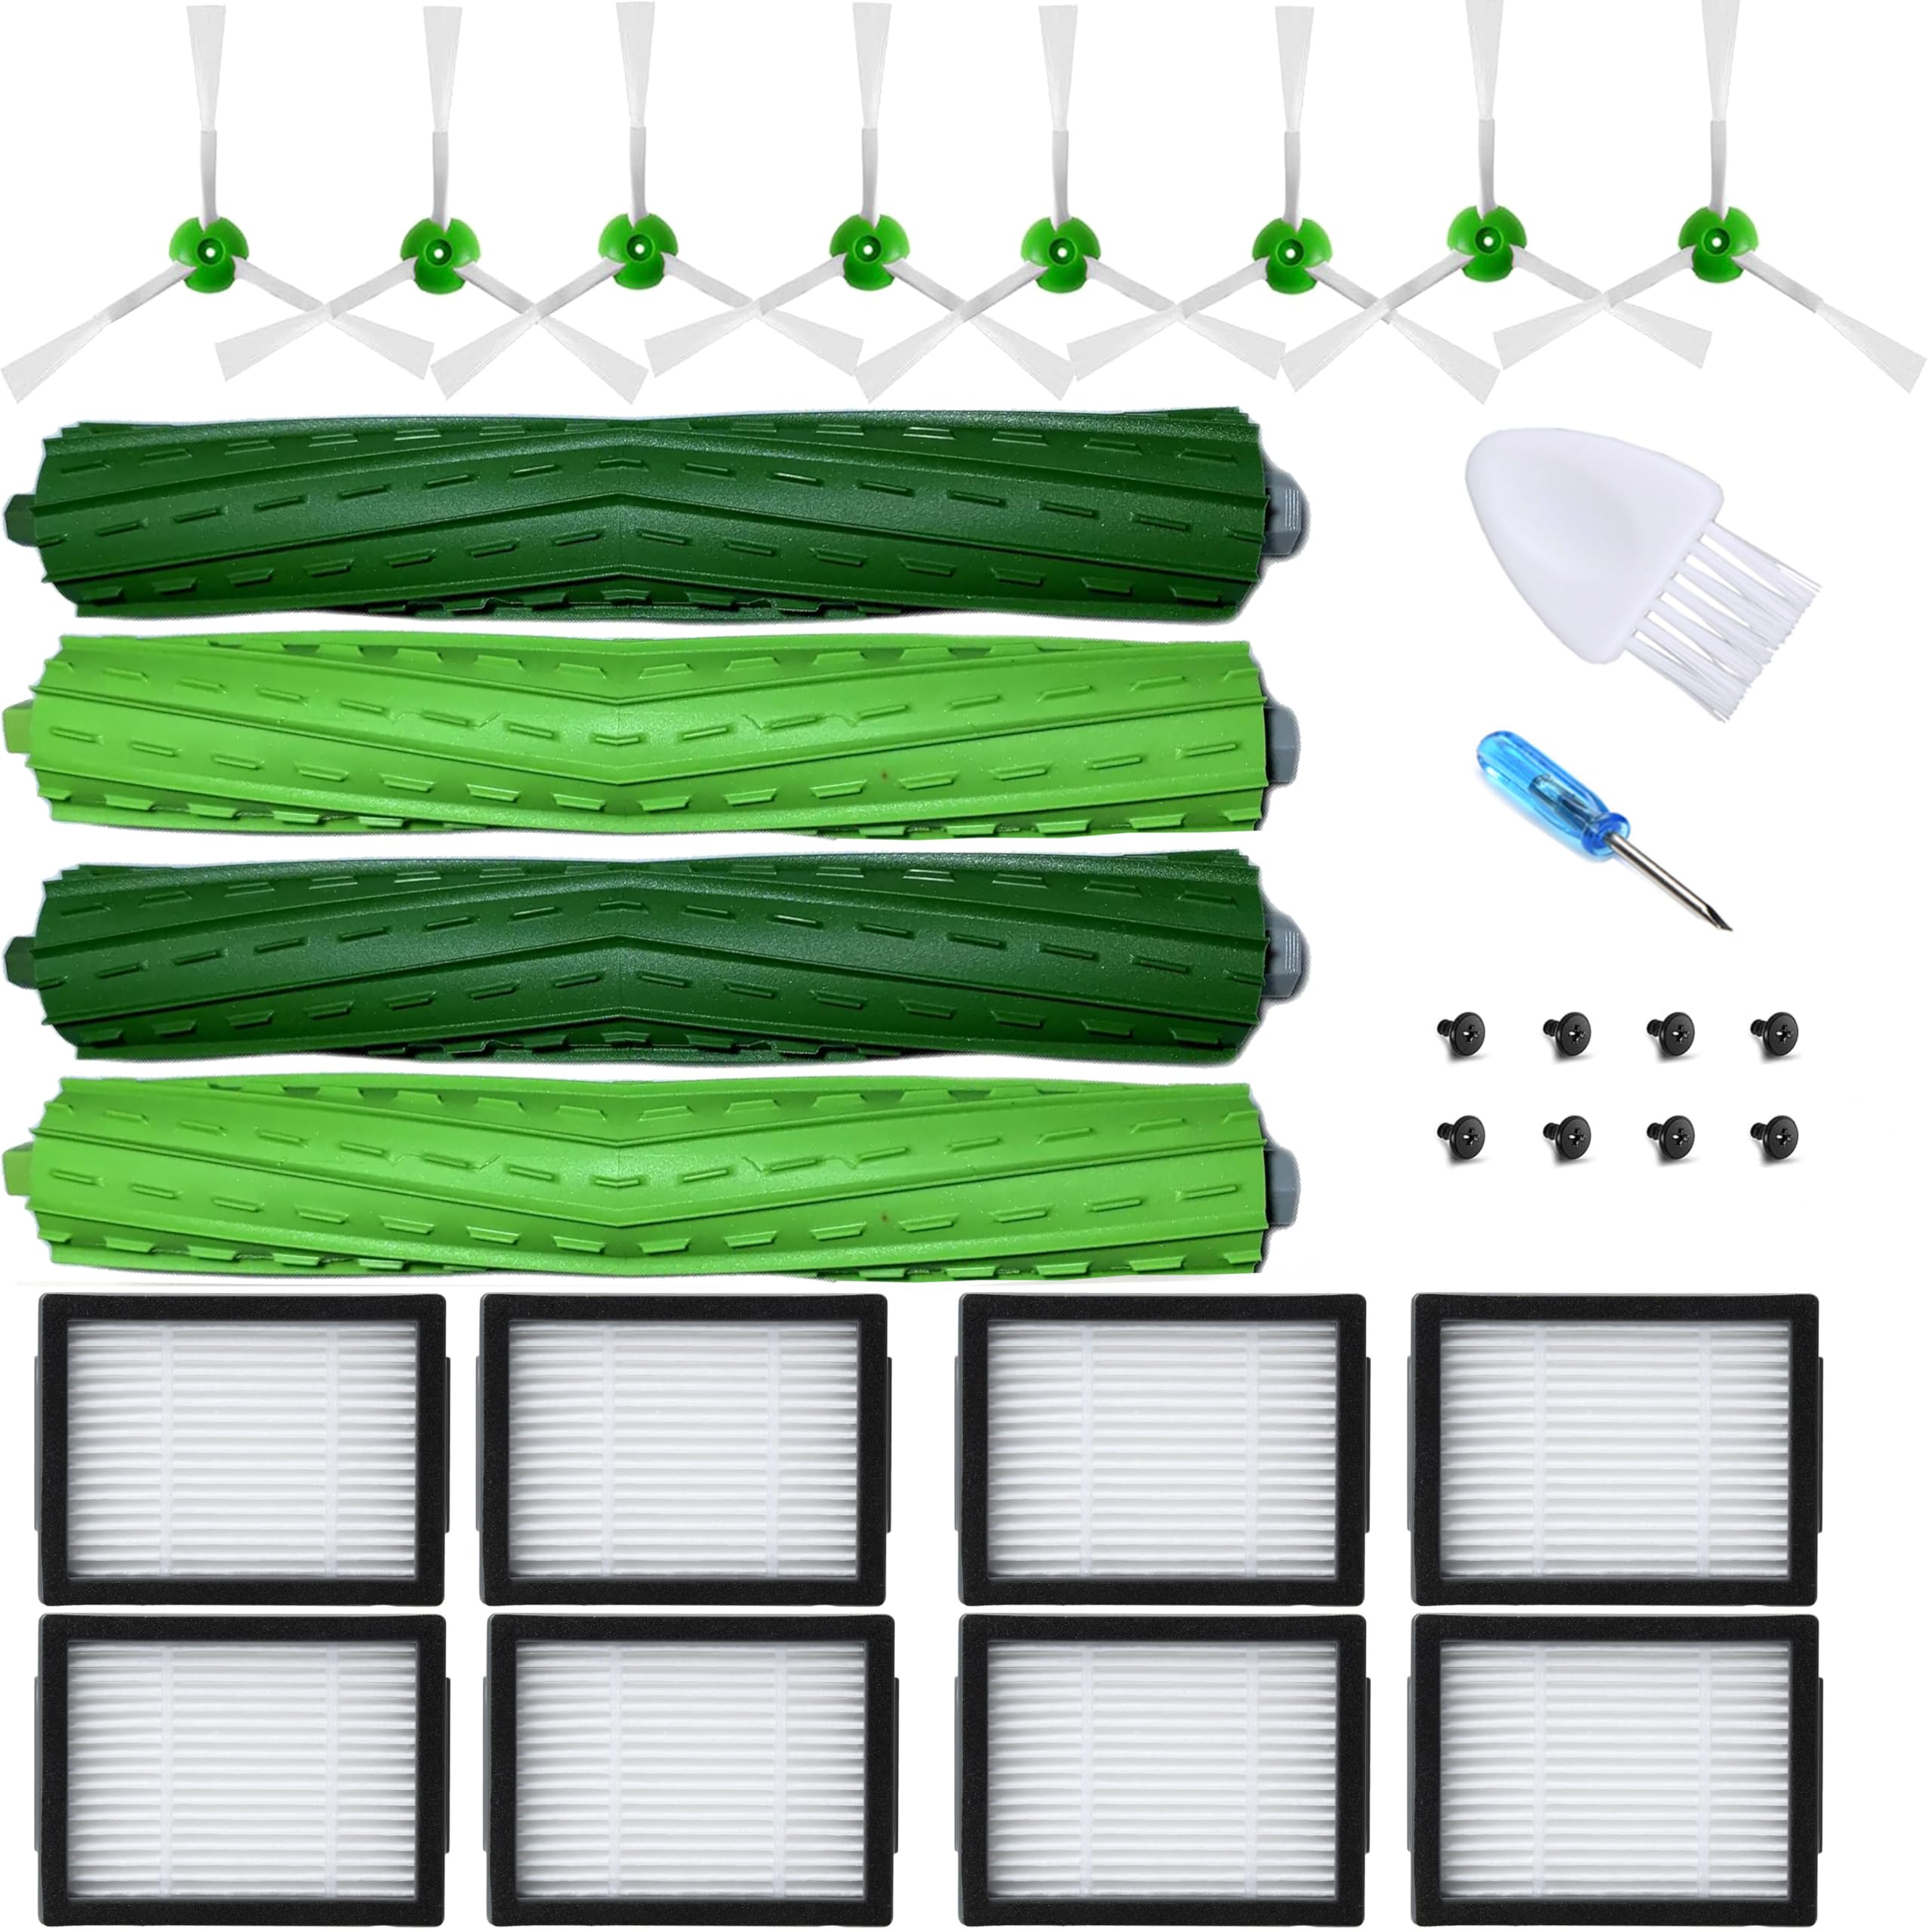
Replacement Parts Accessories for iRobot Roomba evo combo e5 e6 i1 i2 i3 i4 i5 i6 i7 i8 j5 j7 j8 plu
- High-quality product
- Customer favorite
- Best value option
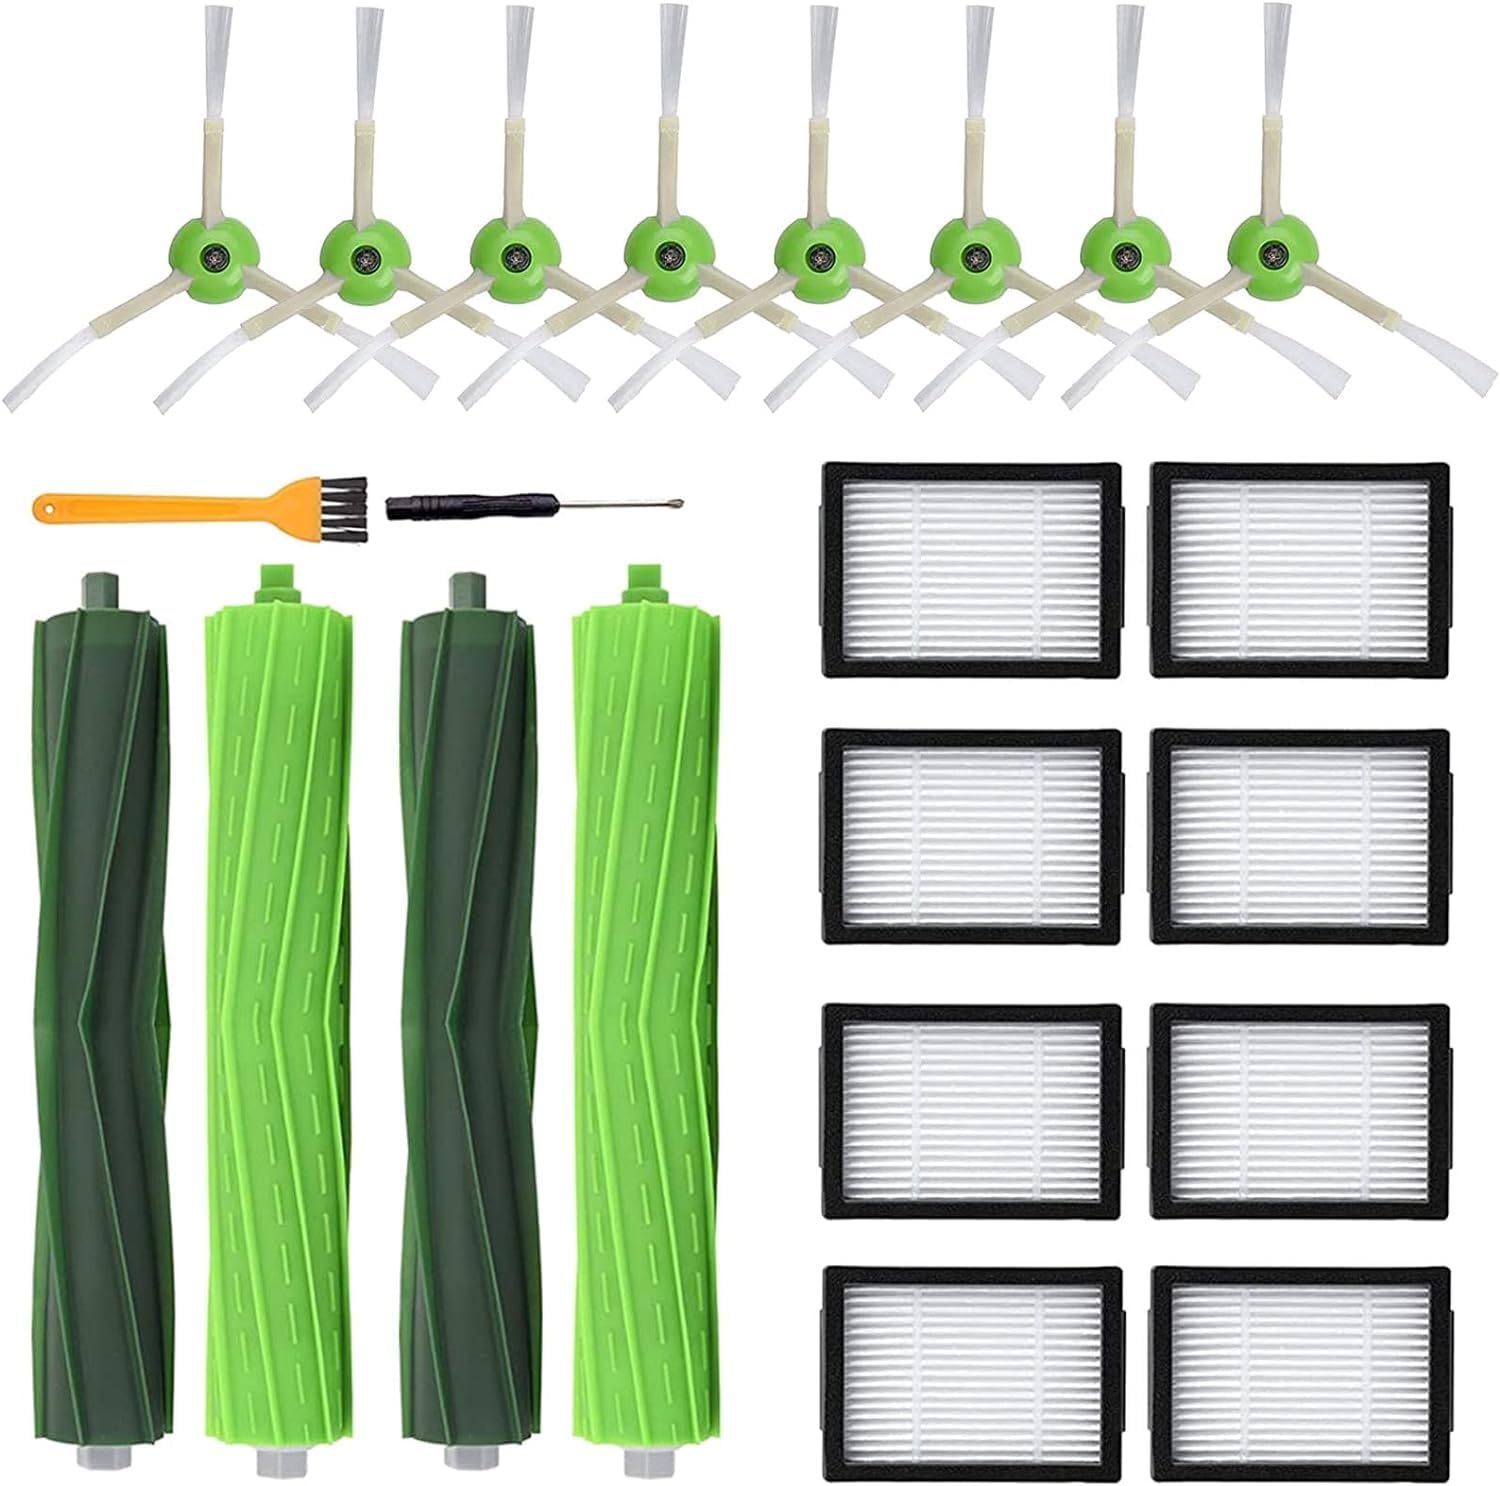
Replacement Parts for iRobot Roomba i7 i7+ i3 i3+ i4 i4+ i6 i6+ i8 i8+ E5 E6 E7 &J7 J7+ Vacuum Clean
- High-quality product
- Customer favorite
- Best value option
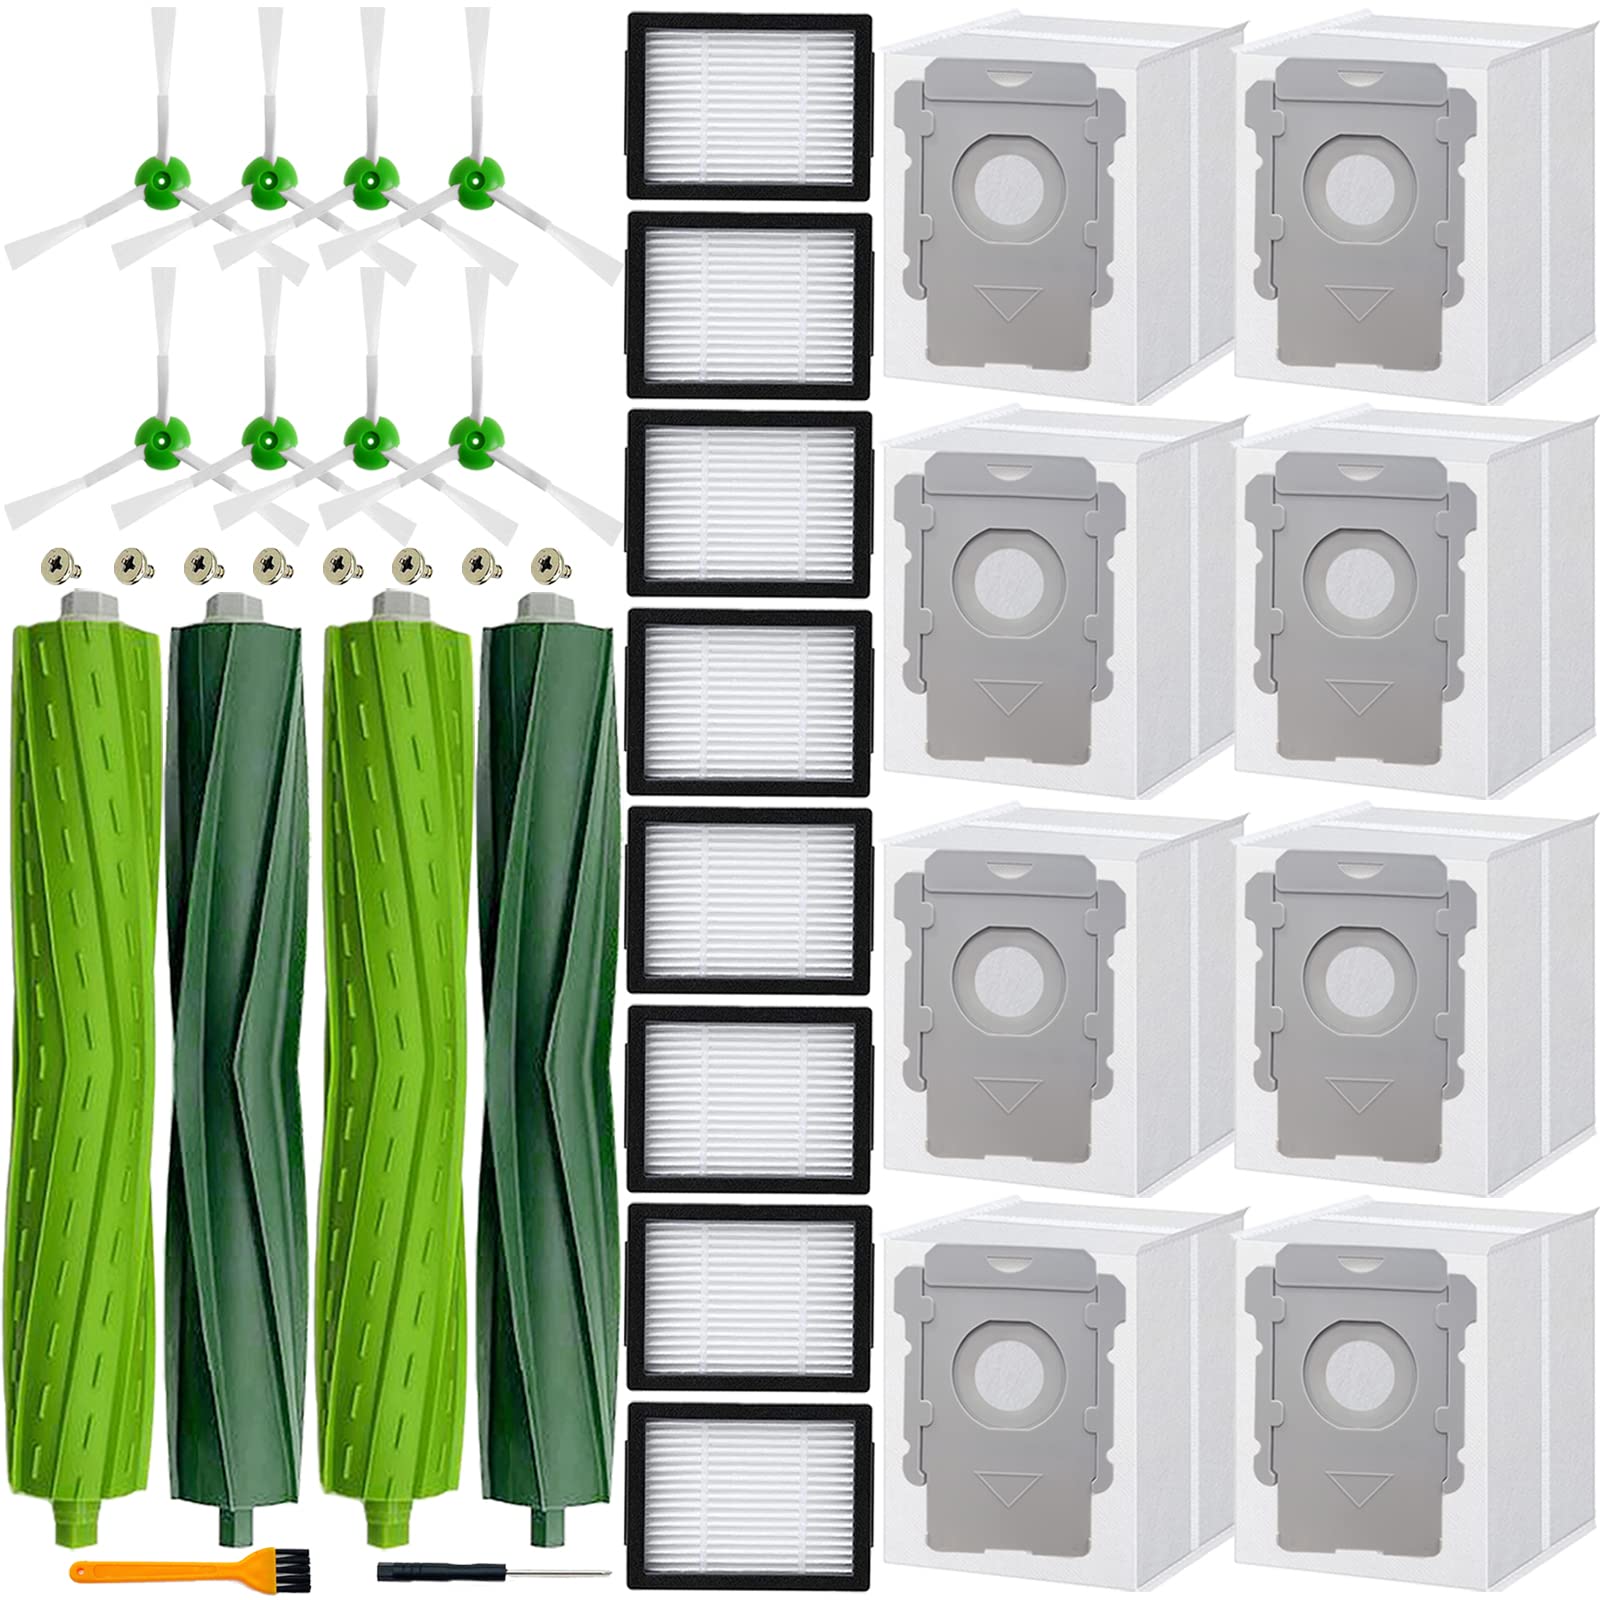
26 Pack Replacement Parts accessories for iRobot Roomba i3 i3+ i4 i6 i6+ i7 i7+ E5 E6 E7 j7 I & E j
- High-quality product
- Customer favorite
- Best value option
Expert Hacks & Maintenance: Beyond the Manual
If you want to minimize the frequency of roomba error codes, you must adopt a proactive maintenance schedule. Expert users know that the "once a month" cleaning suggested by the manufacturer is rarely enough for homes with pets or heavy traffic.
The "Deep Clean" Reset
If your Roomba is throwing inconsistent errors (like Error 15 followed by Error 1), it may benefit from a hard reboot and a deep sensor clean.
- Hard Reboot: Hold the CLEAN button for 20 seconds. The light ring will swirl. This flushes the temporary cache and restarts the operating system.
- Contact Maintenance: Use a pink pencil eraser to scrub the charging contacts on both the Home Base and the bottom of the robot. Oxidation on these contacts is the #1 cause of "Error 18" (Docking issues) and "Charging Error 1."
- The Compressed Air Trick: Don't just wipe the sensors; blow air into the wheel wells and the cliff sensor recesses. Dust often gets behind the plastic covers where a cloth cannot reach.
Battery Longevity Hack
"Error 5" or "Error 7" on older models often relates to charging. If your Roomba stops mid-clean without a code, the battery is likely "sagging" under load. To recalibrate, run the Roomba until it completely dies, then charge it for a full 24 hours uninterrupted. This can often squeeze another 6 months of life out of a fading NiMH or Li-ion pack.
Mega FAQ: Expert Solutions to Roomba Error Meanings
1. Why does my Roomba say "Error 1" when the wheel is clear?
This usually indicates internal gear resistance or a failing motor. If the wheel is visually clear, try blowing compressed air into the wheel module. If it persists, the wheel module is modular and can be replaced with a screwdriver.
2. My Roomba keeps spinning in circles and then says "Error 9." Help?
This is the "Circle of Death." It means one of the bumper sensors is stuck "on." Check for a small pebble or piece of plastic wedged in the bumper seam.
3. What does "Error 15" really mean?
Error 15 is an internal communication error. The robot's "brain" has lost track of where it is. This often happens if the robot is picked up and moved during a cycle. Always return it to the dock manually if you must move it.
4. How do I fix "Charging Error 1"?
This means the battery isn't detected. Ensure you have removed the yellow pull-tab from a new battery. If it's an old battery, the internal contacts may have bent; you can gently pry them up to ensure a tighter fit.
5. Why does my Roomba hate my black rug (Error 6)?
The cliff sensors use infrared light. Black absorbs this light, making the robot think it's over a void. You can "hack" this by taping white paper over the cliff sensors, but WARNING: this disables the safety feature, and the robot will fall down stairs.
6. What is "Error 14"?
The robot doesn't feel the bin. Usually, the bin sensors are dirty. Wipe the gold contact points on the back of the robot with alcohol.
7. My Roomba says "Error 17" every time it cleans. Why?
Error 17 means the robot couldn't complete the job because the environment changed too much. Check if you are leaving doors closed that were open during the initial "Mapping Run."
8. What is the difference between Error 2 and Error 8?
Error 2 is a physical jam in the extractors (the rollers). Error 8 is a failure of the vacuum motor (the suction). If you hear a high-pitched whine before Error 8, the motor is dying.
9. Why does my Roomba say "Error 5" on the right side?
This is specific to the side-brush or the right drive wheel. Check for hair wrapped under the side-brush screw.
10. How do I clear "Error 11"?
Error 11 is a "Vacuum Motor Internal Error," usually found on the "i" series. This often requires a replacement of the cleaning head module or the bin itself, as the motor is located in the bin on some models.
11. Can I fix "Error 18" without buying a new dock?
Yes. Error 18 means it can't find the dock. Ensure the dock is on a hard, level surface against a wall with at least 1.5 feet of clearance on either side.
12. Why did my Roomba stop giving me voice errors?
The speaker may be failing, or the "Voice" setting in the app is muted. Check the "Robot Settings" in the iRobot Home App to ensure the volume is up.
Closing Thoughts
Mastering roomba error codes is an essential skill for any modern homeowner. These machines are remarkably resilient, but they are not invincible. Most roomba error meanings are simply the robot's way of asking for a five-minute tune-up. By following the methodologies outlined in this guide—keeping sensors clear, maintaining the brush roll axles, and understanding the logic of navigation—you can extend the life of your Roomba by several years. Remember: a robot is only as smart as its maintenance routine. Treat your Roomba with the precision it deserves, and it will continue to gift you the most precious commodity of all: a clean home without the effort.