
The Anatomy of Failure: Why Your Roomba Has Lost Its Way
There is a specific, sinking feeling that accompanies the sudden silence of a Roomba. One moment, it is the industrious hum of autonomous productivity; the next, it is a series of pathetic beeps or a voice-guided plea for help. When you find your robot stranded in the middle of a room, spinning in frantic circles, or stubbornly refusing to move, the diagnosis is almost always mechanical: a roomba wheel stuck or a roomba wheel not spinning.
To the uninitiated, the Roomba is a magical puck that eats dust. To an expert, it is a complex system of differential steering, where two independent drive wheels and one non-powered caster wheel must work in perfect synchronicity to navigate a three-dimensional environment. When one of these components fails, the robot's "brain" (the onboard microcontroller) receives conflicting data from its optical encoders. It tries to compensate, fails, and eventually triggers a safety shutdown to prevent the drive motors from burning out.
The drive wheels are the most overworked components of your vacuum. Unlike the suction motor, which stays protected behind filters, or the sensors, which sit behind clear plastic, the wheels are in constant, direct contact with the most hostile environment in your home: the floor. They encounter hair, carpet fibers, "pet surprises," sticky spills, and microscopic grit. Over time, these elements infiltrate the wheel housing, creating friction that the motor eventually cannot overcome.
Understanding this failure is the first step toward a permanent fix. We aren't just looking at a "stuck wheel"; we are looking at a failure of the locomotion subsystem. Whether you are dealing with an older 600-series workhorse or a high-end j7+ with obstacle avoidance, the physics of a stuck wheel remain the same. This guide is designed to take you from a frustrated owner to a home-robotics technician, providing the high-level analysis and tactical steps required to restore your Roomba to its former glory.
The Critical Problem: Friction, Torque, and the "Death by a Thousand Strands"
When a roomba wheel is not spinning, it is rarely a software glitch. It is a battle between torque and friction. The Roomba’s drive motors are designed to provide just enough torque to move the chassis at a consistent speed while conserving battery life. They are not designed to win a tug-of-war against a three-inch clump of human hair or a tangled piece of sewing thread wrapped around the axle.
The Physics of the Stall
Each drive wheel on a Roomba is a self-contained module consisting of a DC motor, a gearbox, and the wheel itself. Inside this module, an optical encoder counts the rotations. If the motherboard sends power to the motor but the encoder reports zero movement, the system detects a "stall." This is when you hear the dreaded "Error 5" (Right Wheel) or "Error 7" (Left Wheel).
The primary antagonist is hair. Long hair, in particular, acts like a winch. As the wheel rotates, it catches a single strand, which then wraps around the axle. This strand catches others, creating a tight, braided "bush" that migrates deep into the gearbox assembly. This doesn't just stop the wheel; it creates heat. If left unaddressed, this friction can melt plastic bushings or cause the motor windings to short-circuit, turning a simple cleaning job into a $50 hardware replacement.
The Caster Wheel Conflict
While the drive wheels provide the "go," the front caster wheel provides the "pivot." If the front caster wheel is stuck, the Roomba faces massive resistance every time it tries to turn. This forces the drive wheels to work twice as hard. Often, a "stuck drive wheel" error is actually caused by a seized front caster wheel that has become so filled with grit that it acts like an anchor.
Environmental Factors
We must also consider the "tread factor." Roomba tires are made of a specific rubber compound designed for grip. Over years of use, this rubber wears down, losing its "lugs." When the tread is gone, the wheel might spin, but the robot won't move, leading the internal sensors to believe the wheel is stuck or slipping. Furthermore, if you have high-pile carpets, the friction against the side-walls of the wheel module can be enough to trigger a stall error even if the wheel is technically "clean."
By diagnosing whether the issue is internal (gearbox), external (debris in the tread), or systemic (caster wheel resistance), we can apply the correct methodology to fix the problem without wasting time.
Methodology: The Expert's Guide to Restoring Locomotion
Fixing a roomba wheel stuck issue requires a systematic approach. You shouldn't start by tearing the robot apart; you should start with the most accessible components and work your way inward.
Phase 1: The Front Caster Wheel (The Quick Win)
Before touching the drive wheels, you must ensure the front caster is free.
- Extraction: Pull firmly on the front wheel to pop the entire caster assembly out of its socket.
- Axle Removal: Use your thumb to push the wheel out of its plastic housing.
- The "Hair Bridge": Look at the metal axle. Hair often wraps around the ends of the axle, creating a bridge that prevents rotation. Use needle-nose pliers or a seam ripper to remove every trace of hair.
- Housing Cleanout: Wipe out the "well" where the caster sits. If there is sand or grit in there, it acts like sandpaper against the plastic.
- Reassembly: Snap the wheel back into the housing and the housing back into the robot. It should spin and pivot with zero resistance.
Phase 2: Drive Wheel External Debris Removal
If the error persists, we move to the drive wheels.
- Manual Inspection: With the Roomba turned off and flipped over, manually push the wheels up and down. They should be springy and move easily.
- The Spin Test: Manually rotate the wheels with your hand. Both should have the same amount of resistance. If one feels "crunchy" or is harder to turn, you’ve found your culprit.
- Debris Extraction: Use a pair of long-nosed tweezers to reach into the gap between the wheel and the robot’s chassis. You are looking for "hidden" hair wraps. Rotate the wheel slowly while searching.
Phase 3: Module Deep Cleaning (The Advanced Fix)
If the wheel is still "crunchy," you must remove the module.
- Access: Remove the side brush and then unscrew the bottom cover (usually 4-5 screws depending on the model).
- Module Extraction: The drive wheels are held in by three screws each. These screws are "captive," meaning they won't fall out of the module. Unscrew them and lift the entire wheel assembly out.
- Compressed Air: Use a can of compressed air to blow out the motor housing. Often, dust buildup inside the motor's cooling vents can cause overheating and intermittent stalling.
- The Gearbox (Caution): If you are technically inclined, you can unscrew the outer casing of the wheel module to access the gears. If you see hair inside the gear teeth, remove it carefully with a toothpick. Apply a tiny amount of white lithium grease if the factory grease has become contaminated with dirt.
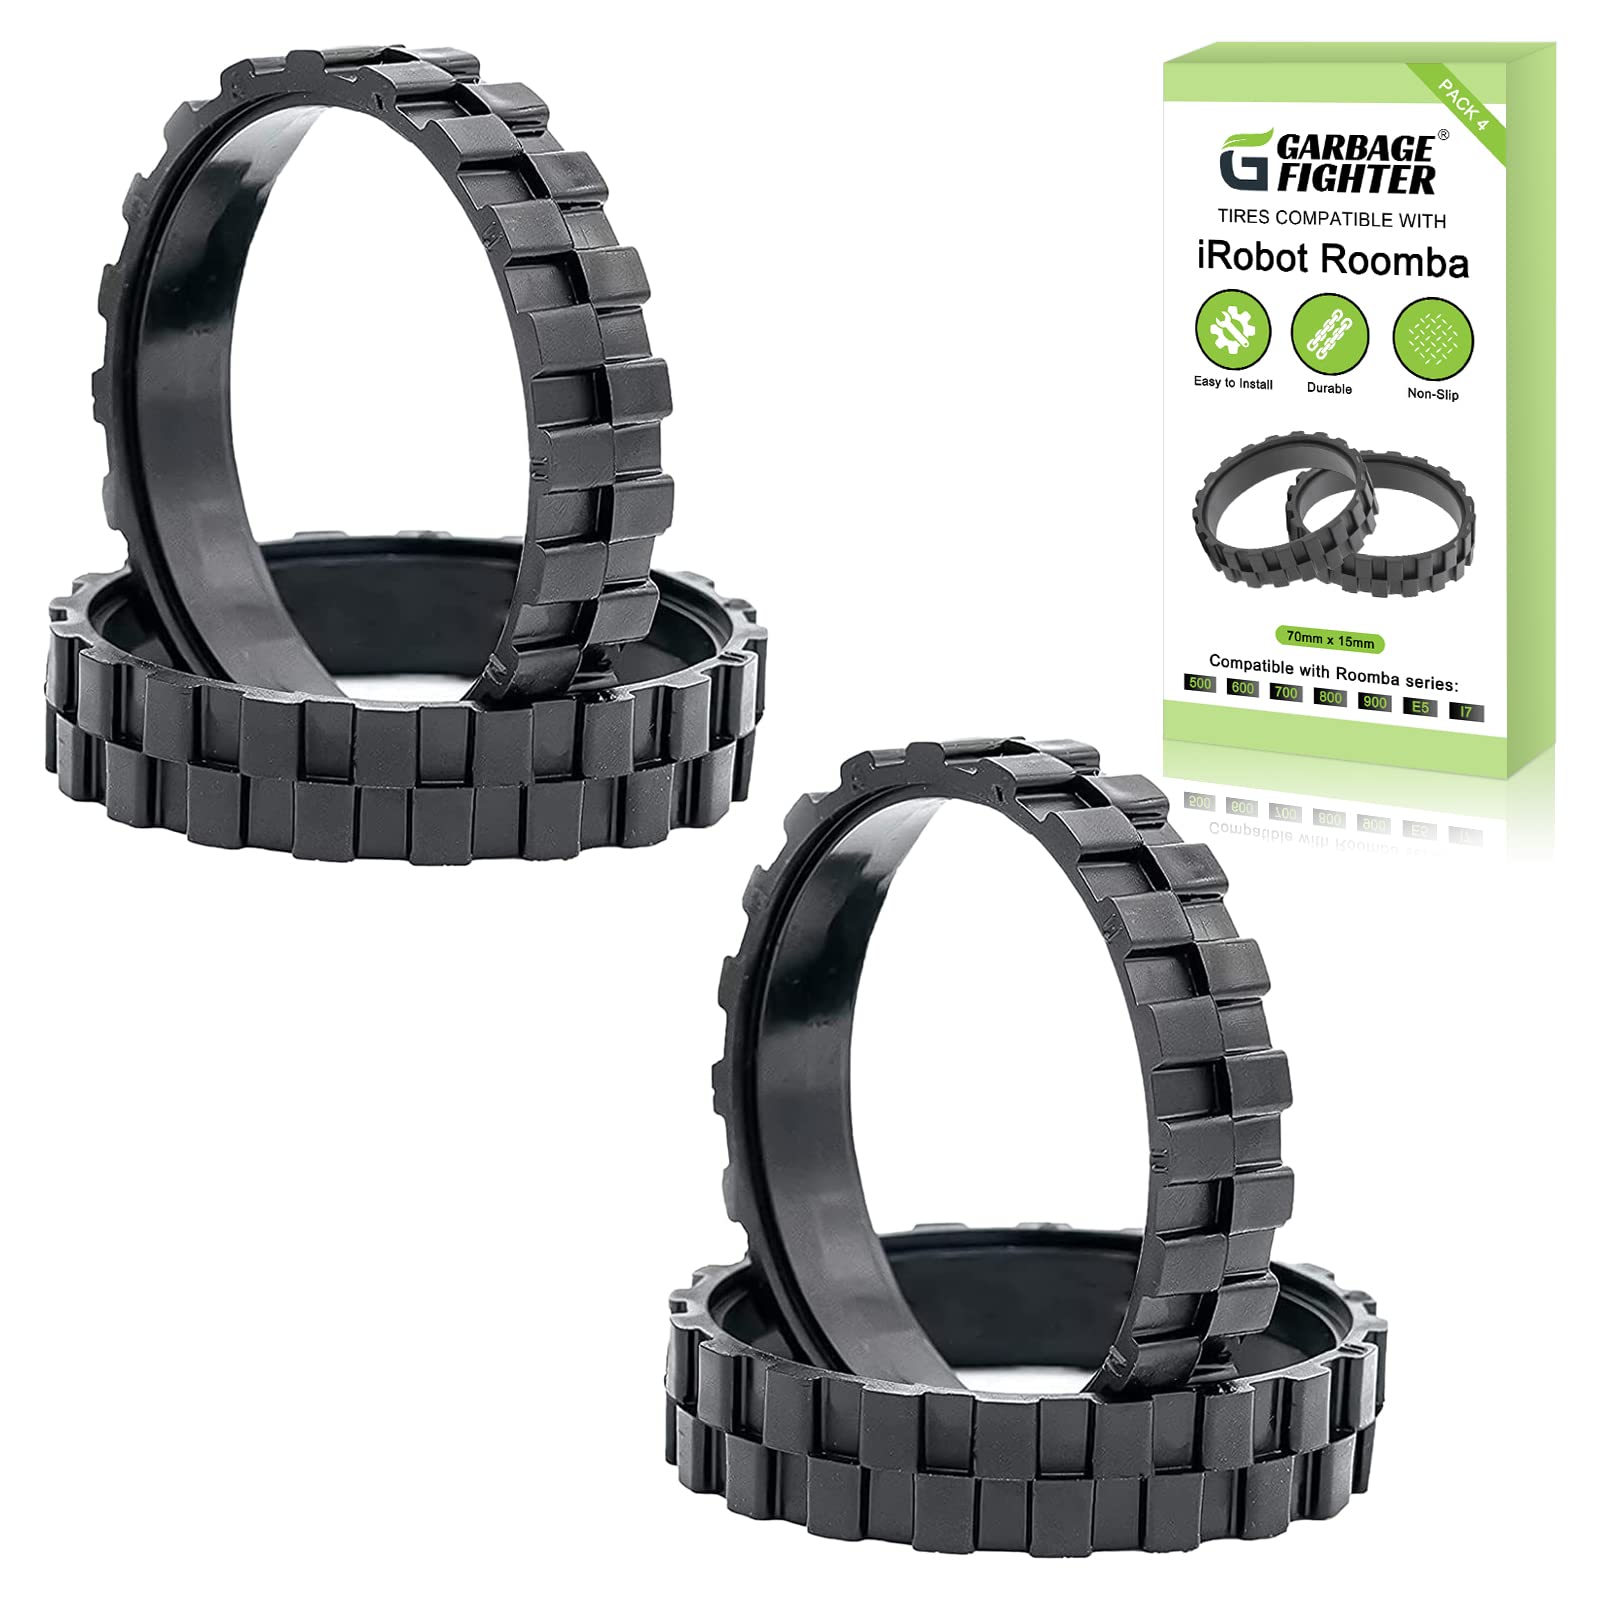
Garbage fighter Tires for IROBOT ROOMBA Wheels Series 500, 600, 700, 800 and 900, e5, e6, i7,Anti-Sl
- High-quality product
- Customer favorite
- Best value option
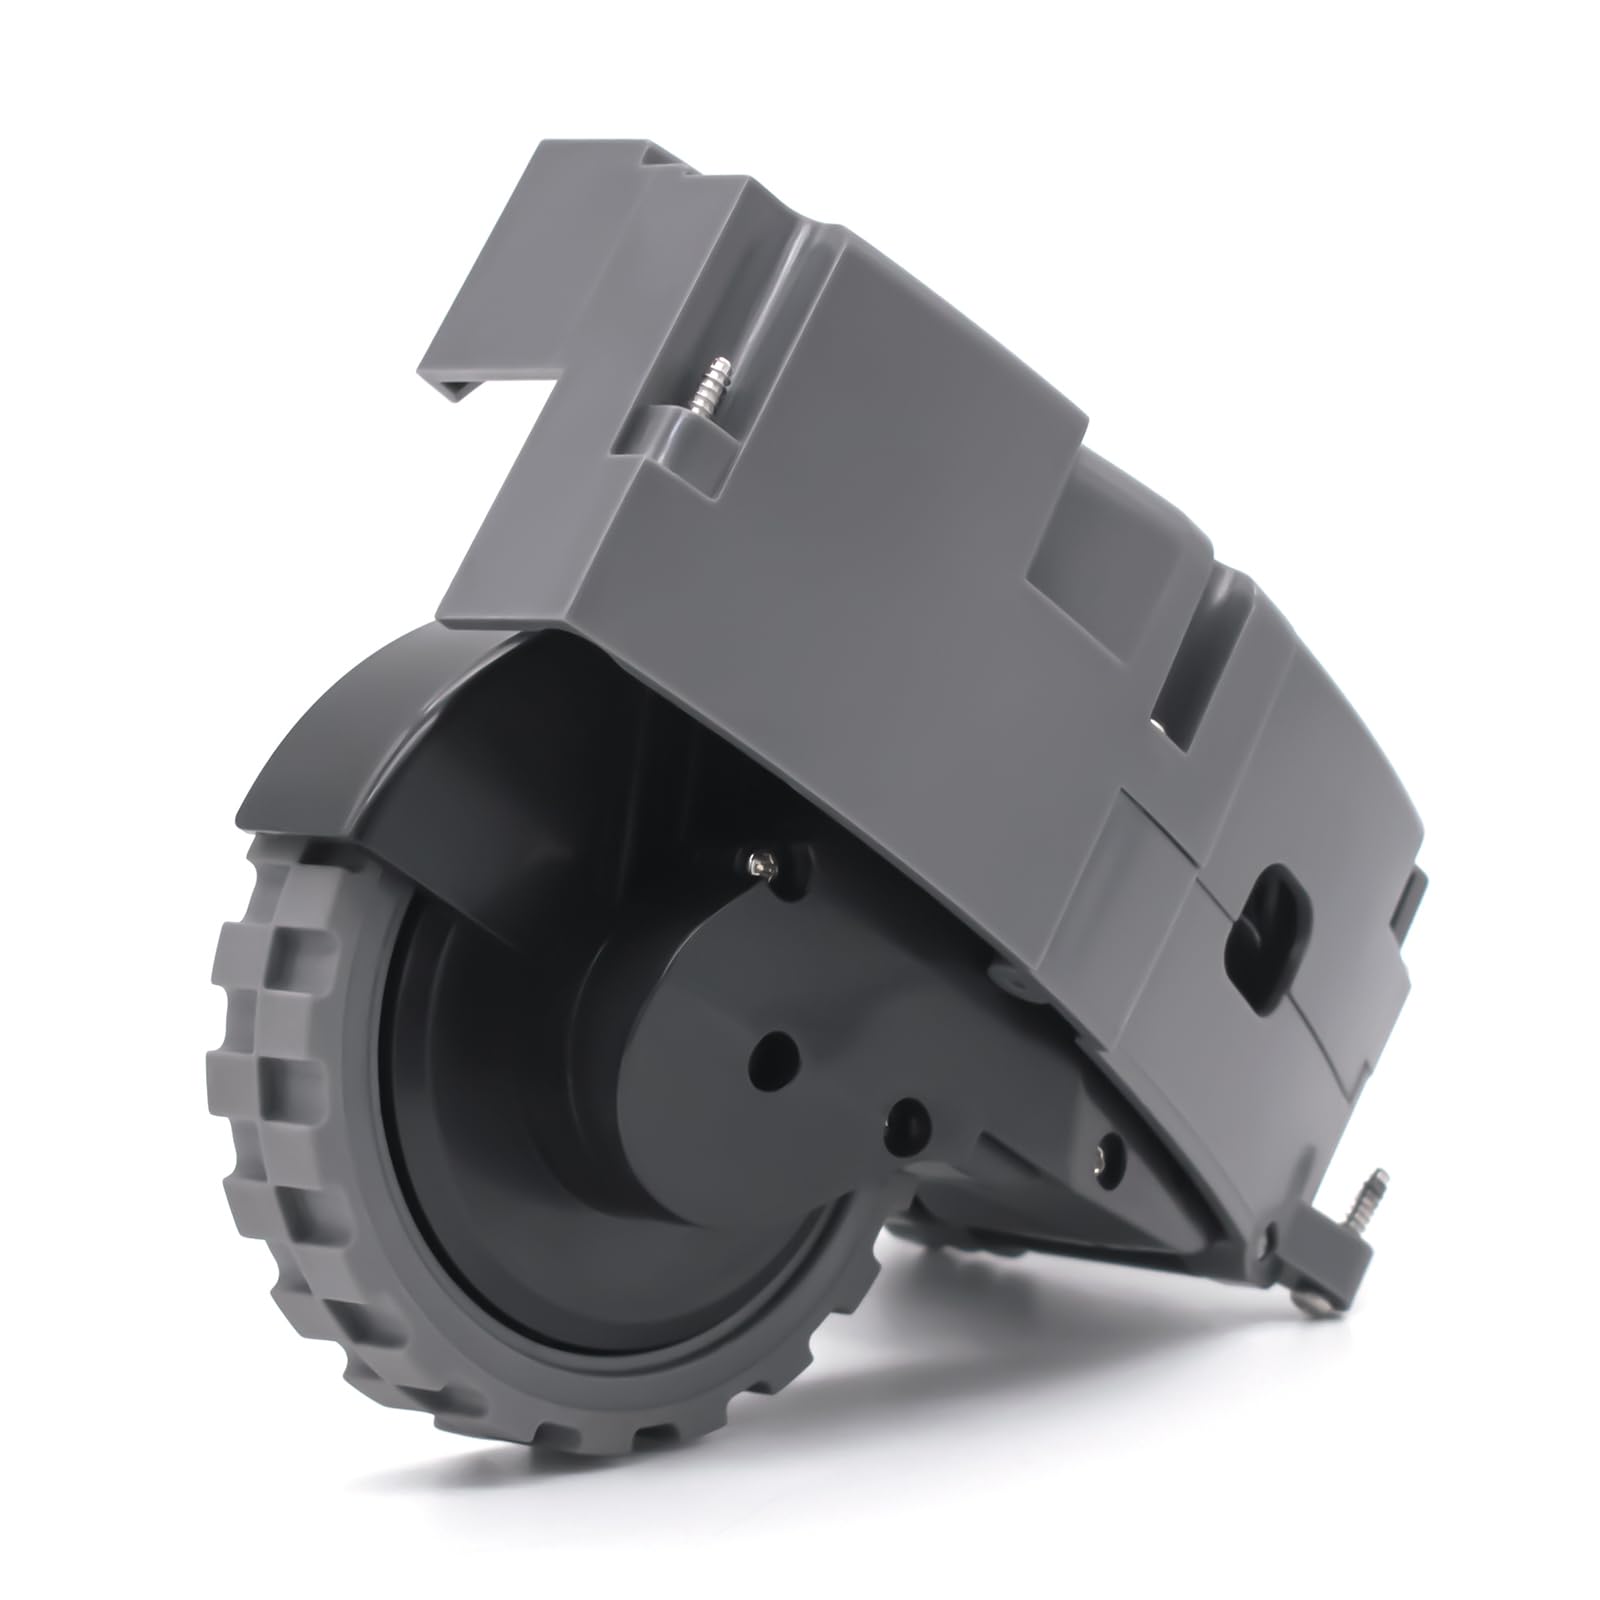
Right Drive Wheel Module Pair Compatible with iROBOT Roomba 500 600 700 800 900 Series Vacuum Cleane
- High-quality product
- Customer favorite
- Best value option
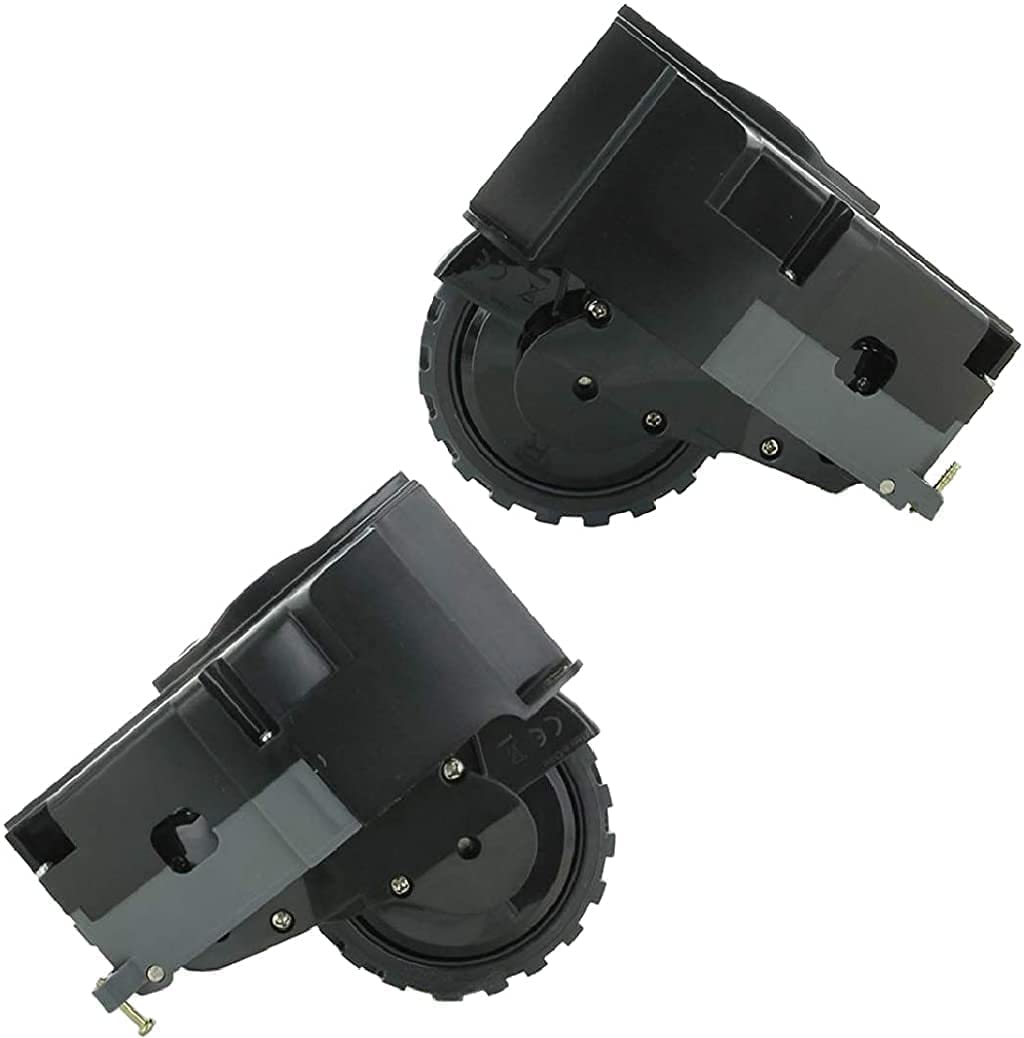
Authentic OEM Left and Right Wheels for Roomba i1 i2 i3 i4 i5 i6 i7 i8 J7 i7+ J7+ J8 e6 e5 Pair
- High-quality product
- Customer favorite
- Best value option
Expert Hacks & Maintenance: Proactive Wheel Care
Once you have fixed a roomba wheel not spinning, your goal should be to ensure it never happens again. Most users wait for a failure to act, but a pro-level maintenance schedule can extend the life of your drive modules by years.
The Dry Lube Hack
Never use WD-40 or standard oil on Roomba wheels. These are "wet" lubricants that attract dust, essentially creating a grinding paste that will destroy the gears. Instead, use a Dry PTFE (Teflon) Spray. This leaves a slippery film that does not attract hair or grit. After cleaning the wheel module, a quick spritz on the axle points will significantly reduce friction.
Tire Skin Replacement
If your Roomba is slipping or struggling to climb over rugs, you don't necessarily need a new $50 module. You can buy replacement rubber "skins" or tires. This involves cutting off the old, worn rubber with a utility knife and stretching a new, high-traction tread over the plastic wheel hub. It is the most cost-effective way to fix "navigation" errors that appear as wheel stalls.
The "Software Kickstart"
Sometimes, after a mechanical clearing, the Roomba still thinks it's stuck. This is due to a persistent error state in the RAM. Always perform a "Soft Reset" after a wheel repair. For most models, hold the CLEAN button down for 20 seconds until the ring light swirls. This forces the robot to re-poll all sensors and clear the stall flag.
Preventative Threshold Trimming
If you notice your Roomba consistently gets "stuck" on a specific high threshold or transition strip, it isn't just a navigation issue—it’s a mechanical stressor. The constant "high-torque" state needed to climb these obstacles wears out the motor brushes. Consider using a small piece of transition molding or adjusting your "Keep Out Zones" in the app to protect the longevity of your drive wheels.
Mega FAQ: Expert Solutions for Roomba Wheel Issues
1. Why is my Roomba moving in circles?
This is typically "The Circle of Death." It occurs when one wheel is spinning and the other is not. The robot’s software tries to move forward, but because only one wheel has traction, it pivots around the dead wheel. Check the non-spinning wheel for hair obstructions immediately.
2. What is Error 5 and Error 7?
Error 5 indicates the right drive wheel is jammed. Error 7 indicates the left drive wheel is jammed. These are specific codes telling you exactly which side of the robot requires mechanical intervention.
3. Can I replace just the motor in the wheel module?
While possible for extreme DIYers, the motors are often crimped or soldered into the housing. It is generally more reliable to replace the entire wheel module, which includes the gearbox and encoder.
4. How do I know if the wheel motor is actually burnt out?
If you have cleaned the wheel and it spins freely by hand, but the Roomba still gives a wheel error, the motor or the motherboard's motor driver is likely dead. You can test this by swapping the left and right modules (if the model allows) to see if the error follows the module.
5. Why does my Roomba say "Stuck" on a flat floor?
This is often a "false stall." It happens when the wheel tread is so worn that the wheel is spinning against the floor but the robot isn't moving. The internal sensors see the wheel moving but the cliff sensors/gyroscope see no progress, leading to a "stuck" error.
6. How often should I clean the front caster wheel?
In a home with pets or long-haired residents, the front caster should be popped out and cleaned once every two weeks. This is the single most effective way to prevent drive wheel strain.
7. Is the Roomba i7 wheel module different from the 600 series?
Yes. Newer models (i, s, and j series) have more modular designs that are easier to replace but can be more sensitive to fine dust. The 600 series is more "rugged" but harder to deep-clean.
8. Does hair get inside the sealed gearbox?
Unfortunately, yes. Over time, hair can migrate past the outer seals. If you hear a high-pitched squealing, hair has likely reached the high-speed gears inside the module.
9. What tools do I need to fix a stuck wheel?
A Phillips #2 screwdriver, needle-nose pliers, a seam ripper (for hair), and a can of compressed air are the essential toolkit for Roomba maintenance.
10. Can a software update fix wheel errors?
Rarely. While iRobot occasionally tweaks the "stall sensitivity" via firmware, a wheel error is almost always a physical reality that requires a physical fix.
11. My wheel is spinning, but it makes a clicking sound. What is that?
Clicking usually indicates a chipped gear tooth or a foreign object (like a small pebble) trapped in the gear assembly. Stop use immediately to avoid stripping the rest of the gears.
12. Does warranty cover stuck wheels?
If the motor fails due to a defect, yes. However, if the motor fails because it's packed with hair and hasn't been maintained, iRobot may classify it as a maintenance issue rather than a warranty claim.
Closing Thoughts: Respect the Mechanics
The Roomba is a marvel of modern convenience, but it is not a "set it and forget it" appliance. It is a piece of industrial machinery shrunk down to fit under your couch. The drive wheels are the feet of the machine; if they aren't healthy, the machine cannot perform.
By following this guide, you have moved beyond the basic "Error 5" reset and into the realm of proper mechanical maintenance. Keep the axles clear, the treads grippy, and the gearboxes free of the "hair winch," and your Roomba will continue to patrol your floors for years to come. Remember: five minutes of preventative cleaning is worth more than five hours of troubleshooting a seized motor. Keep those wheels turning, and your home will stay clean.