The Foundation of Culinary Precision: Why Inner Pot Integrity Matters
The rice cooker is arguably the most essential "set it and forget it" appliance in the modern kitchen, a marvel of engineering that relies on the delicate balance of thermodynamics and moisture control. However, the secret to that perfectly fluffy Basmati or the translucent sheen of premium sushi rice doesn’t just lie in the quality of the grain or the precision of the water ratio; it resides in the pristine condition of the inner pot. When we discuss how to clean rice cooker pot surfaces, we are not merely talking about aesthetics. We are discussing the maintenance of a precision instrument.
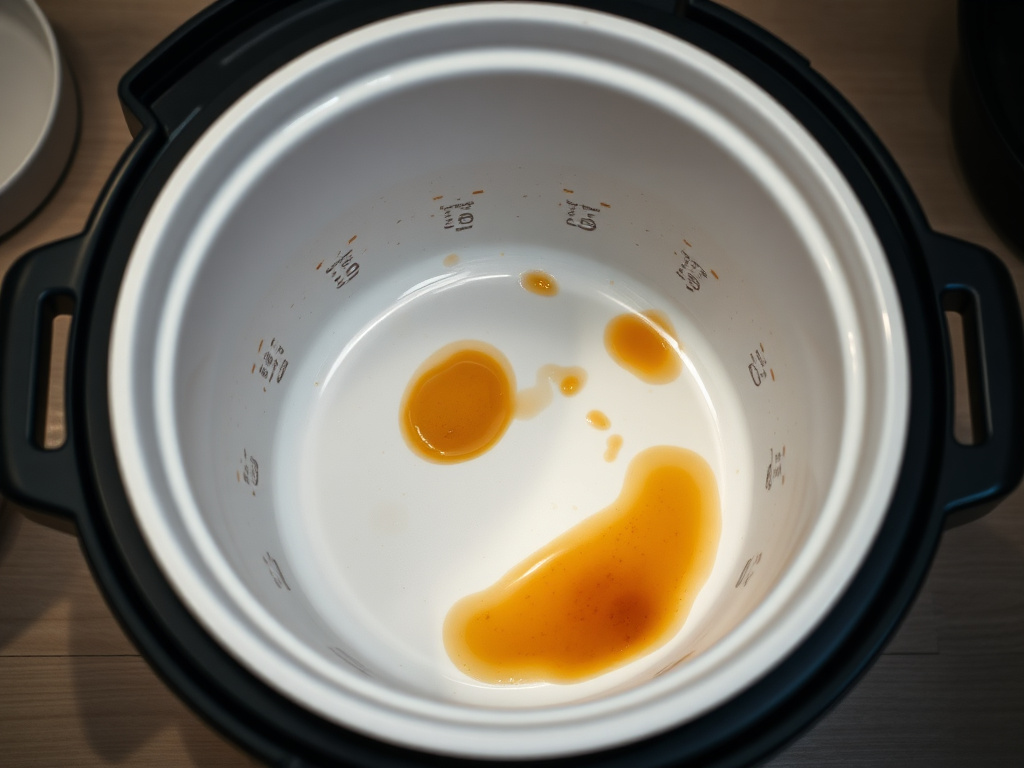
For many home cooks, the inner pot eventually develops a stubborn, cloudy film or, worse, a dark, carbonized layer of burnt starch. This isn't just "flavor" or "patina"—it is a barrier to heat conductivity. Most high-end rice cookers, especially those utilizing Induction Heating (IH) technology, rely on the pot’s ability to conduct heat evenly across its entire surface area. When stubborn stains or burnt residues accumulate, they create "hot spots" and "cold zones." The result? A batch of rice that is mushy in one corner and undercooked in another.
Furthermore, the inner pot is often the most expensive component to replace. Whether it is a multilayered ceramic-coated vessel or a heavy-duty stainless steel insert, the integrity of the surface is paramount. Once the non-stick coating is compromised by aggressive scrubbing or the "baking in" of old food particles, the pot’s lifespan is effectively halved. Understanding the chemistry of rice starch—a complex matrix of amylose and amylopectin—is the first step toward mastering the art of cleaning. When these starches gelatinize and then dehydrate against a hot metal surface, they form a bond that is industrially comparable to organic glue.
This guide serves as the definitive authority on restoring your rice cooker’s inner pot to its factory-standard condition. We will move beyond simple soap and water, delving into the enzymatic and chemical reactions required to break down carbonized organic matter without sacrificing the delicate coatings that make these machines so efficient. Whether you are dealing with a "death-grip" burnt layer or the persistent white mineral scale from hard water, the following methodology will ensure your appliance remains a centerpiece of your kitchen for years to come.
The Critical Problem: The Chemistry of the "Starch Varnish"
To effectively clean burnt rice cooker pot surfaces, one must understand the enemy. The residue left behind in a rice cooker isn't just "food"; it is a dehydrated starch polymer. During the cooking cycle, rice releases starch into the water. As the water evaporates and is absorbed, this starch becomes highly concentrated. In the final "keep warm" phase, any starch remaining on the walls of the pot undergoes a slow dehydration process, effectively "varnishing" the surface.
The problem escalates when this thin film is not entirely removed after a cycle. The next time you cook, the heat "cures" that film, making it harder and more resistant to standard dish soap. This is the primary reason why many users find their pots looking dull or feeling slightly tacky even after a wash. This "starch varnish" is also an insulator; it prevents the rice cooker's sensors from accurately reading the internal temperature of the rice, often leading to the machine shutting off too early or running too hot and burning the bottom of the next batch.
Then, there is the issue of the Maillard reaction and caramelization. If you use seasonings, broths, or sugars (as in coconut rice or seasoned pilafs), the chemical complexity of the residue increases. Sugars carbonize at high temperatures, creating a literal layer of carbon that bonds to the microscopic pores of the pot’s surface. If you have a non-stick pot (typically coated with PTFE or a ceramic derivative), these carbon deposits can actually "pitting" the surface. Once the coating is pitted, the non-stick properties are lost, and the pot will continue to burn rice in that specific spot regardless of how much water you use.
Another critical but often overlooked issue is mineral calcification. If you live in an area with hard water, the white, chalky spots you see aren't starch; they are calcium and magnesium deposits. These minerals create a rough texture that provides a "hook" for starch to grab onto, accelerating the buildup of stubborn stains. This creates a vicious cycle: mineral scale traps starch, starch burns into carbon, and carbon ruins the non-stick coating.
Finally, we must address the "Scrubbing Fallacy." The most common reaction to a burnt pot is to reach for a steel wool pad or a green abrasive sponge. In the world of high-end rice cookers, this is the equivalent of cleaning a Ferrari with a brick. Abrasives create micro-scratches. These scratches increase the surface area for starch to bond to, meaning every time you scrub, you are making the pot harder to clean the next time. Expert cleaning requires a chemical and thermal approach—not a mechanical one.
Methodology & Core Guide: The Multi-Phase Restoration Process
Cleaning a rice cooker pot requires a tiered approach based on the severity of the stains. Always ensure the pot has cooled to room temperature before beginning any process to avoid thermal shock, which can warp the metal or crack ceramic coatings.
Phase 1: The Enzymatic Soak (For Standard Buildup)
For pots that have a "tacky" feel or visible starch film, the goal is to rehydrate the polymers.
- Warm Water Saturation: Fill the pot with extremely warm (not boiling) water and three drops of a high-quality, grease-cutting dish soap.
- The Time Factor: Let it sit for a minimum of 30 minutes. This allows the water molecules to penetrate the dehydrated starch matrix.
- Soft Agitation: Use a silicone scraper or a microfiber cloth to gently move the water. Do not use fingernails or plastic scrubbers yet.
Phase 2: The Alkaline Attack (For Burnt-On Carbon)
If you need to clean burnt rice cooker pot residues that refuse to budge, you need to shift the pH balance. Baking soda (sodium bicarbonate) is a mild alkali that breaks down organic proteins and starches without being abrasive enough to ruin the coating.
- The Paste Method: Mix 3 parts baking soda with 1 part water to create a thick paste. Apply this directly to the burnt areas.
- Heat Activation: If the stain is particularly stubborn, add a small amount of water to the pot (just enough to cover the bottom) and turn the rice cooker to the "Keep Warm" setting for 10 minutes. The gentle heat will accelerate the baking soda’s ability to lift the carbonized material.
- The Wipe: After the pot cools, use a soft sponge. The burnt bits should lift away in flakes rather than requiring scrubbing.
Phase 3: The Acidic Rinse (For Mineral Scale and Cloudiness)
To remove the white "ghosting" or mineral spots, you must dissolve the calcium.
- The Vinegar Solution: Fill the pot with a solution of 1 part white distilled vinegar to 3 parts water.
- The Steam Cycle: Place the pot in the rice cooker and run a "Quick Cook" or "Steam" cycle for 5 minutes. The acetic acid in the vinegar vaporizes and penetrates the mineral deposits.
- Neutralization: Once finished, wash the pot with regular soap to neutralize the acid and remove the vinegar scent.
Phase 4: The "Last Resort" Boil (For the Disaster Zone)
If the entire bottom of the pot is a black disk of carbon:
- Dishwasher Tablet Trick: Place one powdered dishwasher tablet (which contains concentrated enzymes and oxygen bleach) in the pot with two inches of water.
- Boil: Bring it to a simmer on a stovetop (only if the pot is stovetop safe/stainless steel) or use the "Steam" function on the rice cooker.
- Dwell: Let it sit overnight. In 90% of cases, the entire carbon layer will float to the top by morning.
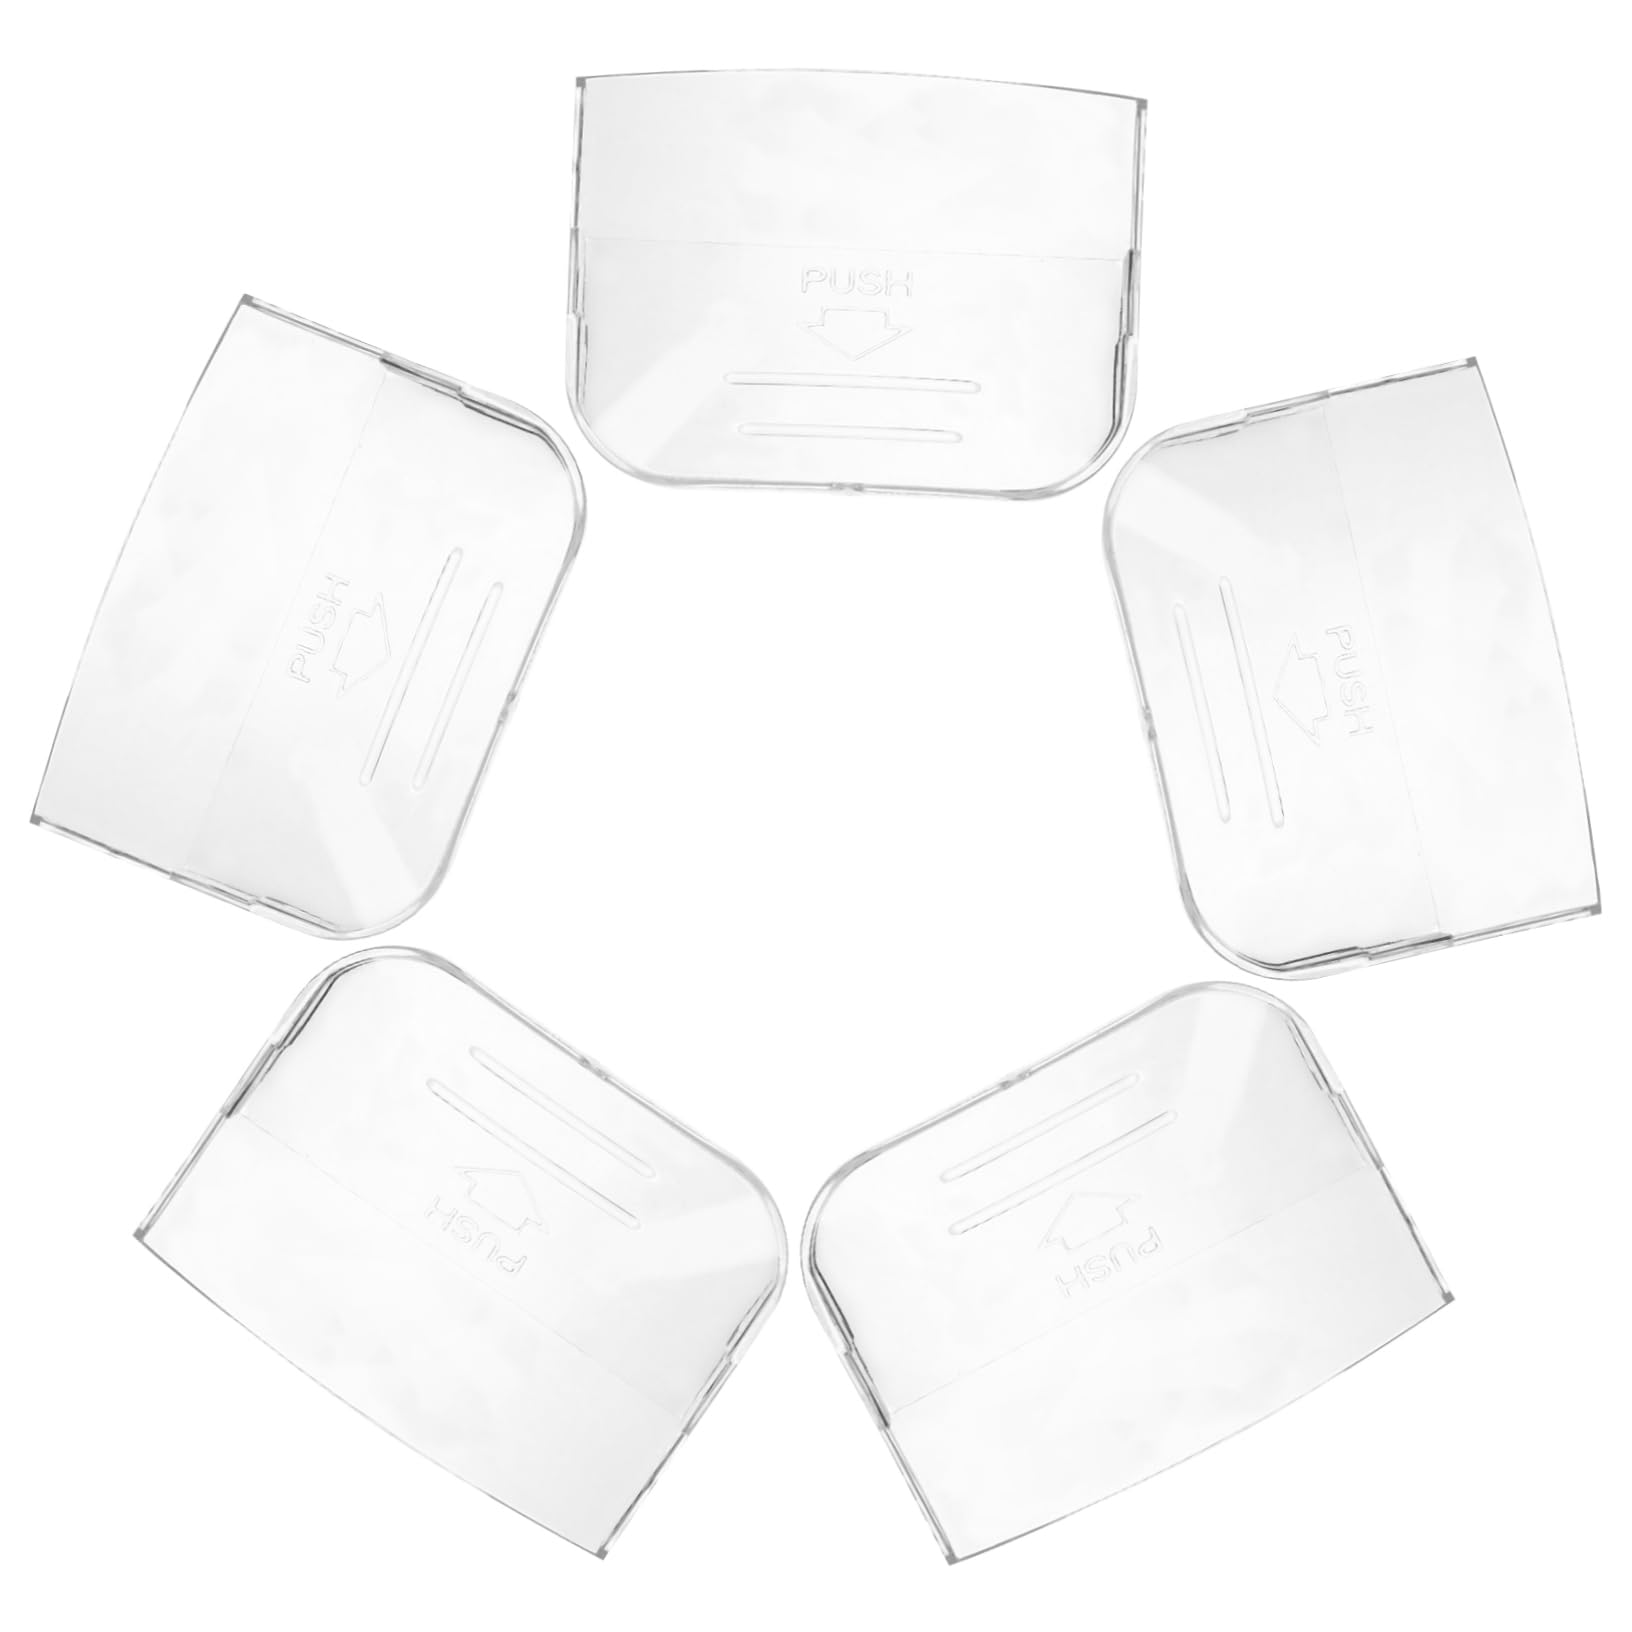
5Pcs Rice Cooker Condensation Collector Cups Food-Grade Plastic Water Holders for Easy Cleaning & Ef
- High-quality product
- Customer favorite
- Best value option

Reusable Plastic Steamer Basket Rice Cooker Steam Tray Stackable Steaming Insert Pan Kitchen Gadget
- High-quality product
- Customer favorite
- Best value option

how to clean rice cooker pot – BUDGET
- High-quality product
- Customer favorite
- Best value option
Expert Hacks & Maintenance: Beyond the Inner Pot
Mastering how to clean rice cooker pot components also requires attention to the peripherals. If the pot is clean but the machine smells or performs poorly, the problem likely lies in the maintenance "blind spots."
1. The Condensation Collector
Most modern rice cookers have a small plastic cup on the side or back. This is the "Condensation Collector." It traps the starchy steam that escapes during the cooking process. If left uncleaned, this water becomes a breeding ground for mold and bacteria, which can then vent back into your fresh rice via the steam valve. Empty and sanitize this after every use.
2. The Inner Lid and Steam Vent
Almost all high-quality rice cookers (Zojirushi, Tiger, Cuckoo) have a removable inner lid. This lid gets coated in the same "starch varnish" we discussed earlier. If you don't clean this, the starch can clog the pressure relief valve. Once a month, soak the inner lid in a vinegar-water solution to ensure the seals remain supple and the valves are clear.
3. The Heating Plate (The "Engine Room")
If you have a traditional (non-IH) rice cooker, look inside the main unit. You’ll see a metal plate with a spring-loaded center. If rice grains or moisture fall onto this plate, they burn and create an uneven surface. This prevents the pot from making full contact with the heating element. Use a piece of fine-grit sandpaper (400 grit or higher) to very gently buff away any burnt-on debris from the heating plate, then wipe with a damp cloth.
4. The "Wooden Spoon" Preventive
To prevent future stubborn stains, never use metal utensils in your pot. Even a single scratch from a metal fork creates a "site of attachment" for starches. Furthermore, try adding a half-teaspoon of oil (avocado or grapeseed) to your rice before cooking. The oil coats the starch molecules, preventing them from forming a strong bond with the pot wall.
Mega FAQ: Expert Solutions for Common Rice Cooker Woes
1. Is the inner pot dishwasher safe?
Expert Verdict: Generally, no. Even if the manufacturer says "dishwasher safe," the harsh detergents and high-heat drying cycles in a dishwasher will accelerate the degradation of the non-stick coating. Hand-washing is the only way to ensure a 10+ year lifespan for your pot.
2. How do I remove the smell of old rice or spices?
Perform a "Steam Clean" cycle. Fill the pot with 2 cups of water and 1 tablespoon of lemon juice or white vinegar. Run the steam cycle for 15 minutes. The citric or acetic acid will neutralize odors trapped in the silicone gaskets.
3. Can I use a scouring pad on a stainless steel inner pot?
If your pot is 100% stainless steel (no coating), you can use a Scotch-Brite pad. However, Bar Keepers Friend (powder) is a much better option. It contains oxalic acid which chemically dissolves stains, requiring much less physical scrubbing.
4. Why is my rice cooker pot peeling?
Peeling is a sign that the PTFE or ceramic coating has failed. This usually happens due to using metal utensils, abrasive cleaning, or extreme temperature changes. If the coating is peeling, stop using the pot immediately as the flakes can enter your food.
5. My pot has a rainbow-colored stain. Is it ruined?
No. This is "heat tint" or a "protein stain," common on stainless steel. It’s caused by minerals in the water or food. It’s harmless and can be removed instantly with a wipe of white vinegar.
6. Can I use bleach to clean the pot?
Never. Bleach is too aggressive and can cause pitting in stainless steel and destroy non-stick coatings. Stick to baking soda, vinegar, or specialized enzymatic cleaners.
7. How often should I deep clean the steam vent?
Once every 10-15 uses. If you cook "foamy" grains like brown rice or quinoa, you should clean it more frequently as the foam can clog the internal baffles.
8. What is the best sponge for a non-stick rice pot?
A non-scratch cellulose sponge or a dedicated "safe for non-stick" microfiber cloth. Avoid "magic erasers" (melamine foam) as they are actually micro-abrasives that will dull the finish over time.
9. Why does my rice stick even though the pot is clean?
This usually means your non-stick coating has "worn out" or has a microscopic layer of starch buildup you can't see. Try the "Vinegar Steam" method to strip away any invisible starch film.
10. Can I use a pressure washer on a burnt pot?
While tempting, the pressure can actually delaminate the coating from the metal substrate. Stick to the "overnight soak" method.
11. Is it safe to use "oven cleaner" on the inner pot?
Absolutely not. Oven cleaner is highly caustic and will dissolve the aluminum or coating of a rice cooker pot almost instantly.
12. How do I clean the outside of the inner pot?
The outside (the part that touches the heating element) must be kept bone-dry and clean. If there are burnt spots, use a baking soda paste. Never submerge the outer casing of the rice cooker machine itself in water.
Closing Thoughts: The Longevity of Your Appliance
Learning how to clean rice cooker pot surfaces is an investment in your kitchen’s efficiency. A well-maintained inner pot doesn't just produce better rice; it protects the electrical components of the machine by ensuring proper heat transfer and preventing the motor from overworking.
By treating the inner pot with the same respect you would a high-end carbon steel wok or a Le Creuset Dutch oven, you ensure that the delicate non-stick surfaces remain intact. Remember: the goal is to work with chemistry rather than against the material. Use heat, time, and the right pH-balanced agents to lift stains. If you find yourself sweating while scrubbing, you’re using the wrong method. With the techniques outlined in this guide, your rice cooker will remain a reliable partner in your culinary journey, delivering perfect grains from the first batch to the thousandth.