The Hidden Danger in Your Healthy Routine: Why Blade Safety Matters
The modern high-performance blender is a marvel of kitchen engineering. Whether you are pulverizing kale for a morning green juice, whipping up a velvety hollandaise, or crushing ice for a weekend margarita, the blender is the workhorse of the contemporary home. However, there is a silent, sharp-edged caveat to this convenience. The very feature that makes these machines so effective—the ultra-sharp, stainless steel blade assembly—is also the most dangerous component to maintain. Learning how to clean blender blades is not just a matter of hygiene; it is a critical safety protocol that prevents thousands of ER-bound lacerations every year.
Most home cooks approach blender cleaning with a mix of haste and trepidation. We’ve all been there: reaching into the depths of a narrow pitcher with a standard sponge, trying to scrub away the stubborn remnants of a peanut butter smoothie, only to feel that terrifying "nick" against a fingertip. It happens in a split second. Because blender blades are designed to rotate at speeds exceeding 20,000 RPM, they are honed to a razor's edge. Even when stationary, they possess the structural integrity to slice through skin and tendon with minimal resistance.
Beyond the immediate physical danger, there is the background issue of "biological safety." If you are afraid to get close to the blades, you likely aren't cleaning them thoroughly. This leads to the buildup of food particles in the microscopic crevices where the blade meets the spindle. Over time, this organic matter decays, leading to bacterial colonies, mold, and off-flavors that ruin your culinary creations. To clean blender blades safely, you must adopt a methodology that balances surgical precision with mechanical distance.
This guide is designed to transform your post-blend cleanup from a high-stakes gamble into a streamlined, risk-free routine. We will move past the basic "rinse and pray" method and dive into professional techniques used by commercial kitchens to ensure their equipment remains sterile and their staff remains uninjured. By the end of this mega-guide, you will possess the expert knowledge required to maintain a pristine blender without ever putting your fingers in the "kill zone."
The Critical Problem: The Anatomy of a Kitchen Hazard
To solve the problem of cleaning blender blades, we must first analyze why they are so notoriously difficult to manage. The "Critical Problem" isn't just that the blades are sharp; it’s a combination of ergonomics, material science, and physics.
1. The Geometry of the Pitcher
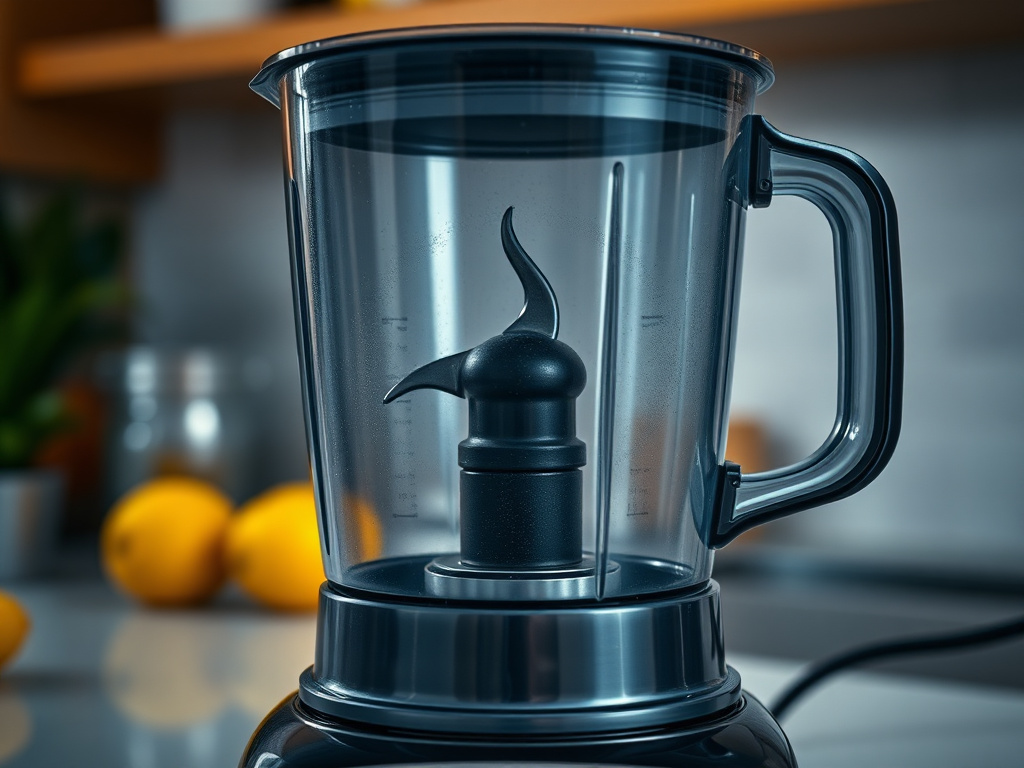
Most high-end blenders utilize a tapered or squared pitcher design. While this is excellent for creating a vortex that pulls food down into the blades, it creates a "dead zone" for human hands. The narrow base of most jars makes it nearly impossible to maneuver a cleaning tool effectively while maintaining a safe distance from the edges. When you combine a narrow space with a slippery, soapy environment, you have a recipe for a slip-and-cut accident.
2. The Biofilm Menace
Blender blades are often constructed from hardened stainless steel, but the assembly involves gaskets, O-rings, and ball bearings. Food particles—especially proteins from powders and sugars from fruit—act as a biological adhesive. If not removed immediately, these particles harden into a "biofilm." This film is resistant to simple rinsing. It requires mechanical agitation (scrubbing) to break. The conflict arises when the user realizes they must scrub the blade, but the blade's design makes scrubbing an inherent risk.
3. The "Hidden" Underside
Most users focus on the top of the blades, but the most significant accumulation of debris occurs underneath the blade assembly. In fixed-blade models, this area is a blind spot. Reaching a sponge under the blade is the most common way people get cut, as the upward-facing edge of the bottom blade catches the finger as it moves in a circular motion.
4. Cross-Contamination and Oxidation
Failing to clean the blades properly doesn't just result in a dirty jar; it leads to the degradation of the metal itself. Acidic residues from citrus or fermented foods can lead to pitting and oxidation over time, even on stainless steel. Furthermore, old food trapped in the blade assembly can cross-contaminate fresh batches, introducing unwanted bacteria like E. coli or Salmonella into your "healthy" smoothie.
5. The Psychological Barrier
Because people are naturally (and rightly) afraid of the blades, they often perform a sub-par cleaning job. This leads to a cycle of "compounded grime." Each time the blender is used without a deep clean, a new layer of residue is added to the previous one. Eventually, the blender develops a permanent "old food" smell, and the blades become dull because they are coated in a layer of dried-on organic matter. To break this cycle, we need a methodology that removes the fear factor entirely.
Methodology & Core Guide: How to Clean Blender Blades Safely
Cleaning your blender should be a two-phase process: the Immediate Flush and the Deep Detail. Following this methodology ensures that you never have to put your hand near the blade while it is still attached to the power base or while the blades are obscured by opaque soapy water.
Phase 1: The "Vortex" Self-Cleaning Method
This is your first line of defense. It should be performed immediately after every use. If you let a blender sit for even ten minutes, the proteins and fibers begin to bond to the steel.
- The Immediate Rinse: As soon as you pour out your drink, rinse the jar under hot running water. This removes 90% of the loose debris.
- The Soap and Water Fill: Fill the blender jar exactly halfway with warm (not boiling) water. Add exactly two drops of high-quality dish soap. Do not over-soap, or the foam will overflow and create a mess.
- The High-Speed Pulse: Secure the lid firmly. Start the blender on its lowest setting and slowly increase to the highest speed. Let it run for 30 to 60 seconds. The centrifugal force and the vortex action will use the water as a mechanical abrasive, forcing soapy water into the crevices under the blades.
- The Final Flush: Pour out the soapy water and rinse again with hot water. Inspect the blades through the clear plastic or glass. If they look clean, move to the drying phase.
Phase 2: The "Safe-Scrub" Deep Clean
Sometimes, the vortex method isn't enough—especially after blending thick substances like nut butter, hummus, or dates. When you see residue stuck to the blades, follow these steps to clean blender blades safely.
- Unplug the Machine: This sounds obvious, but it is the most skipped safety step. Never put any tool (or hand) into a blender jar that is sitting on a plugged-in base.
- Use the Right Tools: Never use a standard kitchen sponge. Instead, use a long-handled dish brush or a dedicated blender cleaning tool. These tools allow you to apply pressure to the blades from a distance of 6 to 10 inches.
- The Baking Soda Paste: If there is stubborn, dried-on gunk, make a thick paste of baking soda and water. Apply it to the blades using your long-handled brush. Let it sit for 15 minutes. Baking soda is mildly abrasive but won't scratch the steel, and it's excellent at breaking down organic bonds.
- The "Back-Side" Scrub: Using a specialized crevice brush (like the ones in the product grid below), reach underneath the blades. Do not move your hand; move the brush. Use a "sawing" motion to clear the area between the blade and the bottom of the jar.
Phase 3: Disassembly (For Removable Blade Models)
If your blender (like many Ninja or older Oster models) allows for the removal of the blade assembly, this is the safest way to get a 100% clean.
- Invert and Unscrew: Turn the jar upside down and unscrew the base cap.
- The Gravity Drop: Do not reach in to pull the blades out. Instead, place the jar over a soft surface (like a folded towel) and let the blade assembly fall out naturally.
- Individual Component Cleaning: Now that the blades are separate, you can clean them with a brush. Hold the blade assembly by the plastic or metal spindle—never by the blades themselves.
- Gasket Maintenance: This is the time to remove the rubber O-ring. Food trapped under the O-ring is the leading cause of blender odors and leaks. Clean the ring with warm soapy water and dry it completely before reassembling.

3 PCS Fruit Juicer Machine Clean Brush, Soy Milk Maker Clean Brush, Crevice Cleaning Tool Set for To
- High-quality product
- Customer favorite
- Best value option

Blender Blade Removal Tool for Vitamix Ascent Blender Series, Blade Removal Replacement Accessories
- High-quality product
- Customer favorite
- Best value option
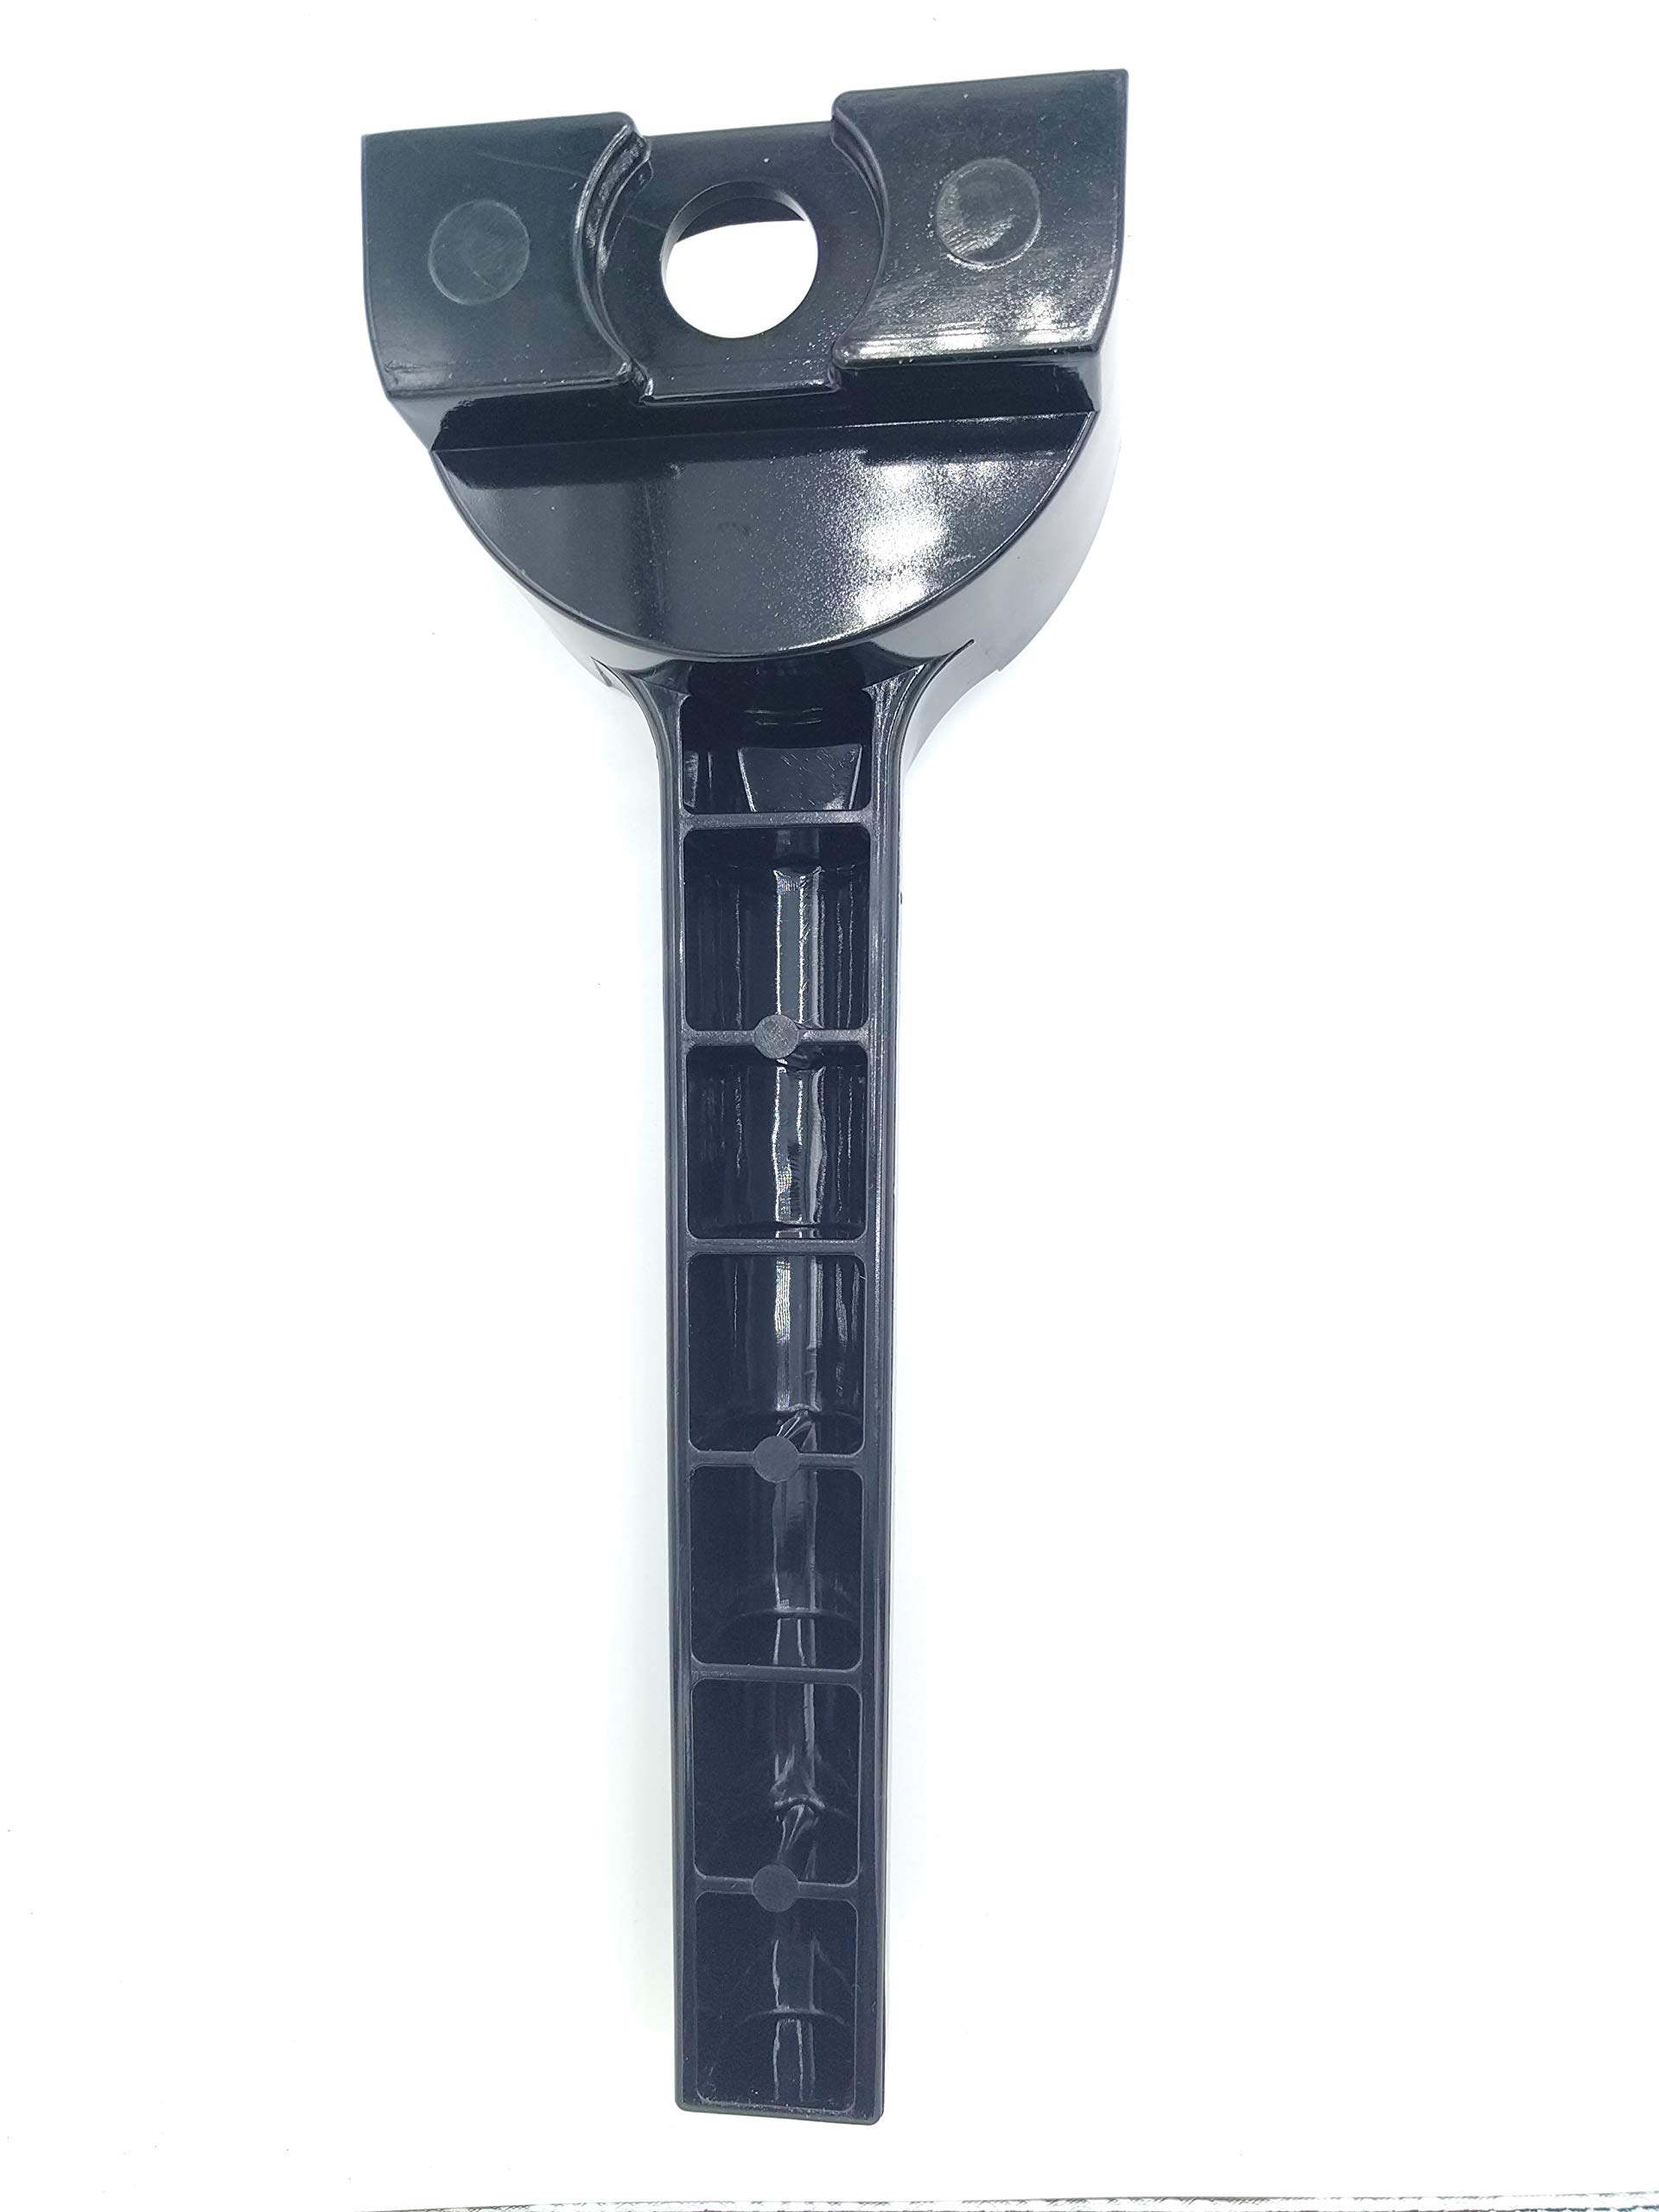
Blendin Blade Removal Tool Wrench, Compatible with Vitamix Blender Jars
- High-quality product
- Customer favorite
- Best value option
Expert Hacks & Maintenance: Taking It to the Next Level
Once you have mastered the basic safety protocols, you can implement these expert hacks to keep your blades in factory-new condition.
The Lemon Deep-Clean
If your blender blades have developed a dull appearance or a persistent smell (common with garlic or onions), use the power of citric acid. Cut a lemon into quarters, put it in the blender with two cups of water and a tablespoon of coarse salt. The salt acts as a non-damaging abrasive, while the lemon juice dissolves mineral deposits and sanitizes the steel.
Polishing the Steel
Over time, stainless steel can develop "tea staining" or light rust spots. To fix this without touching the blades, use a "rice scrub." Pour half a cup of uncooked white rice into the dry blender jar. Pulse it for 30 seconds. The rice grains act like miniature sandblasters, polishing the surface of the blades and even slightly honing the edges.
The Drying Protocol
The biggest mistake people make is leaving the blender jar upright to dry. This allows water to pool in the blade assembly, leading to premature bearing failure and rust. Always dry your blender jar upside down on a drying rack with plenty of airflow. This ensures that water drains away from the delicate spindle and gaskets.
Lubricating the Gasket
If you have a removable blade assembly, once every few months, apply a tiny amount of food-grade silicone grease or even a drop of coconut oil to the rubber gasket. This keeps the rubber supple and prevents it from cracking, which ensures a watertight seal and prevents food from seeping into the mechanical parts.
Mega FAQ: Expert Answers for Pristine Blades
1. Can I put blender blades in the dishwasher?
Generally, no. Even if the manufacturer says "dishwasher safe," the high heat and harsh detergents can dull the blades and degrade the rubber gaskets over time. Hand-cleaning using the vortex method is always superior.
2. How do I remove turmeric stains from the blades and jar?
Turmeric is notoriously difficult. Make a paste of baking soda and lemon juice. Apply it to the stained areas and let it sit in direct sunlight for an hour. The UV rays help break down the curcumin pigment.
3. My blender blades are stuck. How do I clean them?
If the blades won't spin, do not force them by hand. Soak the bottom of the jar in warm water and white vinegar for 30 minutes to dissolve any sugar-based "glue." If they remain stuck, the bearings may have failed.
4. Is it safe to use a toothbrush to clean the blades?
Yes, a firm-bristled toothbrush is an excellent tool for reaching the underside of the blades. Just ensure the blender is unplugged and you are holding the brush by the very end of the handle.
5. How often should I perform a deep clean?
If you use your blender daily, perform the vortex clean after every use and a deep-scrub clean once a week.
6. Can I use bleach to sanitize the blades?
It is not recommended. Bleach can cause pitting in stainless steel. Use white vinegar or a food-safe sanitizing solution instead.
7. Why does my blender smell like burning rubber when I clean it?
This usually happens if you run the "vortex clean" for too long without enough water. The friction heats up the gasket. Limit self-cleaning cycles to 60 seconds.
8. How do I get nut butter out from under the blades?
Use a silicone spatula to scrape out as much as possible, then use the "Rice Scrub" method mentioned in the hacks section. The rice will absorb the oils and knock the solids loose.
9. Can I sharpen my blender blades at home?
Blender blades are meant to be "utility sharp" rather than "razor sharp." If they are truly dull, it is safer to replace the blade assembly than to try to sharpen them, which can throw off the balance of the motor.
10. What is the white cloudy film on my blades?
This is usually mineral buildup from hard water. Soak the blades in a 50/50 mixture of warm water and white vinegar for 20 minutes to dissolve the calcium deposits.
11. Is it safe to clean the blades with a metal scourer?
No. Steel wool or metal scourers will leave microscopic scratches on the blades, which then become breeding grounds for bacteria. Stick to nylon brushes.
12. How do I clean the base of the blender where the jar connects?
Use a damp cloth and a Q-tip for the tight spots. Never submerge the power base in water. Ensure the "gear" area is dry before placing the jar back on.
13. What if I cut myself while cleaning?
Because kitchen environments often contain bacteria, any cut from a blender blade should be cleaned immediately with antiseptic and monitored closely for signs of infection.
Closing Thoughts
Mastering the art of how to clean blender blades is a hallmark of a professional-level home cook. It demonstrates a respect for your tools and a commitment to the safety of your household. By moving away from the dangerous "sponge-in-the-jar" method and embracing long-handled tools, the vortex cycle, and proper drying techniques, you ensure that your blender remains a source of health rather than a source of injury.
Remember: the sharpest tool in your kitchen is only as good as the care you provide it. Keep your hands out of the jar, let the physics of the machine do the work for you, and enjoy the peace of mind that comes with a truly clean, safe kitchen.