Mastering the Seal: Why Your Blender Gasket is the Heart of Your Kitchen
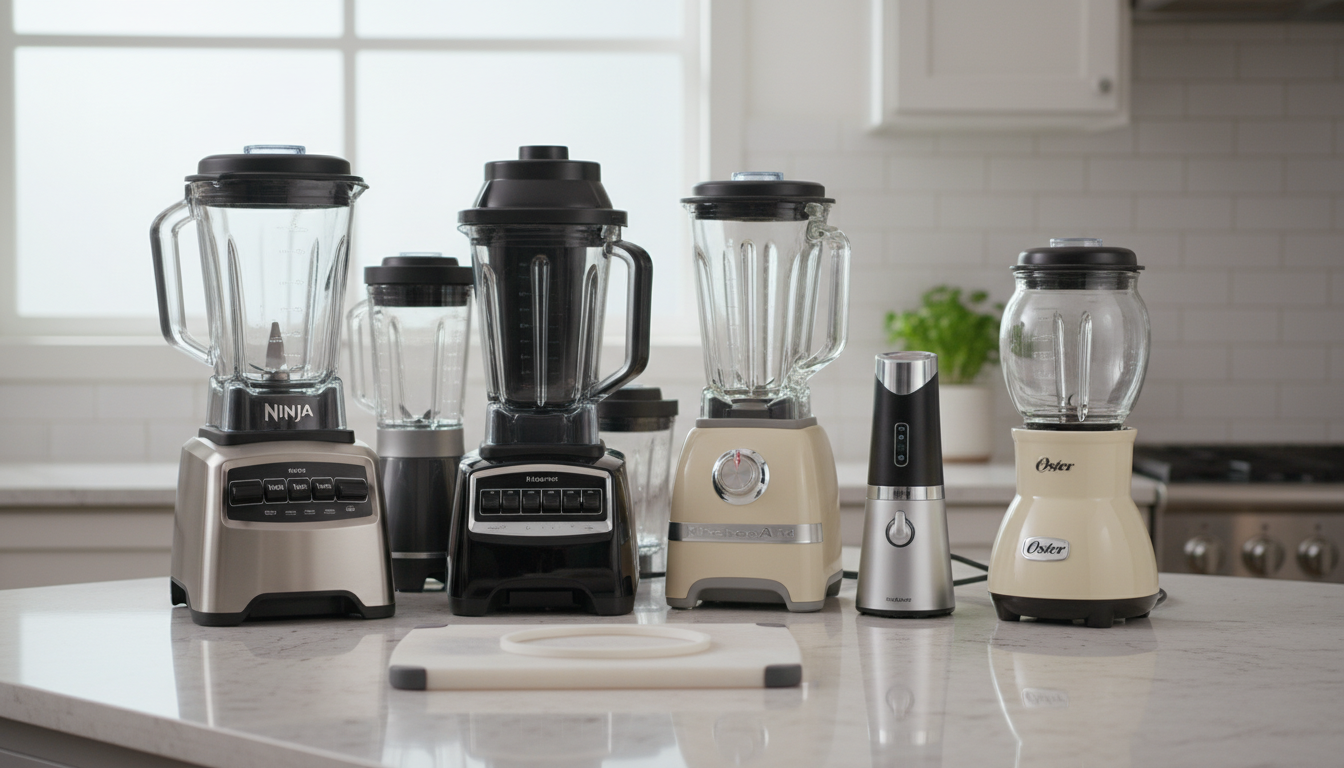
The modern kitchen revolves around the high-speed blender. From the silky textures of a morning green smoothie to the complex emulsions of a homemade hollandaise, we rely on these machines to perform violent mechanical tasks with grace. However, there is a silent, rubberized component that stands between culinary success and a kitchen-wide disaster: the gasket. Often referred to interchangeably as an O-ring or a seal, this simple elastomer is the only thing preventing high-velocity liquids from escaping the jar and migrating into the sensitive internal electronics of your motor base.
Learning how to replace blender gasket components is not merely a maintenance task; it is an essential skill for any home chef or smoothie enthusiast. When a gasket begins to fail, the signs are often subtle before they become catastrophic. You might notice a slight "weeping" at the base of the jar, or perhaps a faint burning smell as liquid seeps into the motor’s drive socket. By the time you see a puddle on your counter, the internal damage may already be underway. This guide serves as the definitive authority on identifying, sourcing, and installing the perfect seal for your machine, whether you own a legacy Oster, a high-powered Vitamix, or a modern NutriBullet.
The gasket’s primary function is to create a hermetic seal between the blade assembly and the blending jar. In a high-RPM environment, the centrifugal force is immense. Without a perfectly seated, supple gasket, the pressure created by the vortex would force liquid through the smallest microscopic gaps. Over time, heat, friction, and the acidic nature of many foods (like citrus or tomatoes) cause the material to degrade. It loses its elasticity, develops micro-cracks, and eventually fails. This guide will walk you through the technical nuances of the replacement process, ensuring that you can replace blender seal parts with the precision of a professional technician. We will move beyond the basic "unscrew and swap" advice to explore the mechanical physics of a proper seal and the preventative measures that can double the lifespan of your new components.
The Critical Problem: The Physics of Elastomer Failure
To understand why you need to replace your blender gasket, we must first look at the expert-level analysis of what causes these components to fail. Most blender gaskets are made from either vulcanized rubber or food-grade silicone. While these materials are designed for durability, they are subject to a phenomenon known as "compression set." This occurs when the gasket is compressed between the blade assembly and the jar for extended periods. Over time, the material loses its ability to "spring back" to its original shape, leading to a permanent deformation that compromises the seal.
Furthermore, the environment inside a blender is surprisingly hostile. When you blend at high speeds, the friction between the liquid and the blades generates significant heat. This thermal stress causes the gasket to expand and contract. Repeated thermal cycling eventually leads to "thermal degradation," where the polymer chains in the rubber break down, making the gasket brittle or, conversely, overly gummy and sticky. If you have ever tried to remove a blender base only to find the gasket stuck to the glass, you are witnessing the aftermath of chemical and thermal breakdown.
Another critical issue is microbial infiltration. Because the gasket sits in a high-moisture area with frequent exposure to sugars and proteins, it is a prime breeding ground for bacteria and mold. If you see black spots on your seal that cannot be scrubbed off, that is not just "dirt"—it is a biofilm that has penetrated the porous structure of the rubber. This poses a significant food safety risk. A compromised gasket can harbor pathogens that contaminate every subsequent batch of food you prepare.
Finally, we must consider the mechanical impact of "over-tightening." Many users believe that the tighter they screw the base onto the jar, the better the seal will be. In reality, excessive torque crushes the gasket beyond its design limits, leading to premature tearing and a loss of structural integrity. An expert understands that a seal is achieved through the uniform distribution of pressure, not the sheer force of the screw threads. When you replace blender seal components, you are resetting the mechanical equilibrium of your machine. Ignoring a failing gasket doesn't just result in a mess; it risks "motor burn-out." When liquid enters the motor housing, it can short-circuit the windings or cause the bearings to seize, turning a $5 repair into a $300 replacement.
Methodology: The Definitive Guide to Gasket Replacement
Replacing a blender gasket is a universal process, but the nuances change depending on whether you have a "bottom-load" assembly (like Oster or Hamilton Beach) or a "bullet-style" integrated assembly (like NutriBullet or Ninja). Follow this professional methodology to ensure a leak-free result.
Phase 1: Diagnostics and Preparation
Before purchasing parts, confirm the failure. Fill your blender jar with water and let it sit on a dry paper towel for 10 minutes. If moisture appears, the seal is compromised.
- Identify your Model: Look at the bottom of the motor base for the exact model number. Gaskets are often specific to the millimeter; "universal" seals often fail because they are a fraction too thin or thick.
- Gather Tools: Most gaskets can be removed by hand, but a non-marring plastic pick or a blunt butter knife can help extract a stubborn, "cooked-on" seal.
Phase 2: Disassembly and Extraction
- Safety First: Always unplug the blender.
- Remove the Base: Unscrew the threaded bottom cap (the collar).
- Isolate the Gasket: Lift the blade assembly out. The gasket will either be sitting on the rim of the blade assembly or stuck inside the threaded collar.
- The Extraction: Use your fingers to peel the old gasket away. If it breaks or crumbles, ensure you remove every single fragment. Even a tiny piece of old rubber left behind will prevent the new gasket from seating flush, causing immediate leaks.
Phase 3: The Deep Clean (The "Pro" Step)
Do not simply put the new gasket into a dirty base. Use an old toothbrush and a mixture of white vinegar and dish soap to scrub the threads of the collar and the "seating surface" of the blade assembly. Mineral deposits and old food residue create an uneven surface. A professional-grade replacement requires a surgically clean environment.
Phase 4: Seating the New Gasket
This is where most DIY repairs fail.
- The Orientation: Some gaskets have a "ribbed" side and a "flat" side. Generally, the flat side should face the glass jar, while the ribbed side seats against the blade assembly to provide multiple points of contact.
- The Stretch: If the gasket seems slightly too small, do not panic. High-quality rubber gaskets often require a slight "pre-stretch." Warm the gasket in a bowl of hot (not boiling) water for two minutes to increase its elasticity before fitting it onto the blade base.
- The Press: Ensure the gasket is lying perfectly flat. Any twist or "buckle" in the ring will result in a high-pressure leak once the motor starts.
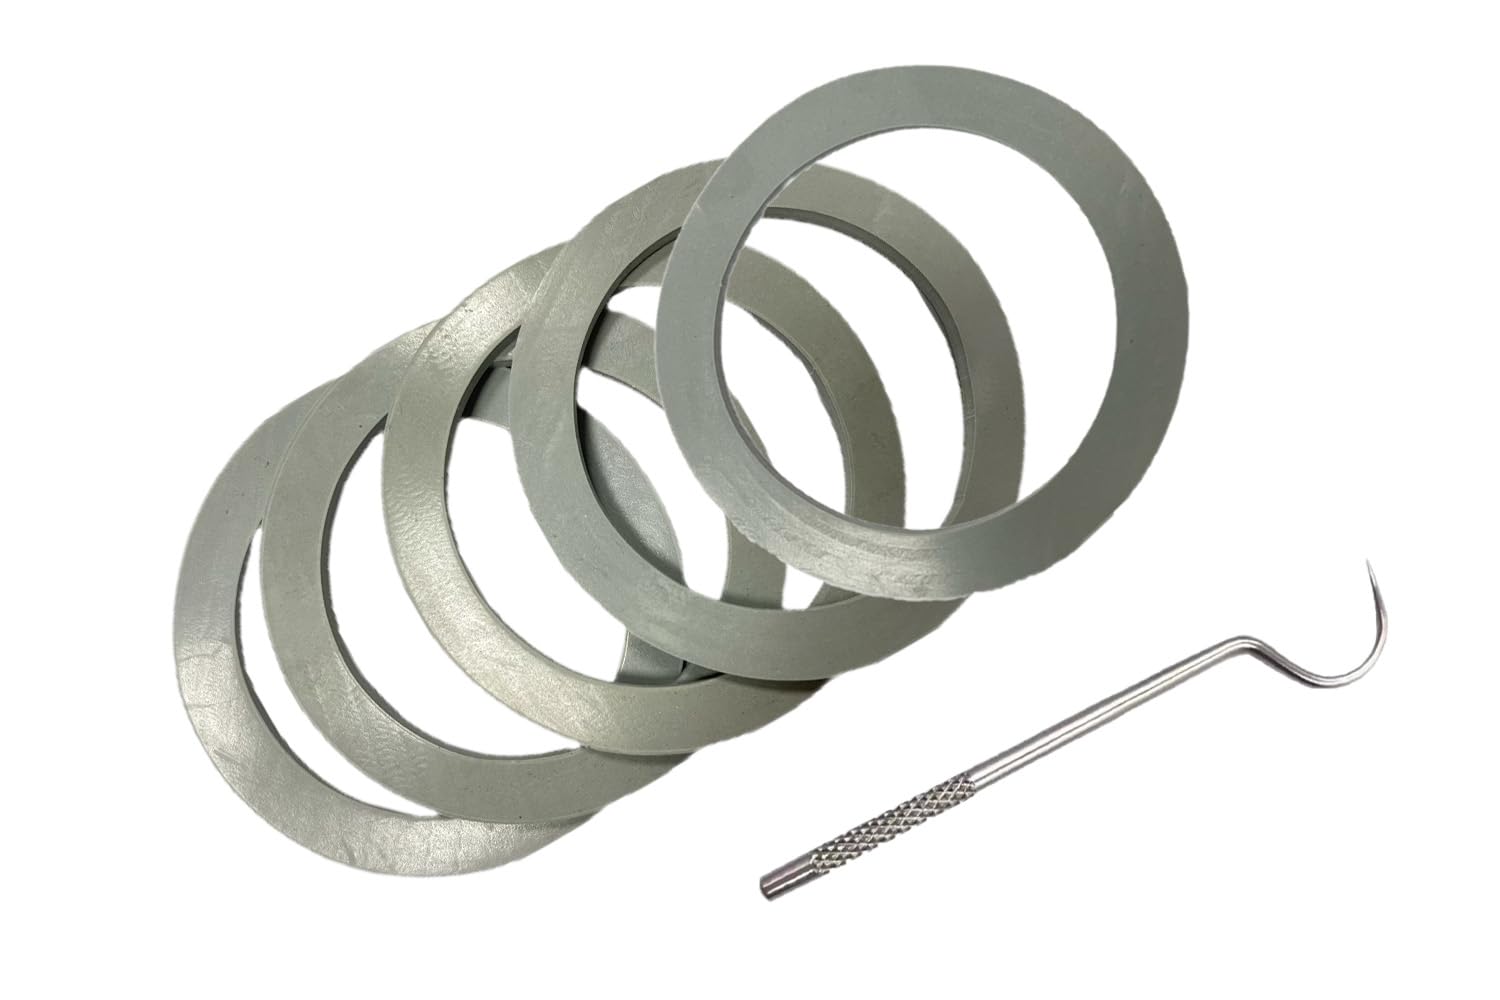
(5pcs) Replacement Rubber Sealing Gasket O-Ring Seal Suitable for O-TER Blender 6687, 6688, 6689, 66
- High-quality product
- Customer favorite
- Best value option
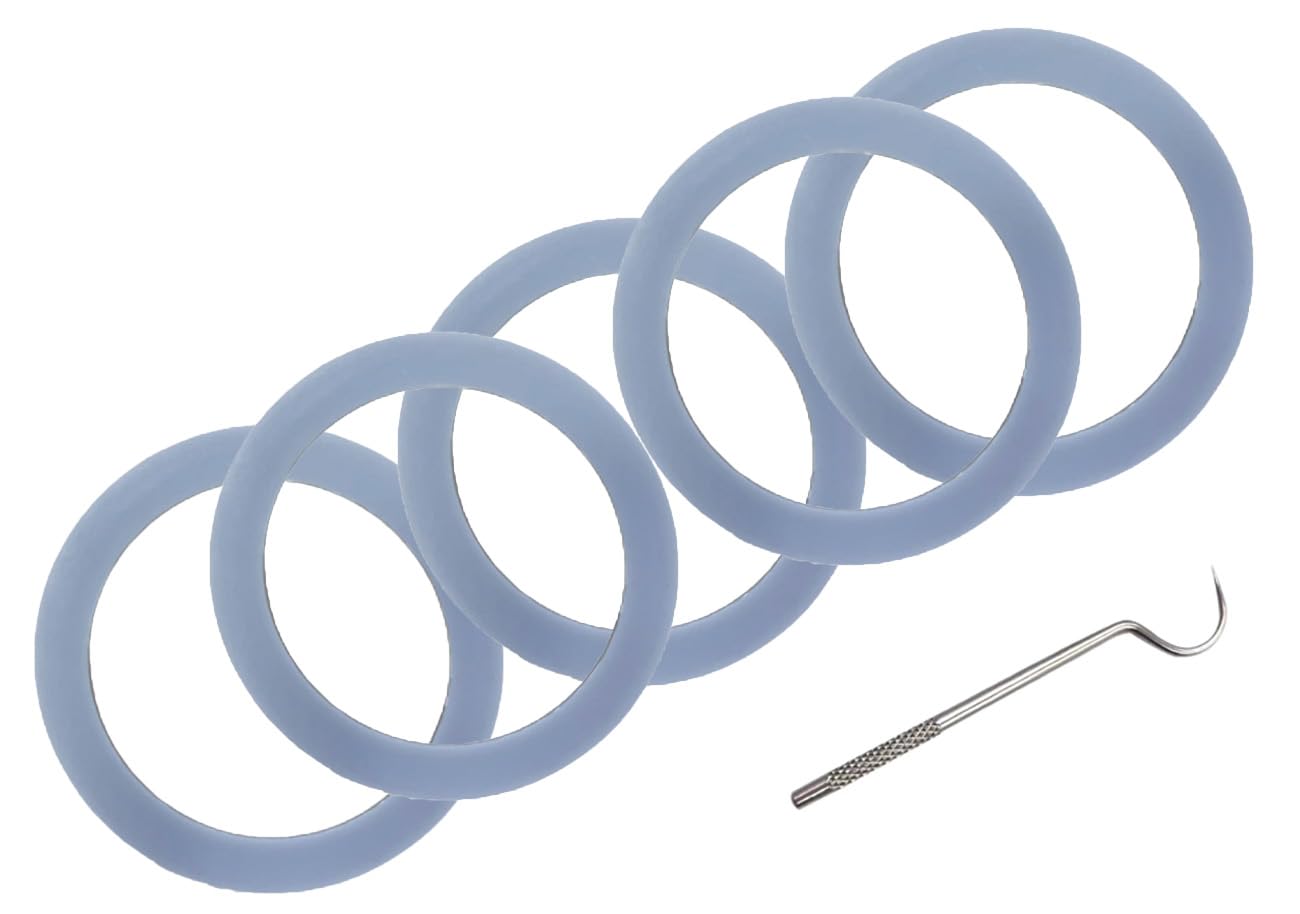
09146-1, 091461, Suitable for B&D Blenders, Replace Blender The O-Ring Seal/Gasket 5Pcs
- High-quality product
- Customer favorite
- Best value option
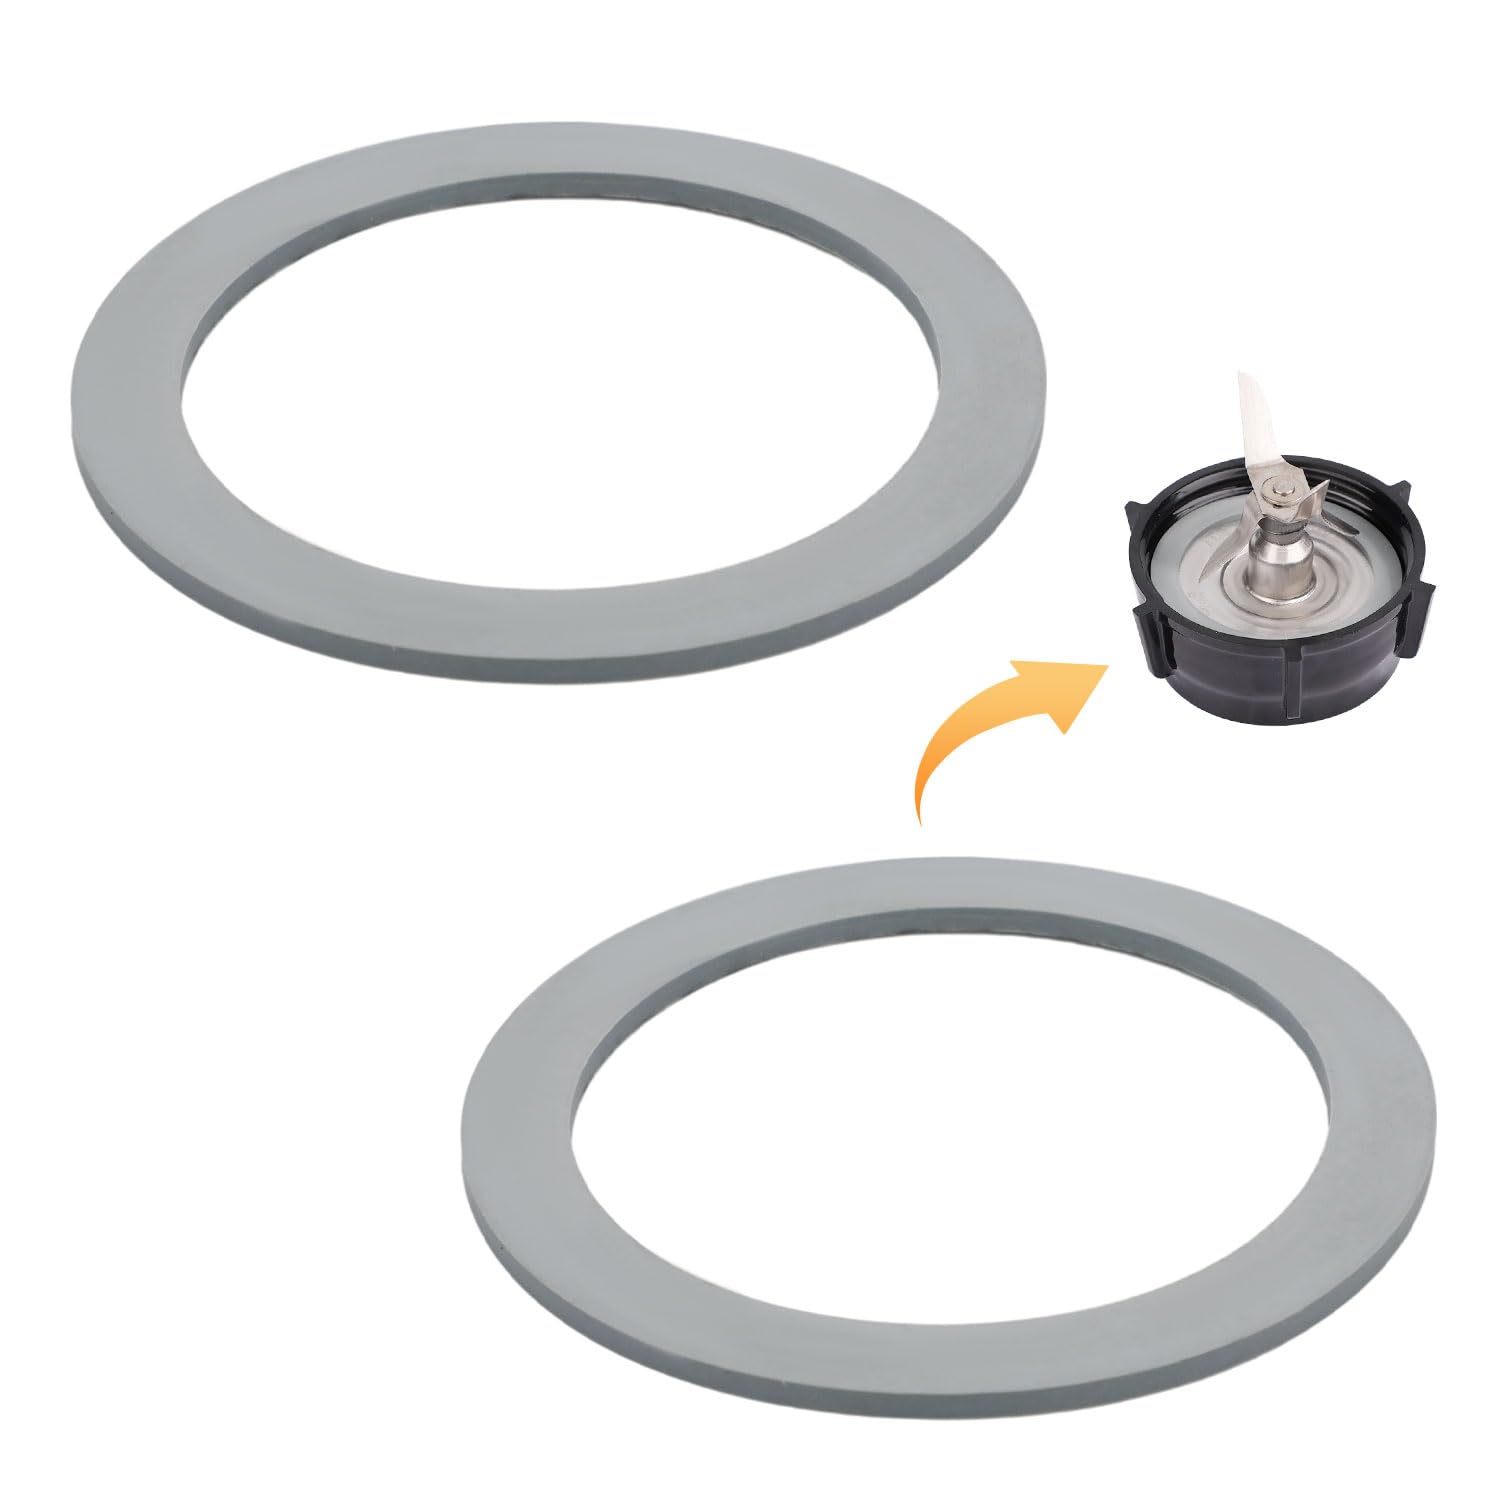
2pcs Blender Gasket for Oster, Rubber Gray O-Ring Blender Gasket Replacement Blender Ring Replacemen
- High-quality product
- Customer favorite
- Best value option
Phase 5: Reassembly and Testing
Place the blade assembly (with the new gasket attached) back into the jar or the collar. Screw the collar onto the jar.
- The "Hand-Tight" Rule: Tighten until you feel resistance, then add exactly one-eighth of a turn. This provides enough compression to seal without deforming the elastomer.
- The Leak Test: Fill the jar halfway with water. Pulse the blender for 5 seconds. Wipe the base with a dry cloth and check for moisture. If it’s dry, you’ve successfully mastered the "how to replace blender gasket" process.
Expert Hacks & Maintenance: Extending the Life of Your Seal
Once you have learned how to replace blender seal components, your goal should be to ensure you don't have to do it again for a long time. Here are three expert hacks:
- Food-Grade Silicone Lubricant: Apply a microscopic film of food-grade silicone grease (available at most hardware stores or kitchen supply outlets) to the gasket. This prevents the rubber from sticking to the jar and reduces friction-induced wear.
- Avoid the Dishwasher: While many blender parts are labeled "dishwasher safe," the intense heat and caustic detergents of a dishwasher are the primary killers of rubber gaskets. Hand-wash your gasket in lukewarm water to preserve its structural integrity.
- Pressure Release Storage: If you aren't using your blender for a few days, loosen the bottom collar slightly. This releases the "compression set" on the gasket, allowing the material to rest and maintain its original shape. Just remember to tighten it before your next use!
Mega FAQ: Expert Solutions for Blender Seal Issues
1. How often should I replace my blender gasket?
For daily users, we recommend replacing the gasket every 6 to 12 months. If you notice any leaking, cracking, or a lingering odor that won't wash away, replace it immediately.
2. Can I use a gasket from a different brand if it looks the same?
No. Even a 0.5mm difference in thickness or diameter can cause a failure. Always match the gasket to your specific model number.
3. Why is my new gasket still leaking?
Check the seating surface for nicks or scratches. If the plastic of the blade assembly or the rim of the glass jar is chipped, no gasket in the world will create a perfect seal.
4. My gasket is stuck and won't come out. What should I do?
Soak the entire assembly in warm, soapy water for 30 minutes. This will lubricate the bond between the rubber and the plastic, making it easier to pry out with a plastic tool.
5. Are silicone gaskets better than rubber ones?
Generally, yes. Silicone has a higher thermal resistance and is less likely to become brittle over time compared to traditional black rubber.
6. Is the "black gunk" on my gasket dangerous?
Yes. That is typically mold or a bacterial biofilm. If it has penetrated the surface of the gasket, the gasket must be replaced to ensure food safety.
7. Can I boil my gasket to sanitize it?
We do not recommend boiling, as it can warp the shape of the gasket. Use a solution of 1 part vinegar to 3 parts water for sanitization.
8. Why does my blender smell like burning rubber?
This often happens when a gasket is improperly seated and is rubbing against the rotating blade shaft. Stop blending immediately and check the alignment.
9. Does the "Vitamix" have a gasket?
Most Vitamix containers have an integrated blade assembly where the seal is internal. If a Vitamix leaks from the bottom, you usually need to replace the entire blade assembly, not just a ring.
10. How do I know if my NutriBullet gasket needs replacing?
If you see brown liquid (blended food mixed with bearing grease) leaking from the bottom of the extractor blade, the internal seal has failed.
11. Can I use Teflon tape to fix a leaking gasket?
No. Teflon tape is for pipe threads and is not food-safe in a high-shear blending environment. It will shred and end up in your food.
12. What happens if I blend without a gasket?
The liquid will immediately bypass the base and flood your motor base. This almost always results in permanent motor failure. Never operate a blender without a confirmed seal.
13. Why did my gasket stretch out?
This is usually caused by exposure to high temperatures (dishwasher) or certain oils in food that cause the rubber to swell. Once stretched, it cannot be "shrunk" and must be replaced.
Closing Thoughts
Mastering the maintenance of your kitchen appliances is the hallmark of a truly expert home cook. While a gasket might seem like a trivial piece of rubber, it is the fundamental barrier that protects your investment and ensures the safety of your food. By following this guide on how to replace blender gasket components, you have transitioned from a casual user to a technician of your own kitchen. Remember: a blender is only as good as its seal. Keep your gaskets fresh, your assemblies clean, and your motor dry, and your machine will serve you for a decade or more. Professional maintenance isn't about fixing things when they break; it's about understanding the physics of the machine so they never have the chance to fail in the first place.