The Anatomy of Edge Cleaning: Why Your Roomba Side Brush Matters
The iRobot Roomba has revolutionized domestic maintenance, transitioning from a high-tech novelty to an essential household appliance. At the heart of its cleaning efficiency lies a sophisticated three-stage cleaning system. While the high-torque dual multi-surface rubber brushes and the vacuum motor’s suction power get most of the glory, the side brush—officially known as the Edge-Sweeping Brush—is the unsung hero of the operation. Mastering how to replace roomba side brush components is not merely a matter of aesthetics; it is a fundamental requirement for maintaining the machine’s structural integrity and cleaning efficacy.
The side brush serves as the Roomba’s "scout." Because the circular chassis of the robot prevents the main extractors from reaching into 90-degree corners or flush against baseboards, the side brush extends beyond the robot's perimeter. It spins at a precise RPM designed to flick debris into the path of the main suction channel without scattering it across the floor—a phenomenon known in the industry as "debris scattering." Without a functional side brush, your Roomba effectively leaves a 2-to-3-inch "dead zone" around every wall and furniture leg in your home.
Over the years, iRobot has refined the design of these brushes. From the early 500 series to the ultra-modern s9+ and j9+ models, the brush architecture has evolved from six-armed nylon clusters to more durable three-armed reinforced designs. Despite these advancements, the side brush remains a "consumable" part. It is subjected to constant friction, high-speed rotations, and the mechanical stress of navigating varied floor transitions from hardwood to high-pile carpet. Understanding the mechanics of roomba side brush replacement ensures that your robot doesn't just move dust around, but actually captures it.
As a top-tier authority on robotic vacuum maintenance, I have observed that the most common cause of Roomba "underperformance" is not a failing battery or a full bin—it is a neglected side brush. When the bristles become frayed, curled, or missing, the robot's "cleaning path" narrows significantly. This guide provides an exhaustive deep dive into the technical necessity of this component and a foolproof methodology for replacement that protects your motor and extends the life of your device.
The Critical Problem: Mechanical Fatigue and the "Snowplow Effect"
The necessity of a roomba side brush replacement is often ignored until the component has completely disintegrated. However, from an engineering perspective, the failure begins long before the arms snap off. The primary enemy of the side brush is "mechanical fatigue" caused by hair wrap and carpet friction.
When long hair or carpet fibers become entangled around the base of the side brush, they create a tightening noose around the motor shaft. This creates axial load—a force that pulls the motor shaft upward or pushes it downward. Roomba side brush motors are designed for rotational torque, not vertical stress. As hair builds up, the friction increases, forcing the motor to draw more current from the battery to maintain its RPM. This leads to two critical issues: reduced battery runtime and premature motor burnout. If you notice your Roomba returning to the dock earlier than usual, the culprit might be a tangled side brush rather than a dying battery.
Furthermore, there is the "Snowplow Effect." A healthy side brush has bristles with a specific "flick" tension. This tension is calibrated to move a Cheerio or a dust bunny exactly four to six inches toward the center of the vacuum. When the bristles wear down or become soft due to heat and age, they lose this "flick." Instead of moving debris into the suction path, the brush simply pushes the debris along the baseboard, much like a snowplow. You end up with clean centers of rooms and "dust ridges" along the walls.
Another expert-level concern is the "hexagonal socket" wear. The side brush is mounted on a hexagonal-shaped peg. Over time, if the screw holding the brush in place becomes slightly loose, the brush will "wobble" on the peg. This vibration strips the plastic hexagonal housing inside the brush. If left unchecked, the vibration can even wear down the metal motor shaft itself. Replacing the brush at the first sign of wear isn't just about cleaning; it’s about preventing a $50 motor replacement by spending $5 on a new brush.
Finally, we must address the "tangle-induced stall." Newer Roomba models (like the j-series and i-series) have sensors to detect when the side brush is stuck. However, older models will simply continue to pump power into the stalled motor until a thermal fuse trips or the gears strip. By following a regular replacement schedule, you ensure that the mechanical resistance remains within the factory-defined parameters, preserving the delicate gearbox housed within the robot's underbelly.
Methodology & Core Guide: How to Replace Roomba Side Brush
Performing a roomba side brush replacement is a task that requires precision rather than force. While the process is marketed as "easy," an expert approach ensures you don't strip screws or damage the sensitive brush motor module. Follow these three definitive steps to restore your Roomba to factory-grade cleaning performance.
Step 1: Preparation and Extraction
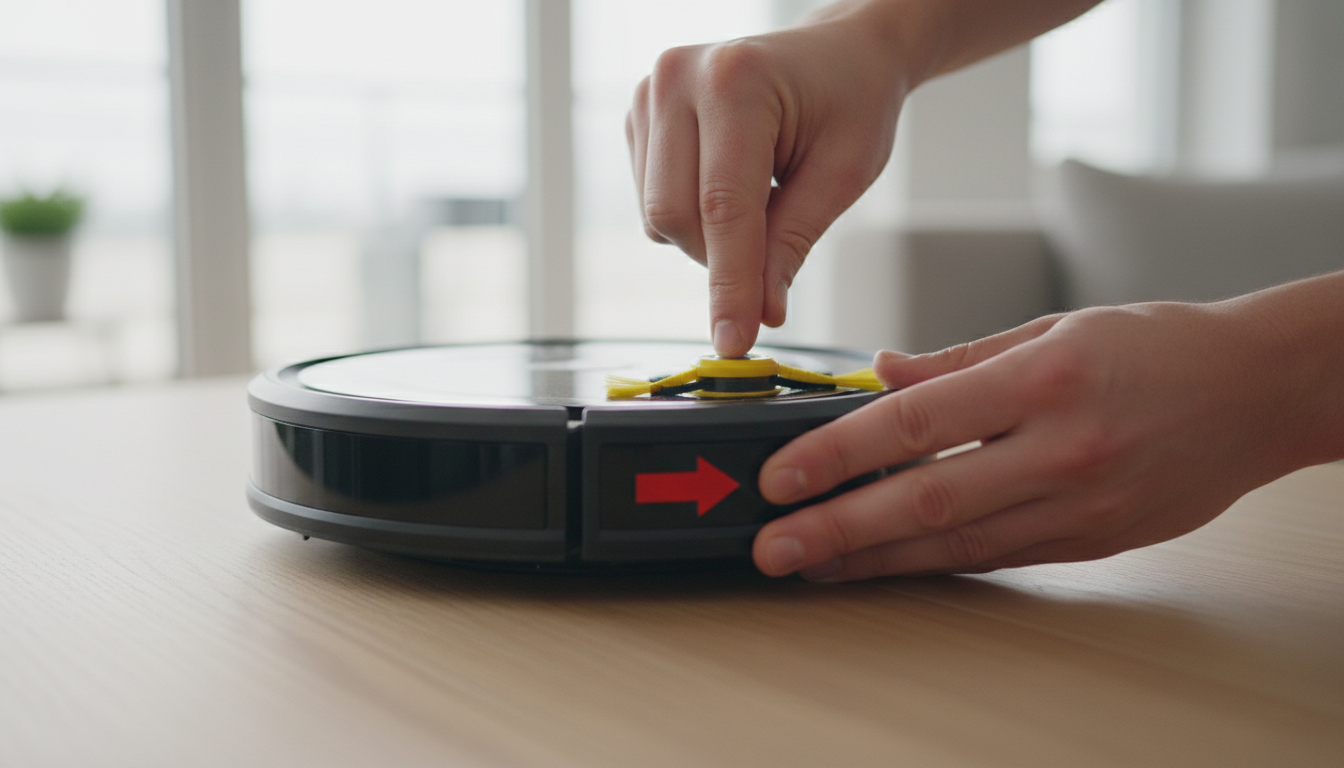
Before you begin, power down your Roomba. For i-series, j-series, and s-series models, it is best practice to remove the battery or place the robot in "ship mode" to prevent any accidental activation. Place the Roomba upside down on a soft surface, such as a towel or a rug, to avoid scratching the faceplate.
Locate the side brush. On most models (600, 700, 800, 900, e, i, and j series), the brush is secured by a single Phillips-head screw. You will need a Phillips #1 or #2 screwdriver. Expert Tip: Do not use a power drill. The torque from a power drill can easily strip the plastic threads of the motor module.
Unscrew the center screw. In many genuine iRobot brushes, the screw is "captive," meaning it will stay attached to the yellow or green plastic brush base even after it is loosened from the motor. Once the screw is spinning freely, pull the brush straight up. If it is stuck, it is likely due to hair wrap. Do not pry it with a screwdriver; instead, use a pair of needle-nose pliers to gently wiggle the brush hub until it clears the hexagonal shaft.
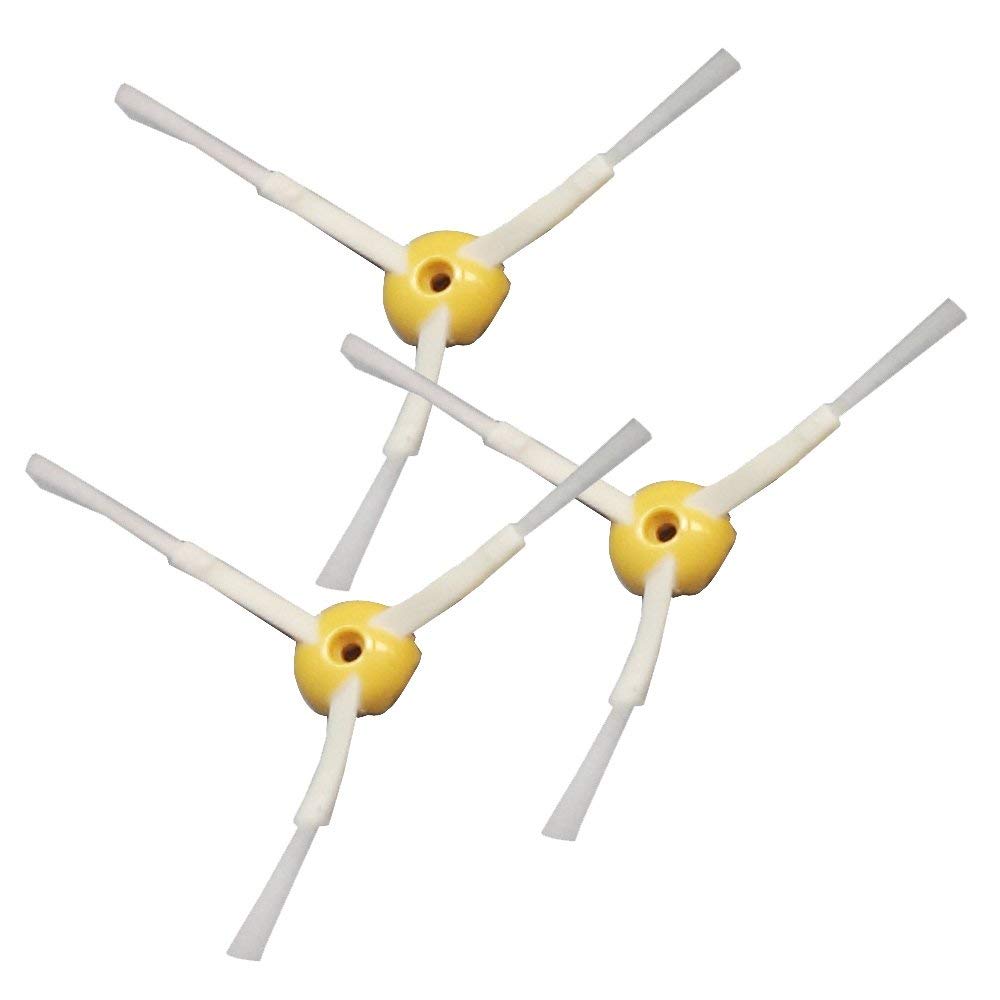
CYBERTECH 3-Pack Replacement iRobot Roomba 3 Armed Side Brushes Compatible with 500 600 700 Series,
- High-quality product
- Customer favorite
- Best value option
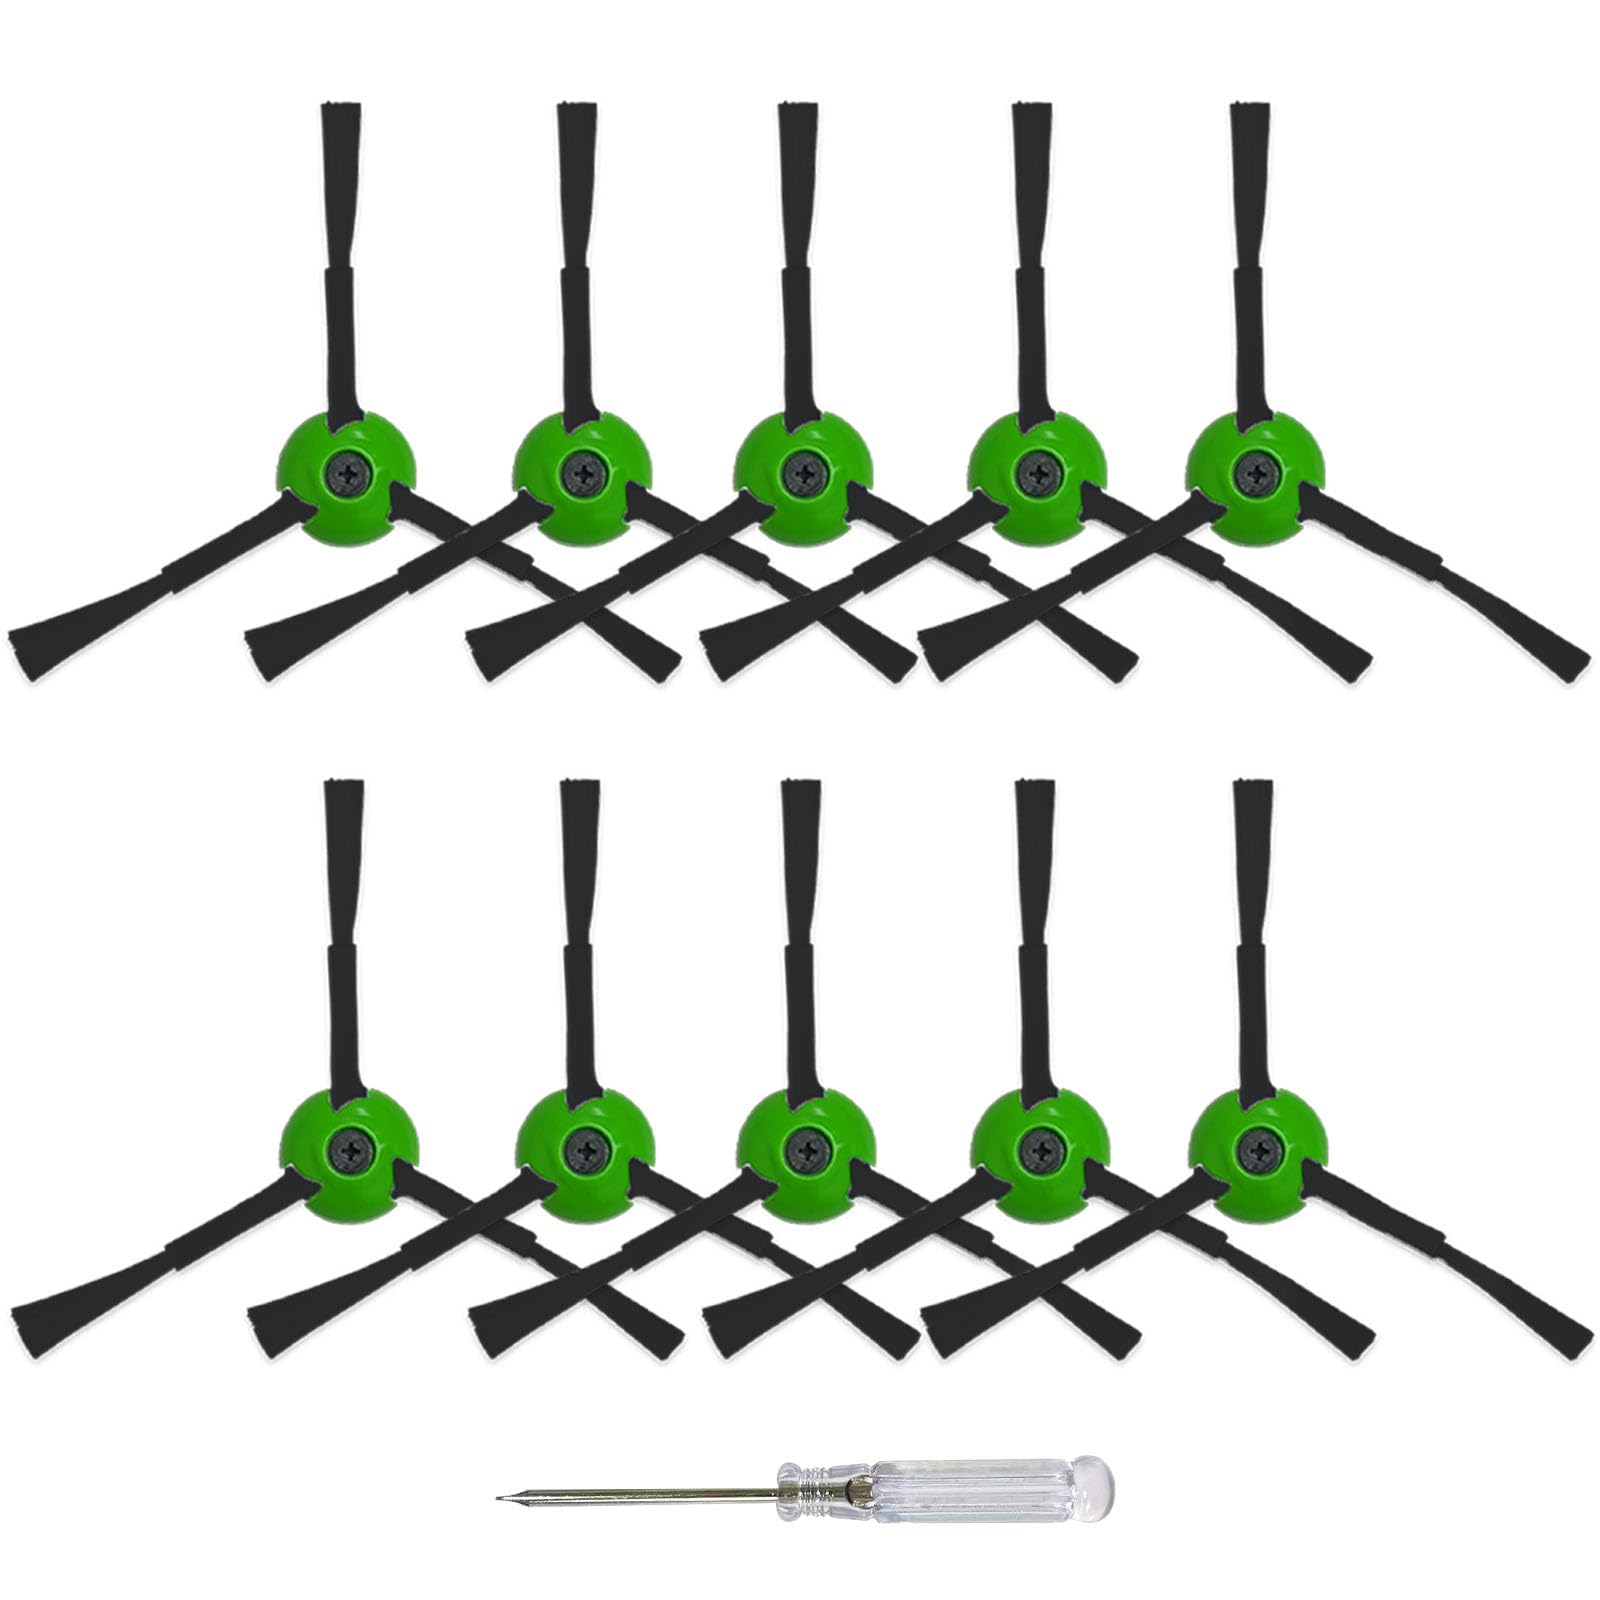
Neutop Replacement Side Brush Compatible with All iRobot Roomba 900, 800, 700, 600, 500 Series 960 9
- High-quality product
- Customer favorite
- Best value option
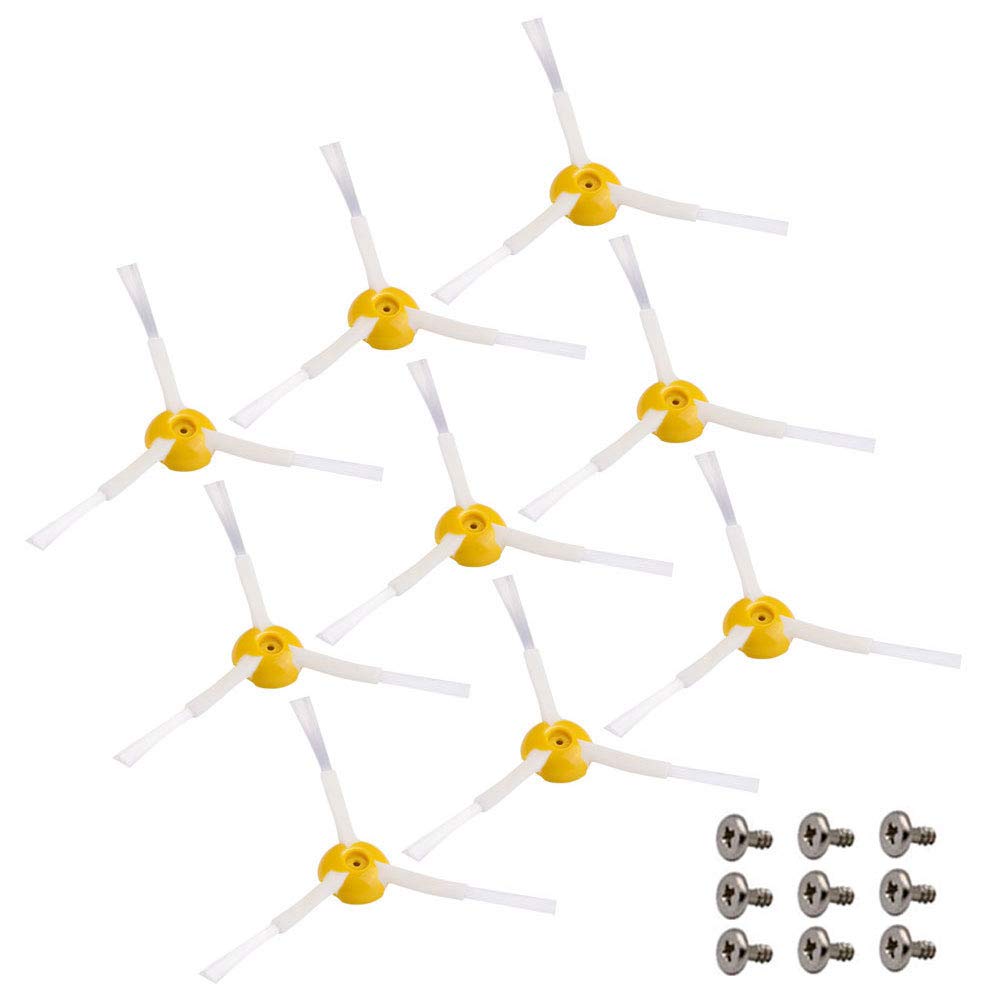
10 Pack Replacement Side Brushes Compatible with iRobot Roomba i & j & e Series All Models, Edge-Swe
- High-quality product
- Customer favorite
- Best value option
Step 2: Deep Cleaning the Module Shaft
This is the "Expert Step" that most casual users skip. Once the old brush is removed, you will likely see a thick "donut" of hair and dust wrapped around the metal motor shaft. If you install a new brush over this debris, you are asking for a motor failure within months.
Use a pair of tweezers or a small hobby knife to carefully cut away the hair wrap. Be extremely careful not to nick the rubber seal at the base of the shaft. This seal prevents dust from entering the gearbox. Once the hair is removed, use a can of compressed air to blow out any fine particulates from the hexagonal well. If there is sticky residue (common in kitchens), use a Q-tip dipped in 70% isopropyl alcohol to clean the metal shaft. A clean shaft ensures the new brush sits perfectly flush, maintaining the correct center of gravity for the motor.
Step 3: Seating and Securing the New Brush
Take your new roomba side brush replacement and align the hexagonal hole in the brush base with the hexagonal shaft on the robot. It should slide on with a satisfying "click" or firm seating. If it doesn't go all the way down, rotate it slightly until the hex-patterns align perfectly.
Once seated, tighten the screw. The key here is "snug, but not overtight." You want the brush to be immovable by hand, but you should not be cranking the screw until you hear plastic groaning. If your replacement brush did not come with a captive screw, ensure you are using the original iRobot screw, as third-party screws are sometimes the wrong thread pitch (metric vs. imperial), which can ruin the motor module's internal threads. Flip the robot back over, power it on, and run a "Spot Clean" cycle to observe the brush rotation. It should spin smoothly without wobbling or making a clicking sound.
Expert Hacks & Maintenance: Beyond the Basics
To truly act as a master of your domestic robotics, you must look beyond simple replacement. Here are several advanced maintenance hacks for the Roomba side brush:
- The Boiling Water Trick: If your side brush arms are curled but the bristles are still intact, you don't necessarily need a roomba side brush replacement yet. Remove the brush and dip the nylon arms into boiling water for 30 seconds. The "shape memory" of the nylon will often cause the arms to straighten out perfectly. Dry it thoroughly before reinstalling.
- The "Blue Loctite" Strategy: If you find that your side brush screw frequently backs out during cleaning cycles, apply a tiny drop of blue (removable) thread-locker to the screw threads. This prevents vibration-induced loosening but still allows for easy removal during the next maintenance interval.
- Frequency Calibration: iRobot suggests replacing the brush every 3–6 months. However, an authority-level recommendation is based on floor type. If you have 100% hard floors, you can stretch this to 6–8 months. If you have 50% or more medium-to-high pile carpet, the friction will degrade the bristles in 2–3 months. Inspect the brush every time you empty the bin.
- The Motor Module Swap: If you replace the brush and it still doesn't spin, or spins very weakly, the motor module itself is likely clogged internally. On most models, the entire side brush motor is a modular unit held in by two screws. It is often cheaper and easier to replace the entire $20 module than to try and repair the tiny internal plastic gears.
Mega FAQ: Expert Answers to Common Questions
1. Why does my Roomba side brush stop spinning on carpet?
This is often a safety feature. High-friction carpets create resistance. If the resistance exceeds the motor's torque limit, it stops to prevent overheating. However, if it stops on low-pile carpet, it’s a sign that hair is wrapped under the brush or the motor is failing.
2. Can I use a 6-armed brush on a model that came with a 3-armed brush?
While they may fit the hexagonal shaft, it is not recommended. The 6-armed brushes were designed for older motors with different torque curves. Using them on newer "i" or "j" series robots can cause "Error 17" (navigation issues) because the extra drag affects the robot's calculated power consumption.
3. Does the side brush scratch hardwood floors?
Genuine iRobot brushes use soft nylon bristles that are safe for all sealed hard floors. However, if a pebble or piece of grit gets trapped in the bristles, it can act like sandpaper. This is why cleaning the brush is just as important as replacing it.
4. Why is my Roomba making a clicking sound after replacement?
The brush is likely not seated fully on the hexagonal shaft. The clicking is the sound of the hex-peg slipping inside the brush's socket. Remove and reseat it immediately to prevent stripping the socket.
5. My screw is stripped. How do I get it out?
Use a wide rubber band. Place the rubber band over the screw head and press the screwdriver firmly into it. This provides the extra grip needed to turn a stripped screw. If that fails, a small screw extractor kit is required.
6. Are third-party brushes as good as genuine iRobot ones?
Some high-quality third-party brands are excellent, but many "budget" options use inferior plastics that snap easily or bristles that shed. For the best performance, look for reinforced bases.
7. How do I know if the side brush motor is burnt out?
Remove the brush and try to spin the metal hex-peg with your fingers (while the robot is off). It should have some resistance but turn smoothly. If it's frozen or spins with zero resistance (like it's disconnected), the gearbox is broken.
8. Can I wash the side brush?
Yes. You can wash it with warm soapy water to remove grease and grime. Ensure it is 100% dry before reinstalling, as moisture can travel up the shaft into the motor.
9. Why does my side brush fall off during cleaning?
This happens when the screw isn't tightened sufficiently or if the threads in the motor module are stripped. Check the screw; if it spins infinitely, you may need a new side brush motor module.
10. Does a worn side brush affect battery life?
Surprisingly, yes. A frayed brush or one bogged down by hair creates "drag." The robot must compensate by sending more power to the motor, which drains the battery faster.
11. Is the side brush different for the Roomba s9?
Yes. The s9 series uses a specialized five-armed brush with a different mounting system because of its "D" shape. It is not interchangeable with the circular Roomba models.
12. My Roomba says "Clean the side brush" but it looks clean?
The sensor is detecting "current draw." There is likely hair hidden inside the motor module behind the metal shaft. You may need to remove the bottom cover of the Roomba to clear a deep clog.
Closing Thoughts
Mastering how to replace roomba side brush components is a fundamental skill for any robot vacuum owner. It is the difference between a machine that "wanders" and a machine that "cleans." By treating the side brush as a precision instrument rather than a piece of disposable plastic, you ensure that your Roomba operates at peak efficiency, protecting your investment and your floors. Remember: a clean home starts at the edges. Regular inspection, cleaning the shaft, and timely roomba side brush replacement will keep your mechanical assistant running for years to come.