The Anatomy of Suction: Why Your Shark Vacuum Hose is the Lifeline of Your Home
When you invest in a Shark vacuum, you aren’t just buying a cleaning tool; you are investing in a sophisticated piece of home engineering designed to maintain the air quality and hygiene of your living space. However, even the most robust machines have a "weakest link." In the world of upright and lift-away vacuums, that link is almost always the hose. Whether you are using a Navigator, a Rotator, or the Apex series, the hose is the primary conduit through which every ounce of dust, pet hair, and debris must travel. When that conduit fails, the entire system collapses.
Understanding how to replace shark vacuum hose components is not just a matter of "fixing a part"—it is about restoring the pneumatic integrity of your machine. A Shark vacuum relies on a sealed system to create the pressure differential necessary to lift heavy debris from deep carpet fibers. The moment a crack, tear, or pinhole appears in the hose, that seal is compromised. You might notice a high-pitched whistling sound, a sudden drop in cleaning efficiency, or the brush roll failing to pick up larger particles.
Many homeowners mistakenly believe that a loss of suction means the motor is dying, leading them to prematurely discard a perfectly good $300 machine. In reality, a shark hose replacement is often all that stands between a "broken" vacuum and a machine that performs like it’s brand new. This guide is designed to move beyond basic DIY advice. We are going into the technical weeds to ensure you understand the "why" behind the "how," empowering you to perform a professional-grade repair that extends the life of your Shark by years. By the end of this mega-guide, you will have the confidence to disassemble, replace, and reassemble your vacuum’s hose system with the precision of a factory technician.
The Critical Problem: The Physics of Hose Failure and Suction Loss
To understand why your hose failed, we have to look at the physics of vacuuming. The hose on a Shark vacuum is subjected to three primary stressors: mechanical tension, internal abrasion, and material fatigue. Shark hoses are typically made of a wire-reinforced plastic or vinyl. While flexible, this material is constantly being stretched as you move the wand around the room. This "flex fatigue" eventually causes the material to thin, particularly near the cuffs where the hose meets the rigid plastic connectors.
The second factor is internal abrasion. Think of your vacuum hose as a highway for microscopic glass, sand, and sharp debris. At high velocities, these particles act like sandpaper on the interior walls of the hose. Over hundreds of hours of use, this thins the hose from the inside out. Finally, there is the issue of "clog-induced pressure." When a clog occurs, the motor continues to pull air, creating a high-vacuum state that can cause the hose to collapse inward or put immense strain on existing weak points.
The "Critical Problem" for most Shark owners is identifying which hose has failed. Most Shark uprights actually have two hoses:
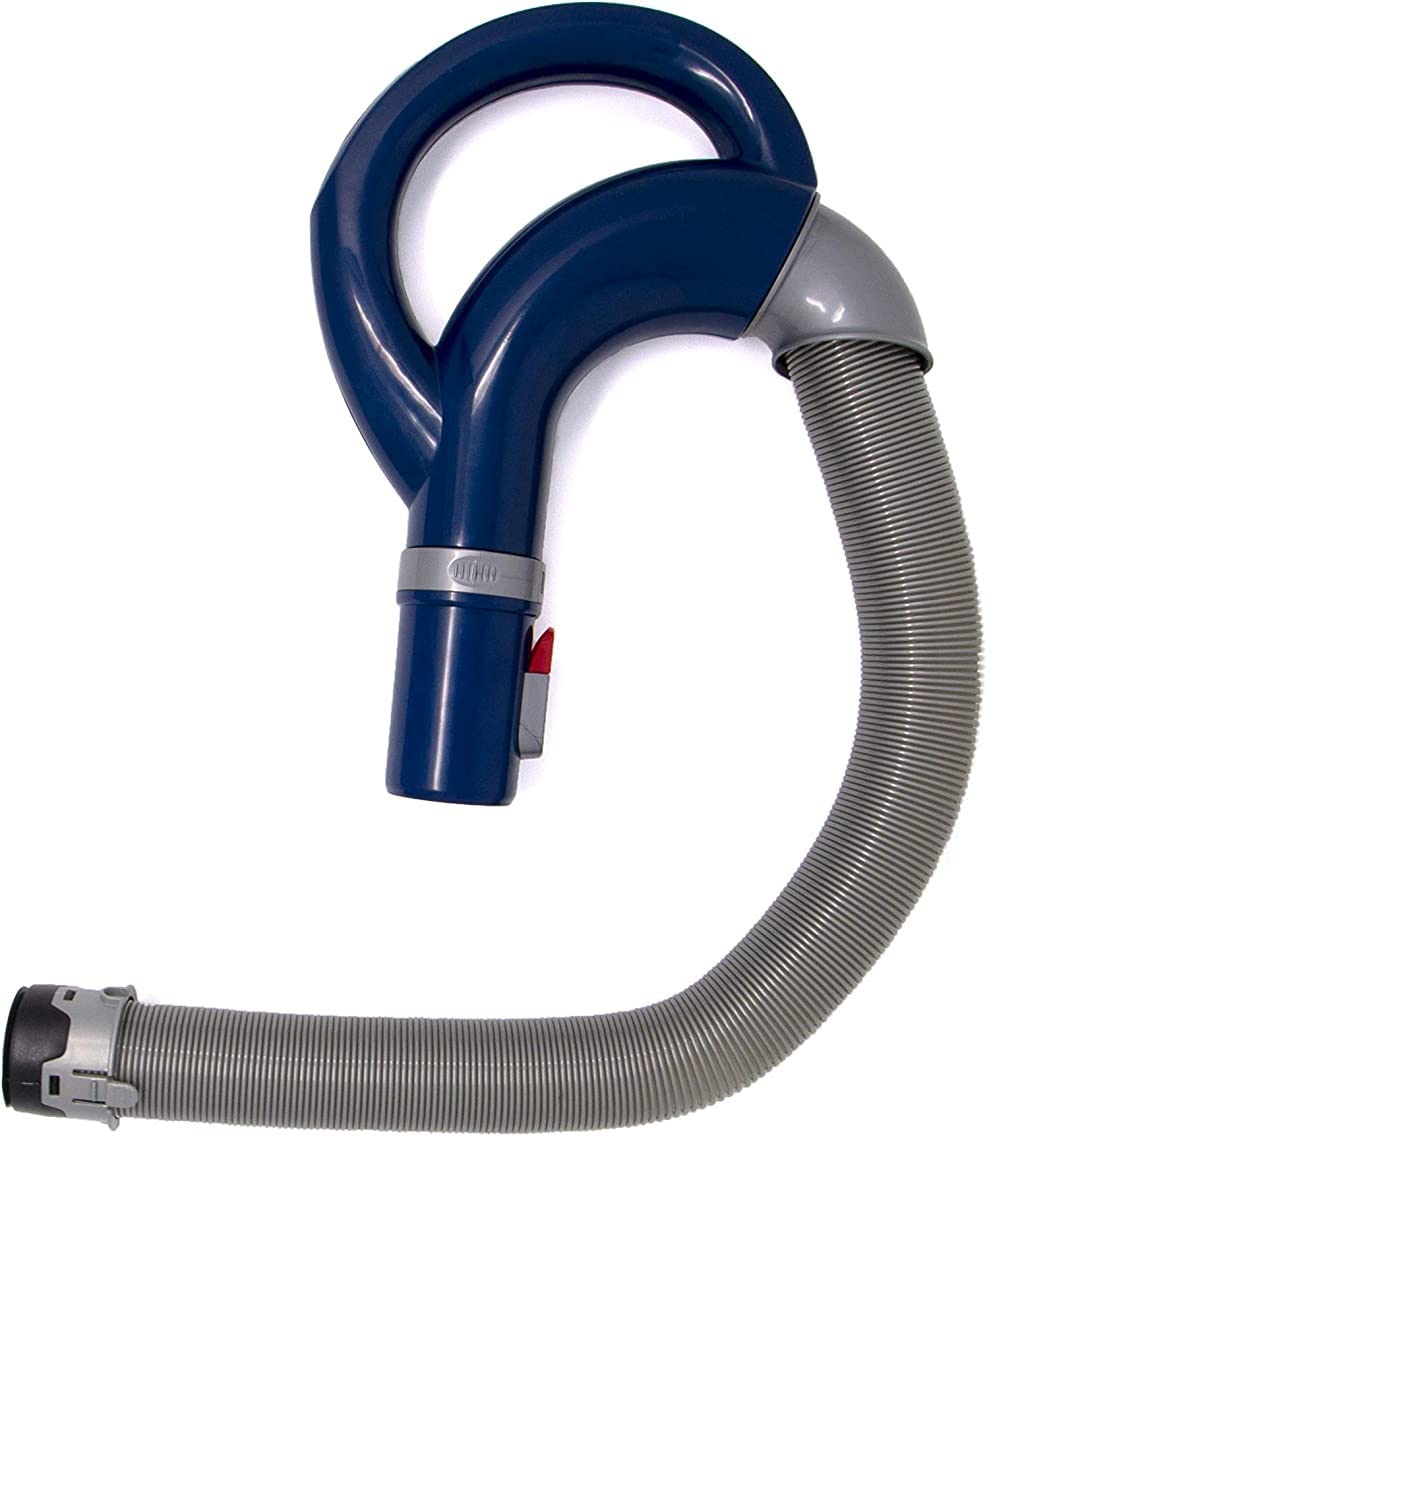
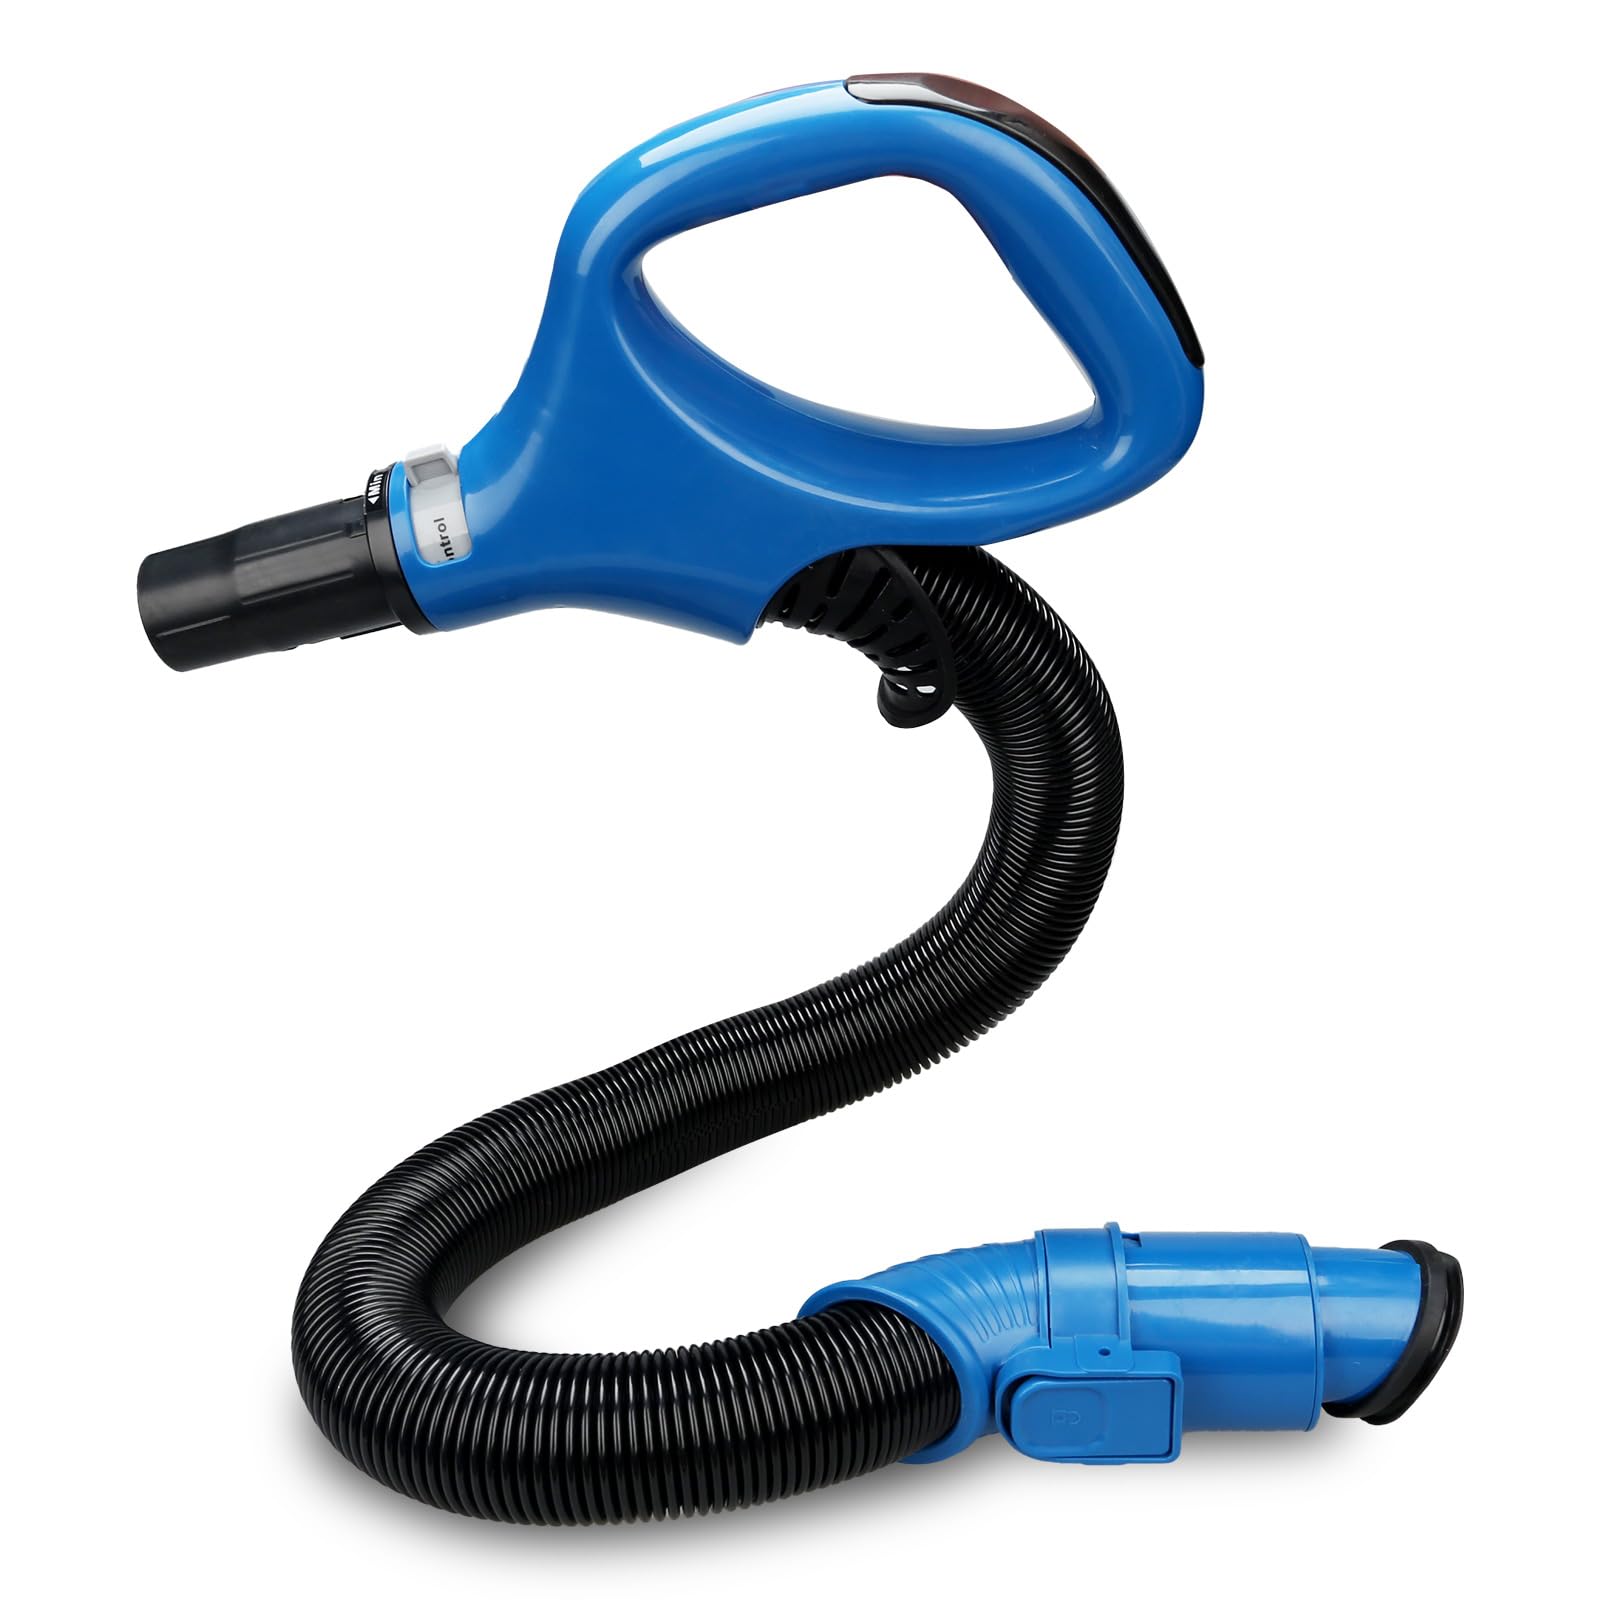
- The Handle/Main Hose: This is the long, expandable hose you use for above-floor cleaning.
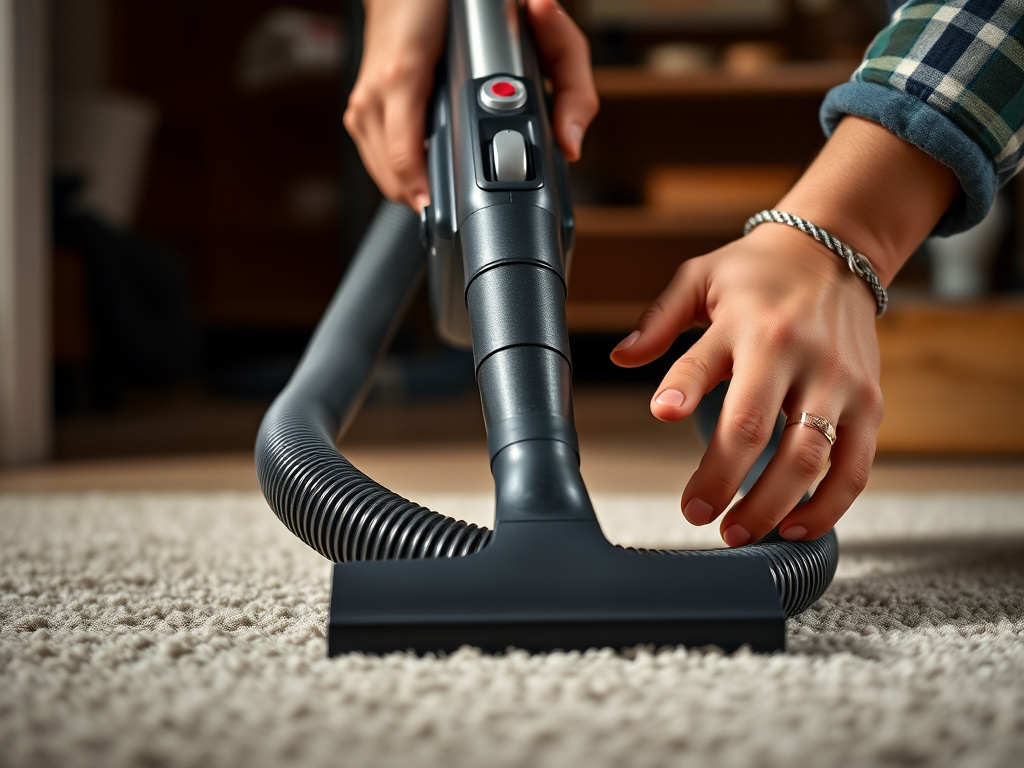
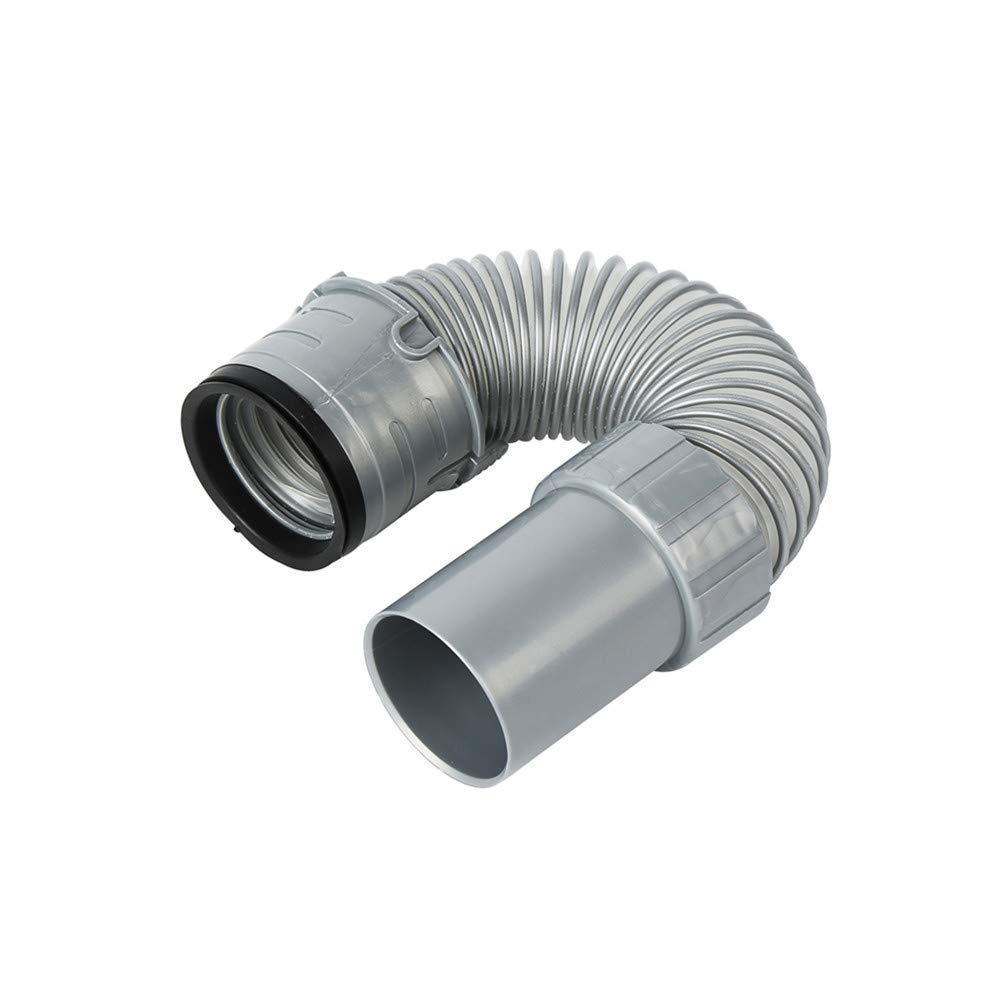
- The Lower Nozzle Hose: This is the small, often overlooked "duckbill" or "bellows" hose located near the floor head.
A failure in the lower nozzle hose is particularly insidious because it is hidden from view. You might see the main hose looks fine, yet the vacuum picks up nothing. This is because a tear in the lower hose allows air to enter at the base, bypassing the suction path from the floor. This destroys the Bernoulli effect—the principle of fluid dynamics that creates the lift needed for cleaning. If you are experiencing poor performance, you must inspect both. A shark hose replacement for the lower nozzle often requires more technical skill, as it involves opening the floor nozzle assembly, whereas the main hose is usually a "click-and-swap" process. Understanding this distinction is the first step in a successful repair.
Methodology & Core Guide: Step-by-Step Shark Hose Replacement
Replacing a Shark hose varies slightly by model (Navigator vs. Rotator vs. Apex), but the engineering logic remains consistent. Follow these steps to ensure a perfect fit and a restored seal.
Phase 1: Identifying Your Model and Sourcing the Part
Before you turn a single screw, you must identify your specific model number. Look for a silver or white sticker on the back or bottom of the vacuum. It will say something like "NV352," "UV725," or "ZU560." Shark parts are not universally interchangeable. A Navigator hose will not fit a Rotator. Ensure you have the correct replacement part on hand before beginning.
Phase 2: Replacing the Main (Upper) Hose
The main hose is the most common replacement. On most Shark Lift-Away models, this is a tool-free process.
- Power Down and Unplug: Never work on a vacuum while it is connected to a power source.
- Release the Wand: Press the "Wand Release" button and pull the metal wand out of the hose handle.
- Disconnect the Hose Base: Locate the base of the hose where it connects to the vacuum pod. There are usually two tabs on the sides. Squeeze these firmly and pull the hose cuff away from the pod.
- Remove the Handle: If your replacement hose includes the handle (which most do), you are now ready to swap. If you are only replacing the "skin" (rare), you would need to unscrew the handle assembly, but we recommend replacing the entire hose/handle assembly for a better seal.
- Install the New Hose: Align the new hose cuff with the inlet on the vacuum pod. Push until you hear a distinct "click." This click is vital; it indicates the O-ring or gasket has seated properly to maintain the sealed system.
- Reattach the Wand: Slide the handle onto the wand until it locks.
Phase 3: Replacing the Lower Nozzle (Bellows) Hose
This is the "Expert Level" repair. If your vacuum has suction at the handle but not at the floor, this is your culprit.
- Flip the Floor Nozzle: Turn the vacuum over so the brush roll is facing up.
- Remove the Access Screws: You will typically find 6 to 9 Phillips or Torx (T15) screws. Note that some may be hidden under the small front wheels.
- Open the Housing: Carefully lift the bottom plate off. You will see a short, ribbed hose connecting the brush roll chamber to the main vacuum body.
- Remove the Old Bellows: This hose is often held in place by friction and a plastic frame. Pull it out of its tracks. You may need a flat-head screwdriver to gently pry the plastic cuffs out of their slots.
- Clean the Tracks: Before installing the new hose, wipe away any hair or grit from the mounting area. This ensures a tight air seal.
- Seat the New Hose: Press the new bellows hose into the tracks. Ensure the ribs of the hose line up with the grooves in the plastic housing.
- Reassemble: Replace the cover and tighten the screws. Do not over-tighten, as you are screwing into plastic.
Vacuum Replacement Parts for Shark Navigator Professional Lift Away DLX Deluxe Nv360 Nv361 – Hose Ha
- High-quality product
- Customer favorite
- Best value option
ZU560 replacement hose handle for Shark Navigator Rotator Lift-Away Upright Vacuum Models ZU560 Blue
- High-quality product
- Customer favorite
- Best value option
Vacuum cleaner hose Replacement Part for Shark Navigator Lift-Away NV350 NV351 NV352 NV355 NV356 NV3
- High-quality product
- Customer favorite
- Best value option
Expert Hacks & Maintenance: Pro-Level Suction Preservation
Once you have mastered how to replace shark vacuum hose components, the goal shifts from repair to prevention. As an expert, I recommend the following maintenance hacks to double the lifespan of your new hose:
1. The Silicone Spray Trick
New hoses can be stiff and prone to cracking at the stress points. Lightly spray a rag with high-quality silicone lubricant and wipe the exterior of the hose. This keeps the plastic supple and reduces the friction when the hose expands and contracts. Warning: Do not use WD-40 or petroleum-based lubricants, as they can degrade the plastic.
2. Avoiding "Over-Extension"
The most common cause of shark hose replacement is stretching the hose too far while using attachments. If you feel resistance, move the vacuum pod closer to you. Constant over-extension weakens the wire coil inside the hose, leading to structural failure.
3. The "Dollar Bill" Seal Test
After replacing your hose, turn the vacuum on and hold a dollar bill (or any light piece of paper) near the connection points. If the paper flutters or is sucked toward the joint, you have an air leak. This usually means the cuff isn't seated properly. Re-click it into place until the leak stops.
4. Clearing Clogs Without Damage
Never use a wire hanger to clear a clog in a Shark hose. The sharp metal can easily puncture the thin plastic walls. Instead, use a wooden dowel or a flexible plastic plumbing snake. Always push the clog in the opposite direction of normal airflow to dislodge it effectively.
Mega FAQ: Expert Answers to Your Shark Hose Questions
1. Can I use duct tape to fix a hole in my Shark hose?
Duct tape is a temporary "band-aid" at best. The adhesive eventually fails due to the heat generated by the vacuum, and the tape does not allow the hose to expand or contract, which will cause new tears to form at the edges of the tape. For a permanent fix, a full shark hose replacement is necessary.
2. How do I know if my lower nozzle hose is broken?
Turn the vacuum on and look at the small bellows hose near the floor. If you see it collapsing or if you can feel air blowing out of it while the vacuum is running, it is torn. Another sign is if the vacuum works perfectly with the wand but picks up nothing on the floor.
3. Are third-party replacement hoses safe to use?
Yes, as long as they are specifically rated for your model number. Many high-quality third-party manufacturers produce hoses that are as durable as OEM (Original Equipment Manufacturer) parts, often at a lower price point.
4. Why does my new hose smell like burning rubber?
A small amount of "new plastic" smell is normal. However, if it smells like burning, check the connection. An improperly seated hose can cause the motor to overwork, leading to overheating.
5. Does replacing the hose void my Shark warranty?
Generally, replacing a user-serviceable part like a hose does not void the warranty on the rest of the machine. However, always check your specific warranty terms.
6. My hose is fine, but the suction is still low. What else could it be?
Check your HEPA filter and the foam/felt filters under the dust cup. If these are clogged, the hose cannot transport air regardless of its condition.
7. How often should I replace my Shark vacuum hose?
There is no set timeline. With heavy use and pet hair, a hose may last 2-3 years. With light use and proper maintenance, it can last 5+ years.
8. What tools do I need for a lower hose replacement?
Usually just a Phillips head screwdriver. Some newer Shark models use Torx T15 security screws to discourage home repair, so a multi-bit driver set is a good investment.
9. Can I wash my Shark vacuum hose?
You can run warm water and mild soap through the main hose, but ensure it is 100% dry before reattaching it. Any moisture left inside will trap dust, creating a "mud" that will permanently clog your vacuum and potentially ruin the motor.
10. Why is the hose on my Rotator so much stiffer than the Navigator?
Shark uses different plastic densities for different series. The Rotator series often features thicker, more "premium" hoses that require a "break-in" period to reach full flexibility.
11. Can I use a hose from a different Shark model if it looks the same?
No. Shark changes the diameter of the cuffs and the configuration of the locking tabs by mere millimeters between models. Using the wrong hose will result in a poor seal or a hose that falls off during use.
12. What is the "duckbill" hose?
This is another name for the lower nozzle hose. It is called a duckbill because of its flattened, wide shape where it enters the brush roll housing.
Closing Thoughts: Restoring the Power of Your Shark
Learning how to replace shark vacuum hose components is a foundational skill for any homeowner who values both cleanliness and fiscal responsibility. The Shark vacuum is a remarkably resilient machine, but it is only as good as the air it can move. By identifying the specific point of failure—whether it be the main handle hose or the hidden lower nozzle bellows—you can save yourself the cost of a new vacuum and keep your home allergen-free.
Remember that a vacuum is a system of balanced pressures. A high-quality shark hose replacement restores that balance, allowing the cyclonic technology inside the pod to function as the engineers intended. Don't settle for subpar cleaning or the annoying whistle of a leaking hose. Take the 20 minutes required to perform this maintenance, and you'll be rewarded with a machine that feels, sounds, and cleans like it just came out of the box. Keep your filters clean, avoid over-stretching, and your Shark will continue to be the workhorse of your cleaning arsenal for years to come.