The High Stakes of Pet Hair Vacuum Maintenance
Owning a pet brings immeasurable joy, but it also introduces a relentless adversary into the home: pet hair. For the uninitiated, vacuuming seems like a straightforward chore. However, for those sharing their lives with Labradors, Huskies, or Maine Coons, a vacuum cleaner is not just an appliance—it is a frontline defense system. To keep this system operational, pet hair vacuum maintenance must transition from an occasional thought to a disciplined regimen.
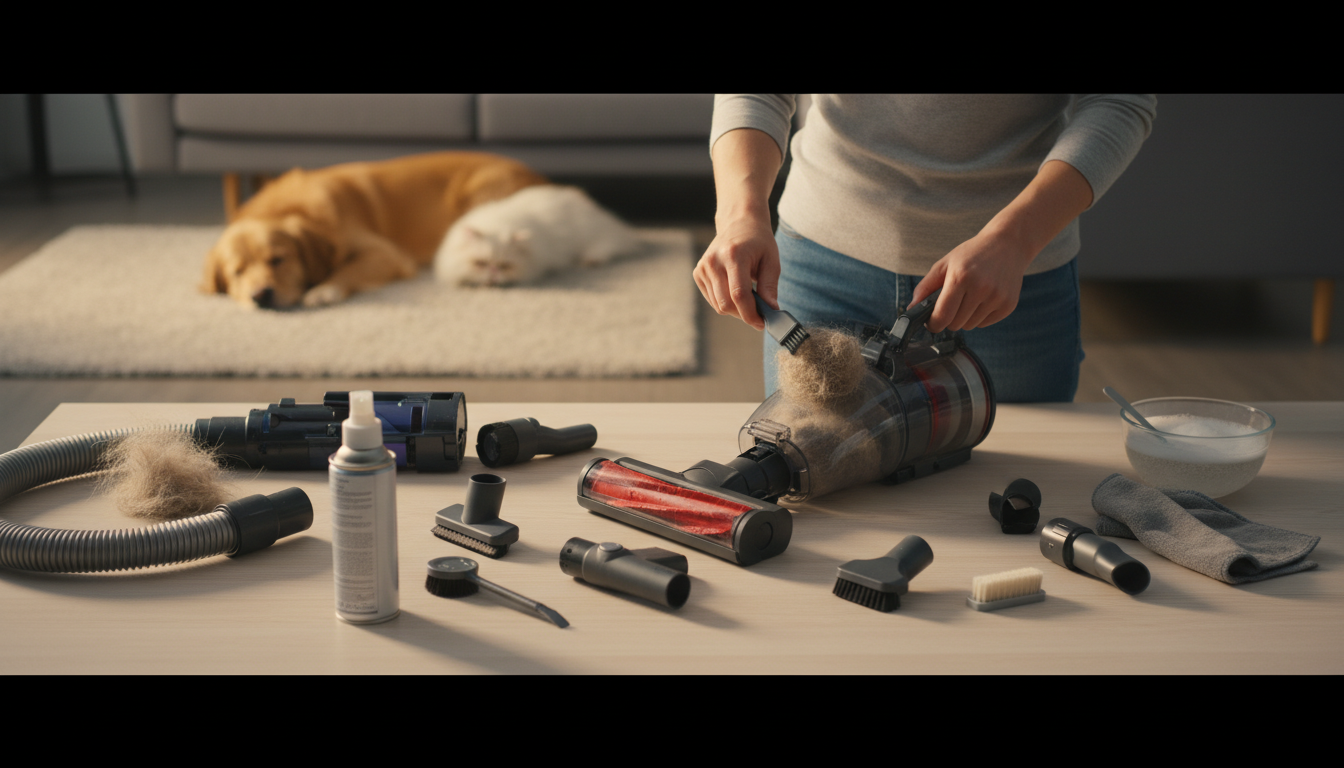
The reality of "pet glitter" is that it isn't just hair. It is a complex mixture of keratin fibers, skin oils, dander, and outdoor allergens that pets hitchhike into the carpets. When you use a high-performance vacuum to "clean pet hair vacuum" canisters and floors, you are asking a machine to process a material that is structurally designed to cling, tangle, and mat. Unlike standard household dust, which is largely inorganic or comprised of small skin cells, pet hair is long, tensile, and often coated in sebum. This makes it uniquely destructive to the internal mechanics of a vacuum cleaner.
Neglecting your vacuum’s health doesn't just result in a less-clean floor; it leads to a cascade of mechanical failures. A vacuum that isn't maintained specifically for pet hair will see a 50% reduction in suction power within just a few months of heavy use. This guide serves as the definitive manual for the modern pet owner. We aren't just talking about emptying the bin. We are talking about deep-tissue maintenance that ensures your machine operates at peak CFM (Cubic Feet per Minute) airflow, protecting both your investment and your home’s air quality. By understanding the synergy between mechanical airflow and fiber agitation, you can extend the life of your vacuum by years, ensuring that every pass over the rug is as effective as the day you unboxed the machine.
The Critical Problem: Why Pet Hair Destroys Standard Machines
To master pet hair vacuum maintenance, one must first understand the enemy. Pet hair is a mechanical nightmare for several specific reasons. First and foremost is the "Tug-of-War" effect on the brush roll. As the agitator spins at thousands of RPMs, long pet hairs wrap around the cylinder. This creates a "band" of hair that gradually tightens. This isn't just a surface issue; as the hair band thickens, it creates friction against the vacuum’s bearings and the belt. This friction generates heat. In many cases, the heat becomes intense enough to melt plastic components or cause the drive belt to snap prematurely.
Secondly, there is the issue of "Bio-Clogging." Pet hair is rarely "clean." It carries natural oils (sebum) from the animal’s skin. When these oily fibers are sucked into the vacuum, they don't just sit in the bin; they coat the interior of the hoses and the surface of the filters. This oily residue acts as an adhesive for fine dust. While a standard vacuum might easily shake off dry dust from a HEPA filter, pet-related debris creates a "paste" that seals the filter’s pores. Once these pores are sealed, the motor has to work twice as hard to pull air through the machine. This leads to overheating and, eventually, total motor burnout.
Furthermore, we must address the "Odor Impregnation" factor. Pet dander and hair are organic materials that decompose. When trapped in a warm vacuum environment, they begin to off-gas. If you don't properly clean pet hair vacuum components, every time you turn on the machine, you are effectively using a giant aerosolizer to spray "stale dog" scent throughout your living room. This is why standard maintenance isn't enough; you need a protocol that addresses the microscopic and biological impact of pet hair.
Lastly, the static charge of pet hair makes it particularly difficult to manage. Keratin is an excellent insulator, and the friction of the brush roll can build up a static charge that causes the hair to "stick" to the internal plastic walls of the vacuum. This leads to "clumping" in the intake ports, which can go unnoticed until the suction drops to near zero. Understanding these technical hurdles is the first step in moving from a casual cleaner to a vacuum maintenance expert.
Methodology & Core Guide: The Gold Standard of Maintenance
To keep your machine in elite condition, follow this tiered maintenance methodology. This approach treats the vacuum as a system of interconnected parts: Agitation, Airflow, and Filtration.
1. The Agitator (Brush Roll) Protocol
The brush roll is the most abused part of a pet vacuum. You should inspect this after every major cleaning session.
- The Removal: If your vacuum allows, remove the brush roll entirely. This gives you access to the end caps and bearings where hair loves to hide.
- The Surgical Cut: Never pull hair off with your hands; this puts stress on the bristles. Use a seam ripper or a dedicated vacuum cleaning tool to slice through the hair "bridge" along the length of the roll.
- Bearing Check: Remove the end caps and check for "hair donuts" wrapped around the spindle. If left unchecked, these will smoke the motor.
2. The Filtration Deep-Dive
A pet vacuum lives and dies by its airflow. If you can't feel the air exhausting strongly, your filters are failing.
- Pre-Motor Filters: These are usually foam or felt. Wash them in lukewarm water (no soap) every 2 weeks. They must be 100% dry before re-entry—usually 24 to 48 hours.
- HEPA Filters: These cannot usually be washed (unless specified). For pet owners, the "tap and clear" method isn't enough. Use a soft brush to gently remove the oily dust layer between the pleats. Replace these every 6 months regardless of how they look.
- The Cyclone Assembly: In bagless vacuums, the "cyclone" is the plastic cone area. Pet hair often gets stuck in the tiny holes of the shroud. Use a damp microfiber cloth to wipe this area clean to maintain the centrifugal force needed to separate dust from air.
3. Hose and Intake Integrity
Pet hair often forms "plugs" at the elbows of the vacuum hose.
- The Drop Test: Drop a coin or a small marble through the hose. If it doesn't fall through instantly, you have a partial blockage of pet hair.
- The Vinegar Flush: To remove the "pet smell" from hoses, you can rinse them with a mixture of water and white vinegar. Ensure the hose is completely dry before reconnecting to prevent mold growth.

AIRROBO Dog Grooming Vacuum Kit,12000Pa Strong Pet Vacuum for Shedding,Grooming Hai,Quiet,PG100,2L L
- High-quality product
- Customer favorite
- Best value option
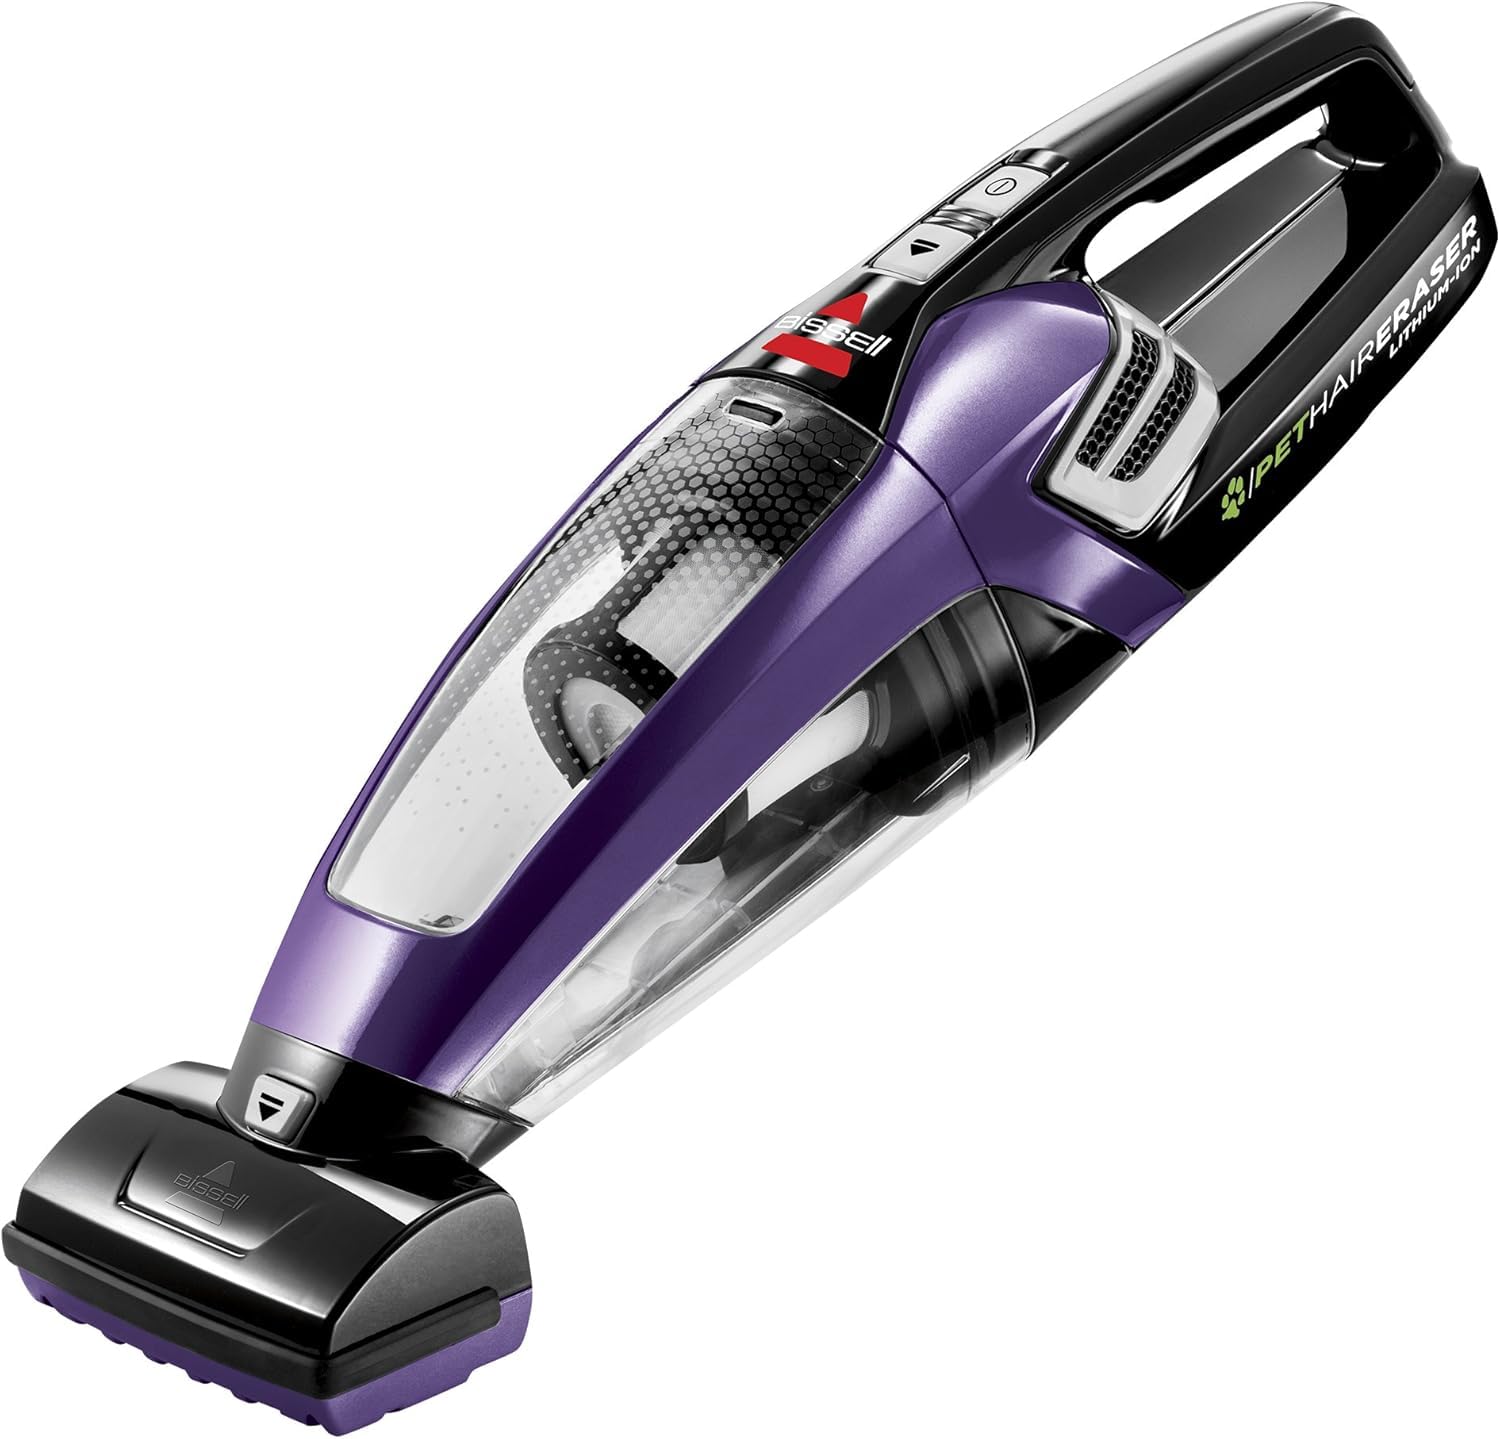
BISSELL Pet Hair Eraser Cordless Hand Vacuum, Lithium Ion, Home, Auto, and Pet Vacuum, Easy-Empty Di
- High-quality product
- Customer favorite
- Best value option
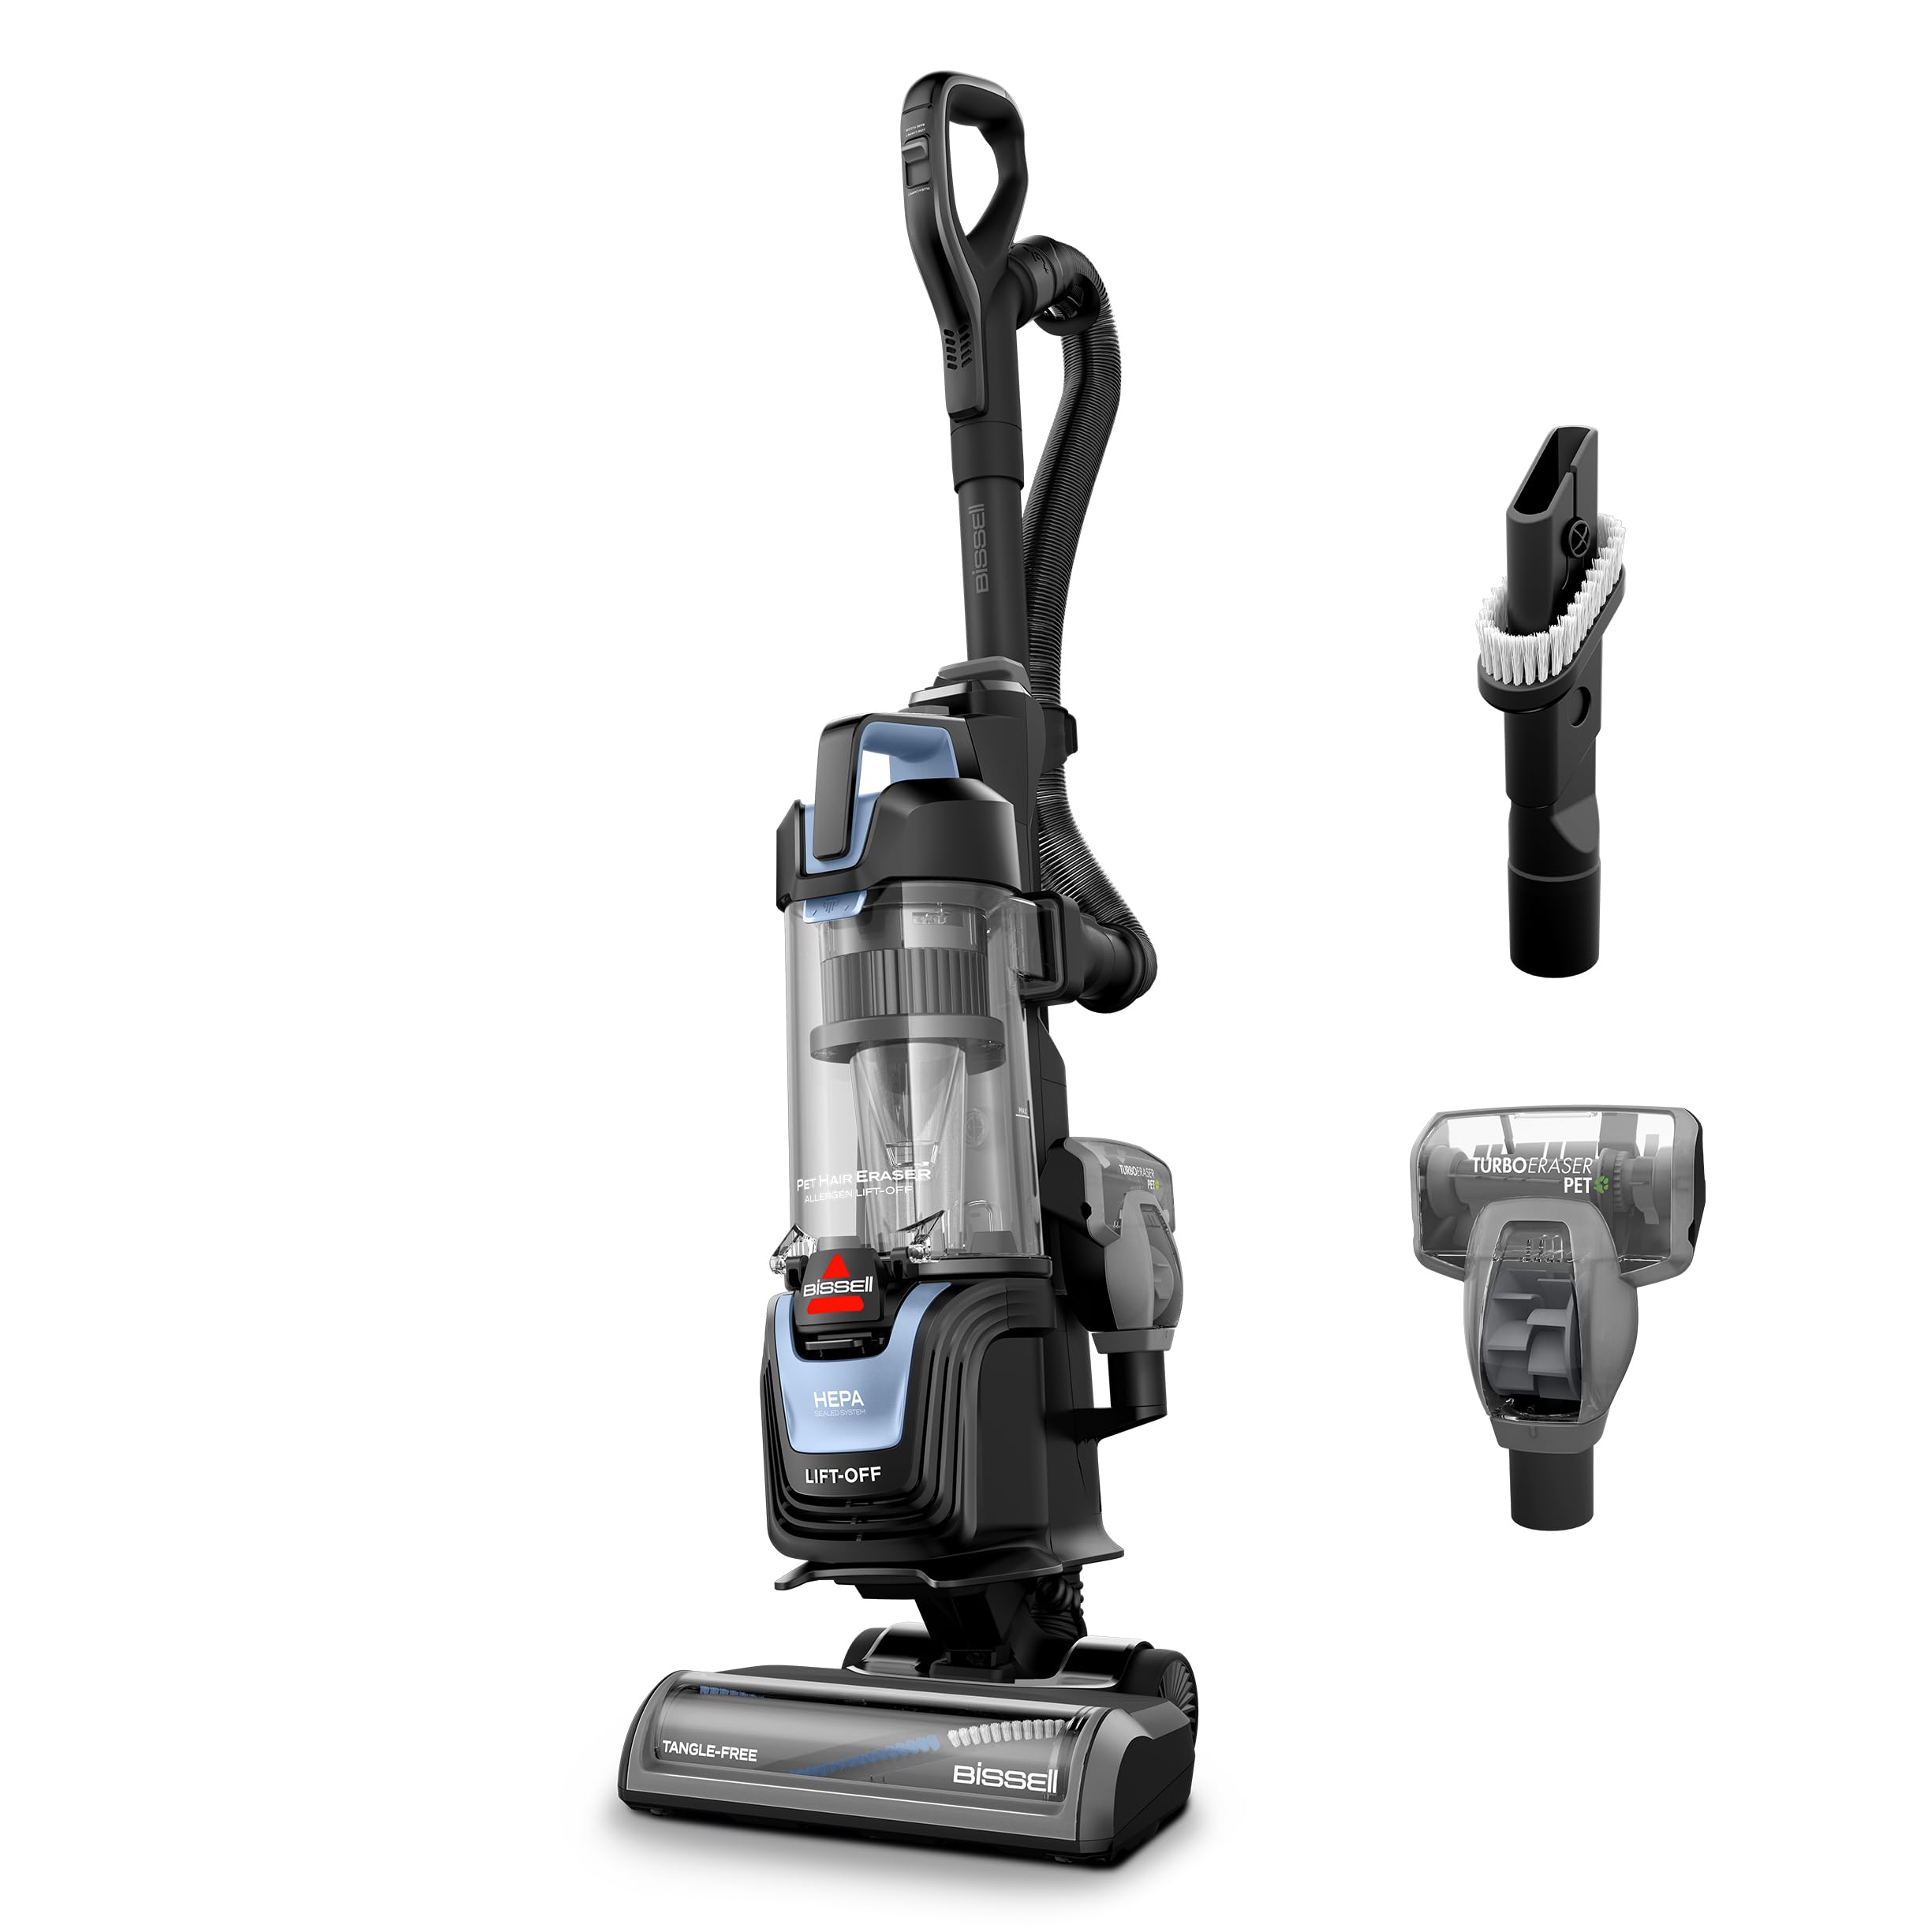
Bissell Pet Hair Eraser Allergen Lift-Off with Powerful Suction, HEPA, Tangle-Free Brush Roll, 39883
- High-quality product
- Customer favorite
- Best value option
Expert Hacks & Advanced Maintenance
For those who want to take their pet hair vacuum maintenance to the professional level, these advanced hacks will ensure your machine outlasts the warranty by years.
The Seam Ripper Secret
Forget scissors. Scissors are bulky and often miss the hair closest to the spindle. A sewing seam ripper is the ultimate tool for a clean pet hair vacuum. Its pointed tip can slide under the tightest hair wraps, and the small curved blade slices through keratin like butter without damaging the nylon bristles of your brush roll.
Eliminating Static Cling
If you find that pet hair is sticking to the outside of your vacuum or the inside of the bin, your plastic has developed a static charge. Wipe the entire machine down with a dryer sheet. The anti-static agents will coat the plastic, preventing hair from "jumping" onto the machine and helping it slide more easily into the bin.
Enzymatic Bin Cleaning
Emptying the bin isn't enough to stop the smell. Once a month, wash your plastic dust bin with an enzymatic cleaner (the same kind you use for pet accidents). These enzymes actually eat the organic proteins left behind by pet dander, neutralizing the "wet dog" smell at its source rather than just masking it.
Compressed Air for the Motor
Fine pet dander eventually bypasses the filters and enters the motor housing. Every six months, take your vacuum to the garage or balcony and use a can of compressed air to blow out the motor vents. You will be shocked at the amount of "grey snow" that exits the machine. This keeps the motor running cool and prevents electrical shorts.
Mega FAQ: Expert Answers for Pet Owners
How often should I perform pet hair vacuum maintenance?
For homes with heavy shedders, the brush roll should be checked weekly. Filters should be cleaned or tapped out every two weeks, and a full deep clean (hoses, bin, and motor vents) should occur every three months.
Can I wash my vacuum filters with soap?
Generally, no. Soap residue can clog the microscopic pores of the filter, making it less effective. Use plain, lukewarm water. If the filter has a strong odor, a tiny drop of mild dish soap is acceptable, but it must be rinsed thoroughly until no bubbles remain.
Why does my vacuum smell like dog even after I empty it?
The smell is caused by dander and oils trapped in the filters, the hose walls, and the cyclone assembly. You must clean these components with an enzymatic cleaner or a vinegar solution to neutralize the organic compounds.
What is the best tool for removing hair from the brush roll?
A seam ripper is the gold standard. It is safer than a knife and more precise than scissors.
Is it better to have a bagged or bagless vacuum for pet hair?
Bagged vacuums are often better for allergy sufferers because the bag acts as an extra layer of filtration and prevents dander from escaping when you empty it. However, bagless vacuums are more convenient for the high volume of hair pets produce.
How do I know if my vacuum motor is overheating?
If the vacuum shuts off unexpectedly or the air coming out of the exhaust feels hot rather than warm, your motor is struggling. This is usually due to a clogged filter or a tangled brush roll.
Can pet hair break the vacuum belt?
Yes. If hair wraps around the brush roll and creates enough resistance, the belt will stretch or snap as it tries to turn a seized agitator.
Should I use a HEPA filter?
Absolutely. Pet dander is a major allergen. A HEPA filter traps 99.97% of particles down to 0.3 microns, ensuring the dander stays in the machine instead of being blown back into the air.
How do I clear a clog in the vacuum wand?
Use a broom handle to gently push the clog through. Never use a wire hanger, as this can puncture the plastic lining of the hose.
Why is my vacuum losing suction on the carpet but not the hard floor?
This usually indicates that the brush roll is not spinning correctly. Hair is likely jammed in the bearings, preventing the agitator from "beating" the carpet fibers to release the hair.
Can I use essential oils to make my vacuum smell better?
Do not put oils directly on filters, as they can attract more dust and clog the pores. Instead, put a few drops on a cotton ball and place it inside the vacuum bag or bin.
How long should a pet vacuum last?
With proper pet hair vacuum maintenance, a high-quality machine should last 5 to 8 years. Without maintenance, many fail within 18 months.
Closing Thoughts: The Longevity of Your Machine
Maintaining a vacuum in a pet-friendly home is a commitment to both hygiene and mechanical preservation. We often view our vacuums as indestructible tools, but they are actually precision instruments that rely on a delicate balance of airflow and agitation. When pet hair enters the equation, that balance is constantly threatened.
By implementing the tips in this guide—from the "surgical" brush roll cleaning to the enzymatic bin washes—you aren't just cleaning your floors; you are protecting your investment. A well-maintained vacuum doesn't just work better; it creates a healthier environment for both you and your pets. Remember, the goal isn't just to clean pet hair vacuum parts; it’s to ensure that the machine remains a powerful ally in your quest for a hair-free home. Treat your vacuum with the same care you'd give any other high-performance tool, and it will reward you with years of powerful, odor-free service.