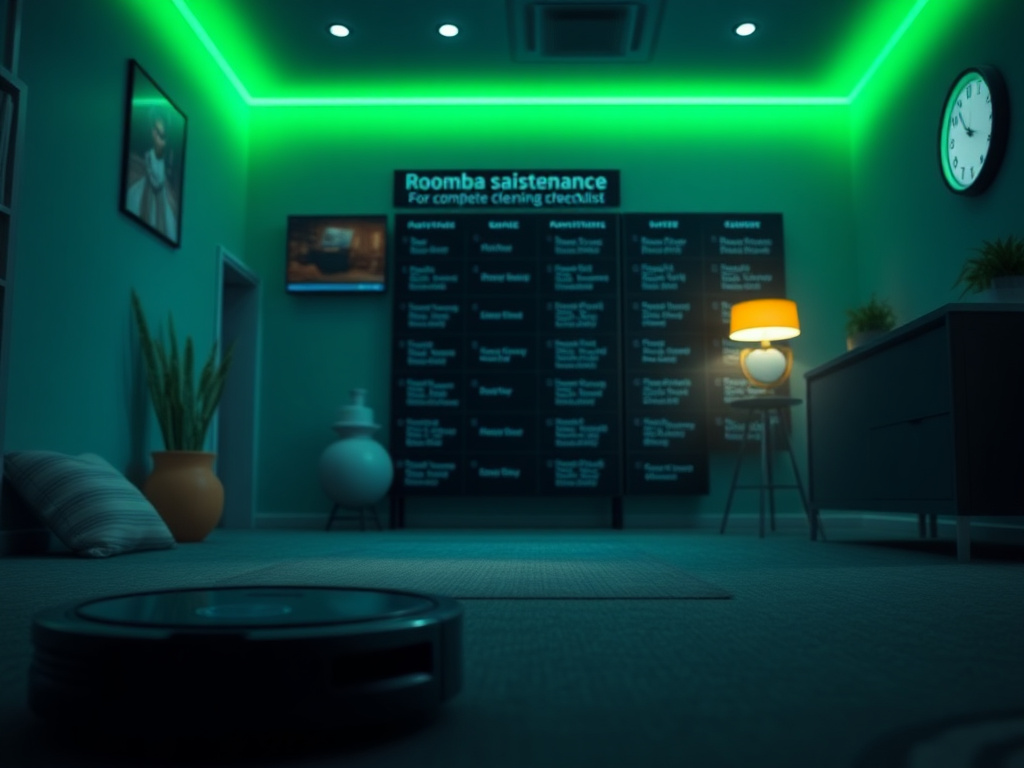
Why Your Roomba Isn’t a "Set It and Forget It" Device
You didn’t invest in a high-end robot vacuum just to spend your Saturday mornings pushing a manual upright across your carpets. The promise of the iRobot ecosystem is reclaimed time—an autonomous solution to the endless cycle of dust, pet hair, and crumbs. However, there is a dangerous misconception among owners that "autonomous" means "invincible." In reality, a Roomba is a precision-engineered piece of robotics that operates in one of the most hostile environments imaginable: floor-level debris.
Without a dedicated roomba maintenance schedule, your expensive investment will quickly transition from a high-performance cleaning machine to a loud, inefficient, and eventually broken plastic brick. The brushes are constantly fighting friction, the vacuum motor is battling air resistance through microscopic pores, and the sensors are navigating a world of dust that threatens to blind them. If you ignore the roomba cleaning schedule, you aren't just letting your floors get dirtier; you are actively shortening the lifespan of the device’s most expensive components, including the battery and the drive motors.
Think of your Roomba like a high-performance vehicle. You wouldn't dream of driving a car for 50,000 miles without an oil change, yet many users expect their Roomba to run daily for a year without so much as a filter tap. This guide is designed to shift your perspective from reactive repairs to proactive maintenance. By following a structured roomba maintenance schedule, you ensure that the suction remains at peak levels, the navigation stays "smart," and the battery retains its capacity for years to come. We are moving beyond the basic "empty the bin" advice and diving into the mechanical and electronic upkeep required to keep your robot in the top 1% of performing machines. This is the definitive blueprint for anyone serious about home automation and equipment longevity.
The Critical Problem: The Cascading Failure of Neglect
In the world of robotics, small issues don't stay small; they cascade. When you skip your roomba cleaning schedule, you trigger a chain reaction of mechanical stress that most users don't realize is happening until they hear a grinding noise or see a "Error 26" or "Error 30" notification. Let’s break down the physics of why neglect is a Roomba killer.
The most common point of failure is the brush system—the "Extractors." As hair and carpet fibers wrap around the ends of the rollers, they create immense friction. This isn't just a cleaning issue; it’s a thermal issue. This friction forces the brush motor to work harder, pulling more current from the battery. This extra heat degrades the motor windings and chemically stresses the Li-ion battery cells. Over time, a Roomba with tangled brushes will see its runtime drop from 90 minutes to 45 minutes, not because the battery is "old," but because the motors are fighting a physical battle they weren't designed to win.
Furthermore, the filtration system is the lungs of the machine. Roomba filters are High-Efficiency Particulate Air (HEPA) rated or near-HEPA, meaning they catch microscopic allergens. However, these pores clog rapidly. A clogged filter creates backpressure. When the vacuum motor cannot pull air through the filter, it loses the ability to cool itself. Modern Roombas use high-RPM impellers that rely on airflow for thermal regulation. If you ignore the roomba maintenance schedule for the filter, you are effectively suffocating the vacuum motor, leading to premature bearing failure and a permanent loss of suction power that no amount of superficial cleaning can fix.
Then there is the "Optical Blindness." Roombas rely on a suite of cliff sensors, floor tracking sensors, and RCON (Room Confinement) sensors. Dust buildup on these transparent windows causes the robot to behave erratically. It might spin in circles, refuse to cross dark rugs (mistaking them for cliffs), or fail to find its charging dock. This leads to "docking fatigue," where the robot dies in the middle of the floor, causing deep discharge cycles that are lethal to the battery’s long-term health. By understanding these technical vulnerabilities, it becomes clear that a maintenance schedule isn't a chore—it's a financial strategy to protect a $500–$1,000 asset.
The Definitive Roomba Maintenance Schedule & Methodology
To maintain peak performance, you must categorize tasks by frequency. This methodology ensures that high-wear parts are checked often, while structural components are inspected periodically. Follow this roomba cleaning schedule to maintain factory-level performance.
1. The Post-Run Checklist (Every 1–3 Cycles)
- Empty the Bin: Even if you have a "Clean Base" (Auto-empty dock), inspect the bin periodically. Ensure the "Full Bin" sensors (the two small ports inside the robot) are clear of dust.
- The Filter Tap: Remove the filter and tap it firmly against the inside of a trash can. You will be shocked at the amount of fine "flour-like" dust that falls out. Never wash the filter with water; the paper media will expand and become permanently air-tight.
2. The Weekly Deep Clean (The Core Maintenance)
This is the heart of your roomba maintenance schedule. It should take no more than five minutes but adds years to the device.
- The Extractors (Rollers): Pop the brush frame and remove the two rubber rollers. Pull off the yellow (or black) end caps. Hair almost always migrates to these axles. If not removed, this hair will melt the plastic bearings due to friction.
- The Side Brush: Use a screwdriver to remove the side brush. Hair wraps around the motor shaft underneath the brush. If left unchecked, this will burn out the small side-brush motor.
- Front Caster Wheel: Pull the front wheel assembly out of its socket. Pop the wheel out of its housing. Clean the axle. This wheel is responsible for the robot's ability to turn; if it’s jammed, the robot will scrub the floor and damage your carpets.
3. The Monthly Sensor Calibration
- Cliff Sensors: Use a clean, dry microfiber cloth or a slightly damp melamine sponge (Magic Eraser) to wipe the 4–6 cliff sensor windows on the bottom.
- Charging Contacts: Over time, a thin film of carbon and dust builds up on the base station and the bottom of the Roomba. Clean these with a cloth dipped in a tiny amount of rubbing alcohol. This ensures the battery receives a steady, efficient charge.
- The Camera/iAdapt Sensor: For Roomba i, j, and s series, wipe the top-facing camera or the floor-tracking sensor on the bottom. If the "eye" is dirty, the mapping becomes fragmented.
Roomba 405 Combo Accessories Replacement Parts for iRobot Roomba Plus 405/505 / 507 Combo Kit Access
- High-quality product
- Customer favorite
- Best value option

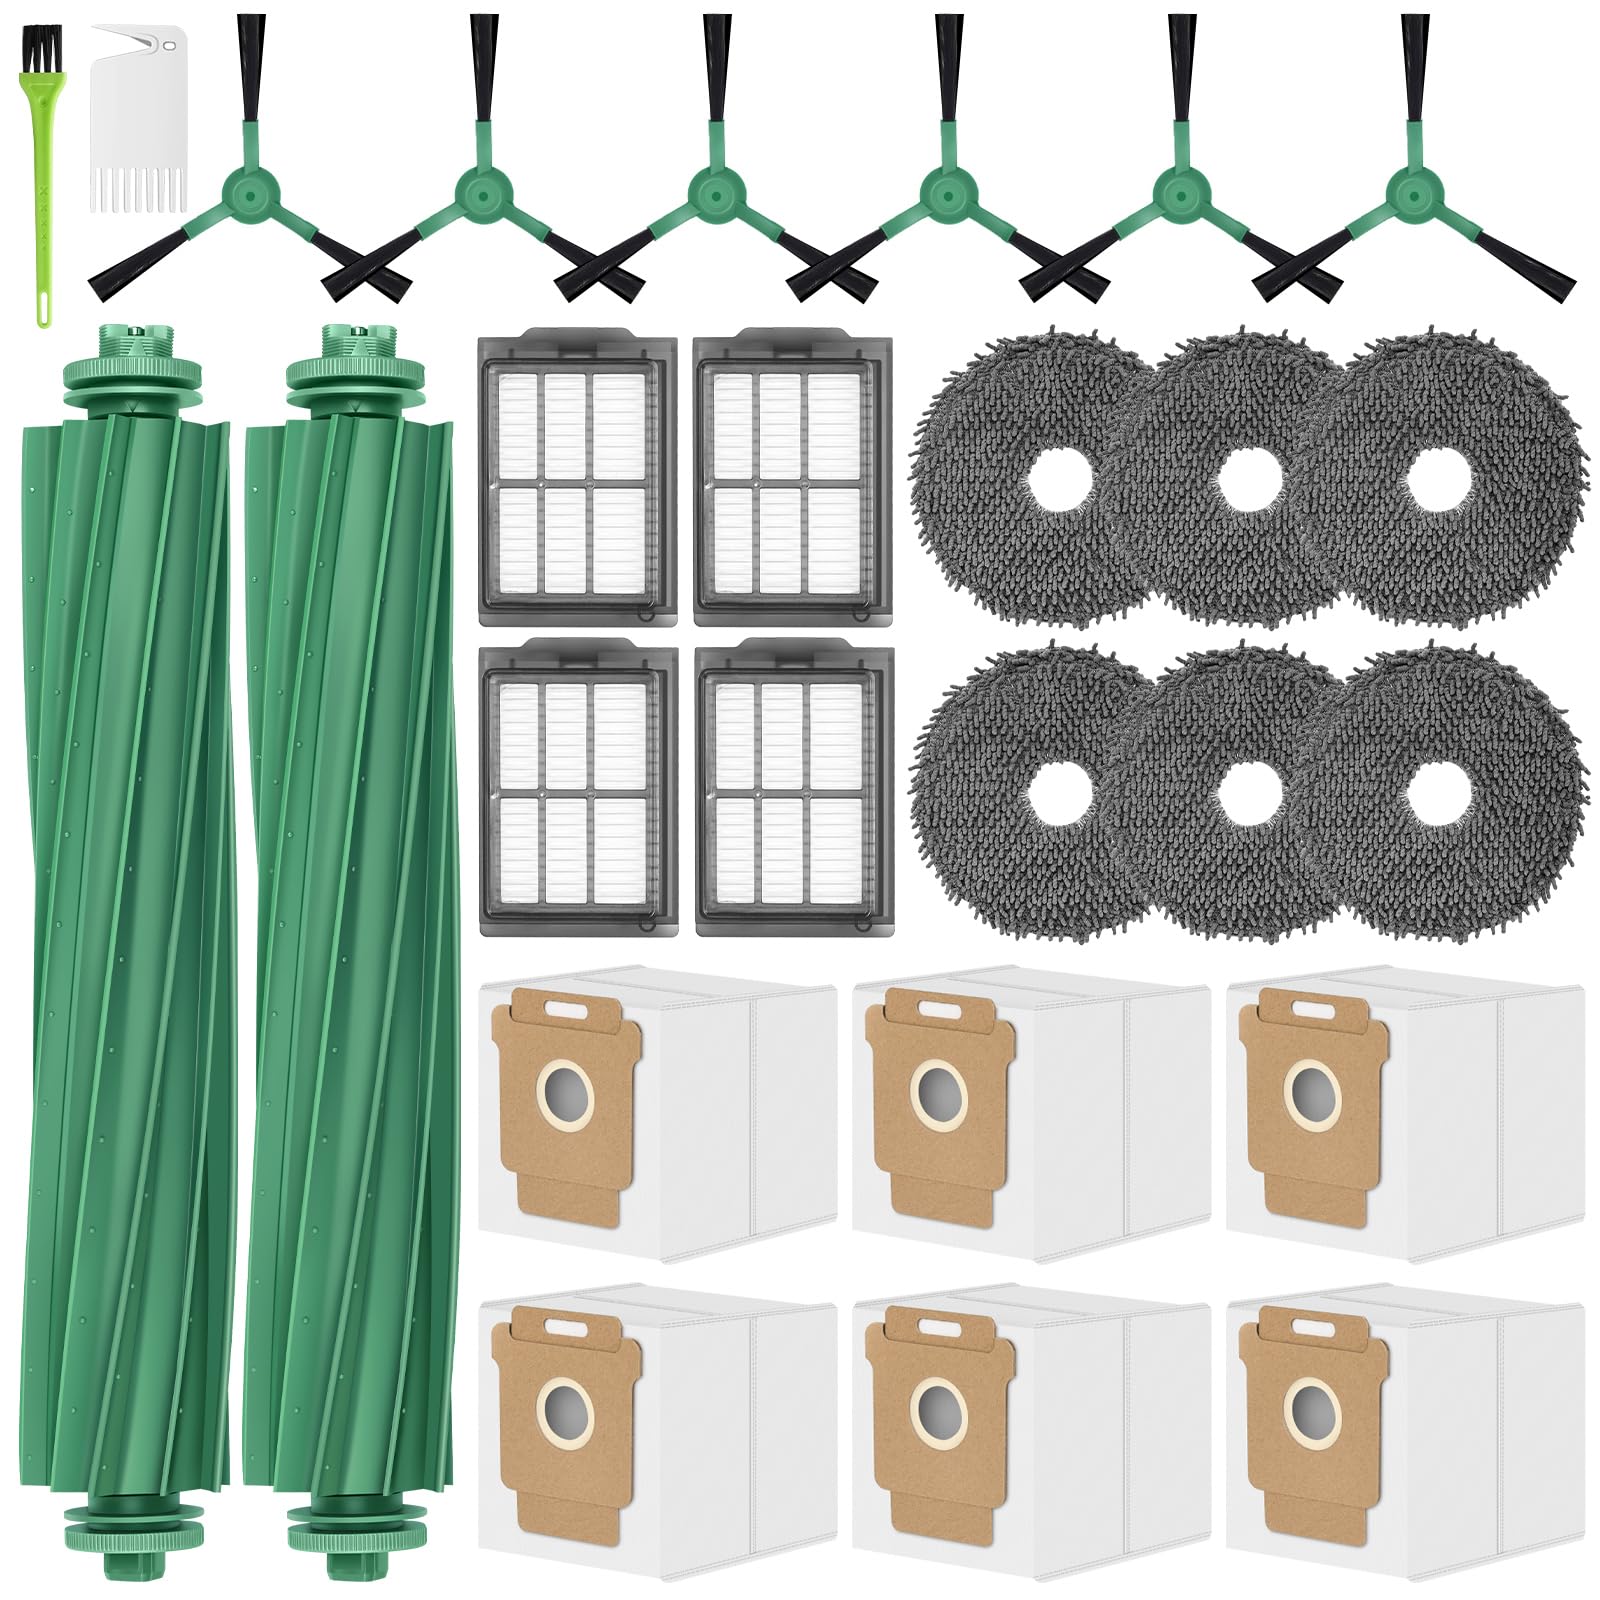
26 Pack Replacement Kits for irobot Roomba Plus 405 Combo & 505 Combo Vacuum Cleaner, 2 Roller Brush
- High-quality product
- Customer favorite
- Best value option
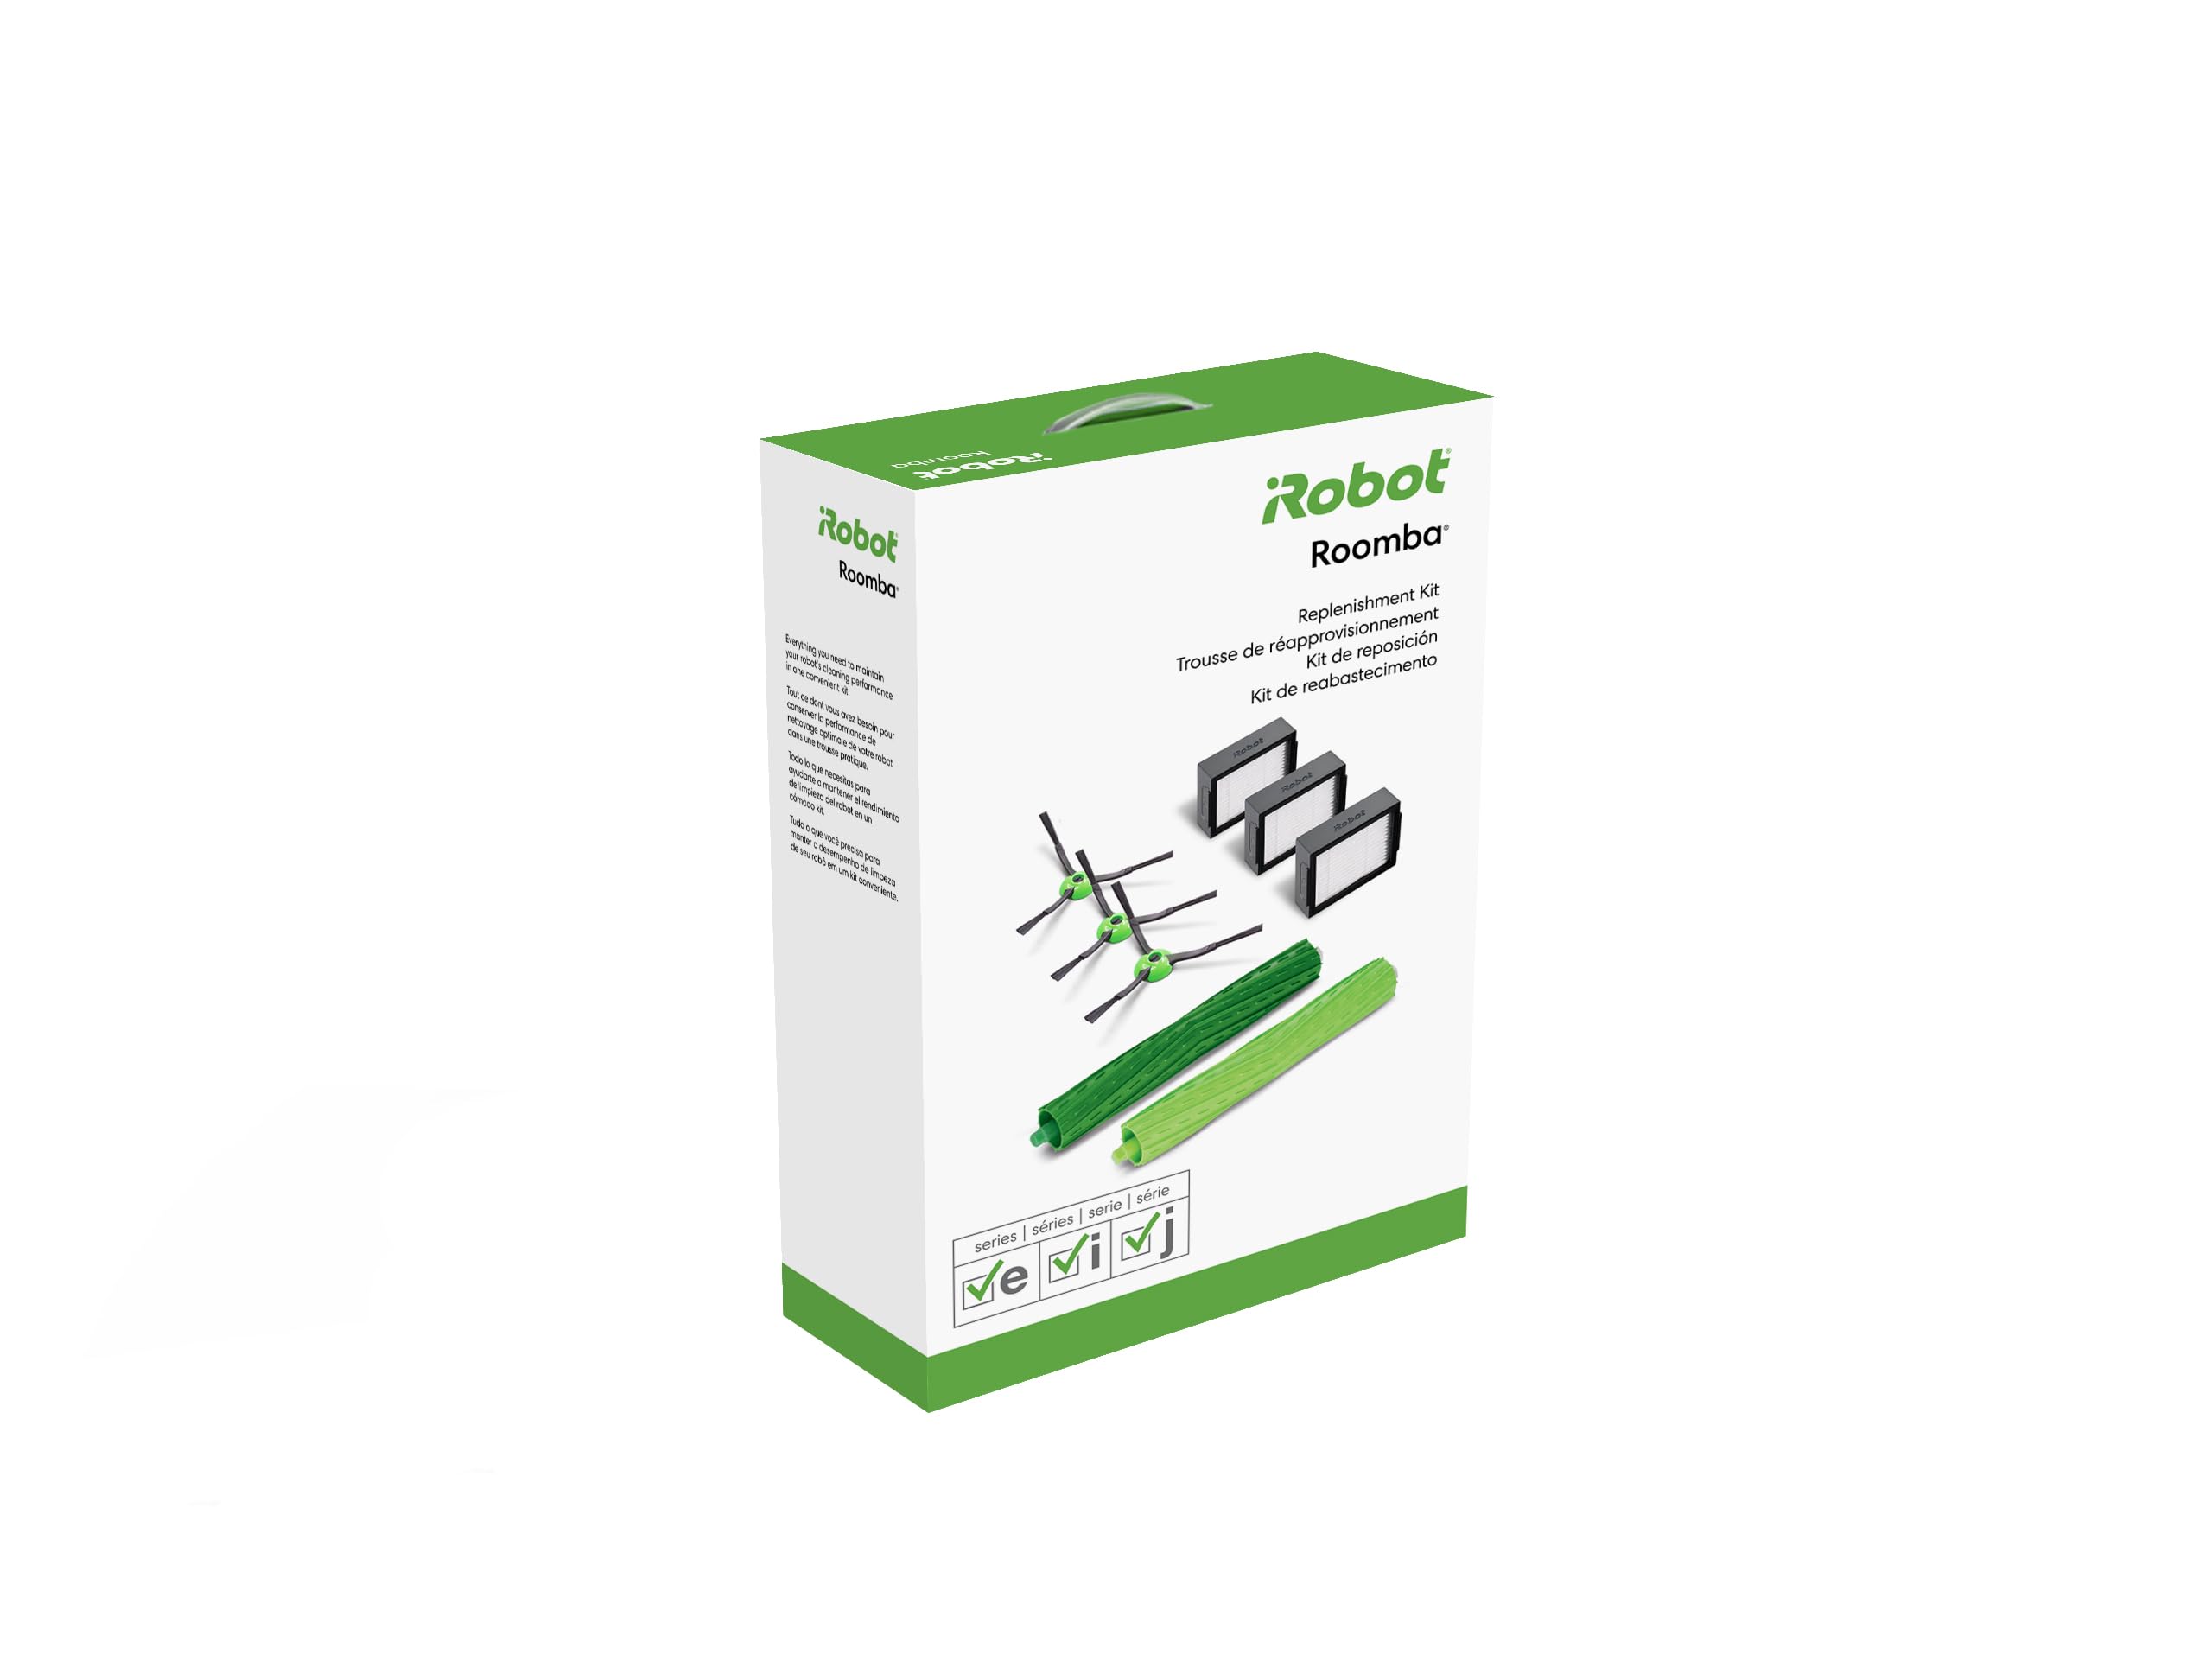
iRobot Authentic Replacement Parts – Replenishment Kit for Roomba e, i, and j Series and Roomba Comb
- High-quality product
- Customer favorite
- Best value option
Expert Hacks & Advanced Maintenance
For those who want to reach the "pro" tier of Roomba ownership, standard cleaning isn't enough. These advanced hacks target the hidden areas where failures often start.
1. The Compressed Air Blowout: Once a quarter, take your Roomba to the garage or balcony. Use a can of compressed air to blow out the internal chassis. Aim into the crevices around the bumper and the wheel modules. You will be amazed at the "dust bunnies" that have migrated into the internal circuitry. This prevents static buildup and potential short circuits.
2. Caster Wheel Lubrication: After cleaning the front caster wheel axle, apply a single drop of dry PTFE (Teflon) lubricant. Do not use WD-40 or oil-based lubricants, as they attract more dust. A dry lube ensures the wheel spins with zero resistance, reducing the workload on the drive motors.
3. Bumper Fluidity Check: If your Roomba seems to be hitting walls harder than usual, dust may be trapped in the bumper spring mechanism. Gently pull the bumper forward and use a soft brush to clear the gap. A responsive bumper is critical for the robot's navigation logic.
4. Battery "Deep Cycle" Reset: If you notice reduced runtime, you can sometimes recalibrate the BMS (Battery Management System). Run the Roomba until it dies completely and cannot even turn on its lights. Then, place it on the dock for a full, uninterrupted 24-hour charge. This can help the software accurately read the battery's voltage curve.
5. Dealing with "The Pooptastrophe": If your Roomba encounters pet waste, do not turn it on. Disassemble the bottom plate immediately. Remove the brush module. Use enzymatic cleaners on the plastic parts, but keep liquids away from the motherboard. If waste has entered the vacuum motor, that specific module likely needs replacement. Proactive maintenance includes keeping your floors clear of "liquid" or "soft" obstacles that can bypass the filters.
Mega FAQ: Expert Answers for Roomba Owners
1. How often should I actually replace the filters?
While iRobot suggests every 2 months, it depends on your home. If you have pets, every 30 days is more realistic. If you can see "caked" dust that doesn't come off with a tap, the filter is dead.
2. Can I wash my Roomba's bin?
Yes, but only if you remove the filter and, on some models, the motor. Modern "e", "i", "j", and "s" series have washable bins. Older models with the motor inside the bin must never be submerged.
3. Why is my Roomba making a loud rattling noise?
This is almost always something stuck in the brush rollers—usually a pebble or a small toy. Check the brush bearings (the yellow caps) for hair buildup that has hardened into a plastic-like disk.
4. Is it okay to use third-party replacement parts?
Generally, yes, for filters and side brushes. However, be cautious with rubber rollers. Third-party rollers are often made of harder rubber that can be noisier or less effective on hardwood floors.
5. My Roomba won't charge. Is the battery dead?
Not necessarily. Check the charging contacts first. If they look "pitted" or dull, use a bit of sandpaper or a Magic Eraser to bring back the shine. 90% of charging issues are contact-related, not battery-related.
6. How long should a Roomba battery last?
With a proper roomba maintenance schedule, a Li-ion battery should last 2–4 years. Heat is the enemy. Keep the brushes clean to keep the heat down.
7. Why does my Roomba keep saying "Move to a new location"?
This usually means the cliff sensors are dirty or you have very dark/black rugs that are absorbing the infrared signal, making the robot think it's about to fall.
8. Can I use a leaf blower to clean it?
No. A leaf blower is too powerful and can force dust deeper into the sensitive optical sensors or damage the speaker diaphragm. Stick to canned air.
9. How do I clean the side brush if the screw is stripped?
Use a small pair of pliers to grip the outside of the screw head. Once removed, replace it with a standard M3 screw from a hardware store.
10. Does the "Clean Base" mean I don't have to clean the robot?
No. The Clean Base only empties the bin. It does nothing for the hair on the brushes, the dust on the sensors, or the clogs in the filter.
11. What is the best way to remove hair from the rollers?
Use a pair of blunt-nosed scissors to snip the hair along the "grooves" of the rubber rollers. This makes it much easier to peel off without damaging the rubber.
12. My Roomba is leaving clumps of hair behind. What's wrong?
Your filter is likely clogged, reducing the suction needed to pull the hair into the bin. Or, your brushes are so worn down that the "treads" can no longer grab the carpet fibers.
Final Thoughts: The ROI of Maintenance
Owning a Roomba is a partnership. You provide the basic mechanical oversight, and it provides you with hundreds of hours of clean floors. By adhering to a strict roomba maintenance schedule, you are doing more than just cleaning; you are performing essential preventative engineering. A well-maintained Roomba is quieter, faster, and significantly more effective at removing allergens from your environment.
Neglect is the most expensive mistake you can make. The cost of a 26-pack of replacement parts is a fraction of the cost of a new vacuum motor or a replacement battery. Treat your robot with the respect its complexity deserves, and it will serve your home faithfully for years. Start your new roomba cleaning schedule today—your floors (and your wallet) will thank you.