The Frustration of a Dormant Robot: Why Your Roomba Won't Charge
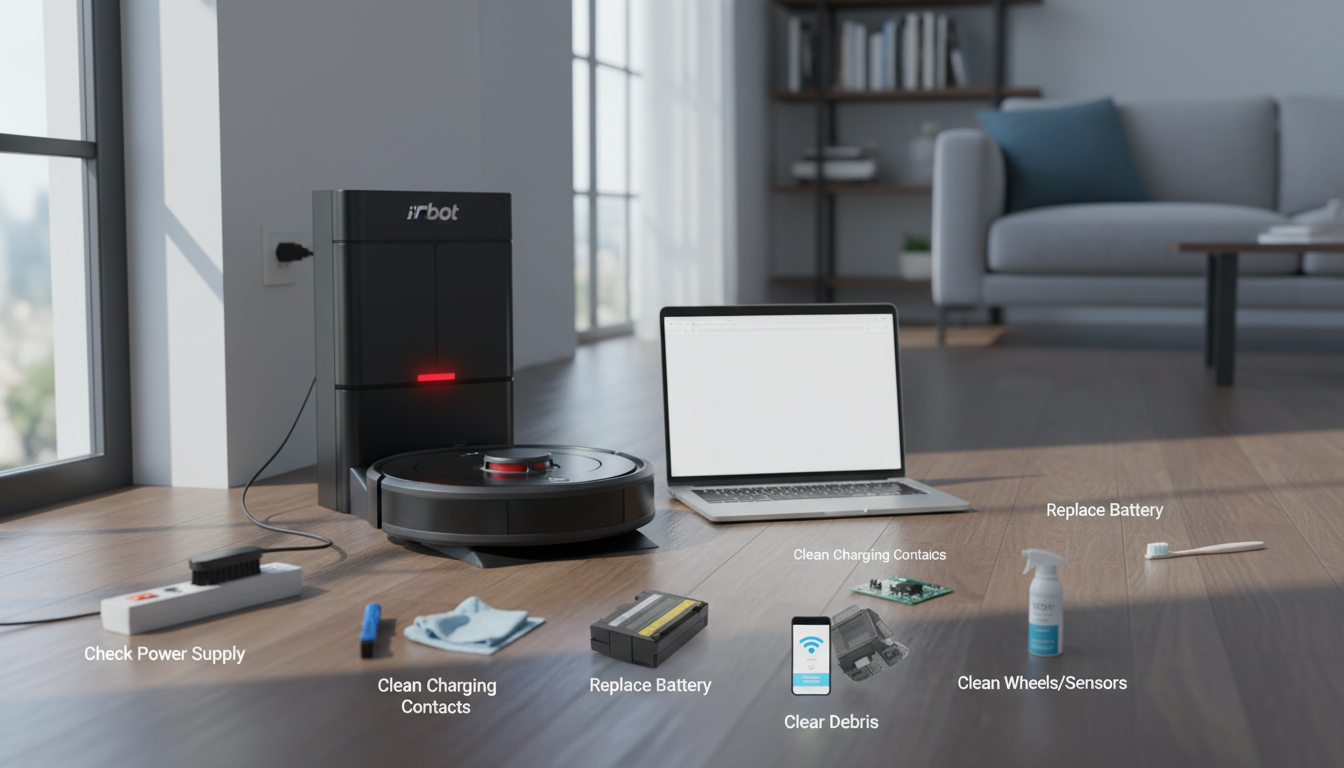
Few things are as frustrating in a modern smart home as waking up to find your automated floor care system dead in the water. You’ve invested in an iRobot Roomba to reclaim your time, yet there it sits—an expensive, circular paperweight stranded in the middle of the hallway or perched uselessly on its dock. When your Roomba not charging becomes a recurring nightmare, it disrupts the entire ecosystem of your household maintenance. We rely on these machines to operate in the background, and when the "roomba won't charge" issue strikes, it forces you back into the manual labor you paid to avoid.
The psychology of a failing smart device is unique. Unlike a traditional vacuum that you know is broken because the motor won't spin, a Roomba that refuses to juice up feels like a betrayal of its "intelligent" branding. This isn't just a mechanical failure; it’s a communication breakdown between the Home Base and the robot's internal Power Management System (PMS). Whether you own a classic 600 series or the latest s9+ or j7+ models, the charging circuitry is the most vulnerable point of failure because it relies on physical, high-current contact in an environment naturally filled with dust, hair, and debris.
As an authority in robotic vacuum maintenance, I have seen thousands of units discarded or sent for expensive repairs for issues that could have been solved in five minutes with the right methodology. The problem is rarely a "dead" robot; it is almost always a "blocked" robot. The path from the wall outlet to the chemical cells inside your battery is fraught with potential points of resistance. Understanding the nuances of how iRobot engineered these systems is the first step toward a permanent fix. In this guide, we will dissect the mechanical and electronic reasons behind charging failures and provide a clinical, step-by-step recovery plan to bring your Roomba back to life. This is not just about cleaning contacts; it’s about understanding the "charging handshake" that must occur for your home to remain clean without your intervention.
The Expert Analysis: The Physics of the "Charging Handshake"
To solve the mystery of why your roomba won't charge, we must first understand the expert-level physics occurring at the dock. Unlike a smartphone that uses a secure USB-C or Lightning port, a Roomba uses "blind mating" contacts. This means the robot must physically rest its weight on two metal plates to complete a high-amperage circuit.
The "Charging Handshake" is a three-stage process. First, the Home Base emits an infrared (IR) beam (the "RCON" signal) to guide the robot to the dock. Second, once the robot makes physical contact, the Home Base sends a low-voltage "detect" signal to ensure it is actually touching a Roomba and not a stray piece of metal or a wet surface. Third, once the robot’s internal logic board (the PCB) confirms the voltage, it opens the gates to the battery, allowing the full charging current to flow.
When your roomba not charging error occurs, it means this handshake has been interrupted at one of these three stages. The most common culprit is Contact Resistance. Even a microscopic layer of oxidation—a thin film caused by the heat of charging and ambient humidity—can create enough electrical resistance to mimic a "no connection" state. To the Home Base, the robot simply isn't there. To the robot, the dock is dead.
Furthermore, we must analyze the battery chemistry. Modern Roombas use Lithium-Ion (Li-ion) packs, while older models use Nickel-Metal Hydride (NiMH). Li-ion batteries have a "Critical Low" threshold. If the Roomba sits off the dock for several days and the battery dips below a certain voltage (usually around 10V-12V for a 14.4V pack), the internal Protection Circuit Module (PCM) will "trip." This is a safety feature to prevent charging a volatile, over-discharged cell, but it results in a robot that appears completely dead and won't respond to the dock.
Lastly, we must consider the firmware. The Roomba is a computer on wheels. Occasionally, the charging controller software hangs in a loop. It may think the battery is over-temperature or that the dock is providing "dirty" power. In these cases, the hardware is fine, but the "brain" is refusing the charge. By understanding these expert-level failure points—mechanical resistance, chemical depletion, and logic loops—we can move beyond guesswork into precision repair.
Methodology & Core Guide: 8 Proven Solutions
If your roomba not charging, follow this hierarchical troubleshooting protocol. We move from the most common (and easiest) fixes to the more technical internal adjustments.
1. The "Deep Clean" of Contact Points
This is the gold standard of fixes. Over time, a carbon film builds up on the charging plates of the Home Base and the underside of the Roomba.
- The Pro Method: Do not just wipe them with a dry cloth. Use a Magic Eraser (melamine sponge) or a cloth dampened with 70% Isopropyl Alcohol.
- The Goal: Scrub until the metal plates on both the robot and the dock shine like a new mirror. If the plates appear pitted or melted, they may need light sanding with 2000-grit sandpaper to restore conductivity.
2. The Battery "Reseating" Procedure
Sometimes, vibration from the cleaning cycle causes the internal battery to shift just enough to lose a solid connection with the internal spring terminals.
- The Action: Flip the Roomba over, remove the bottom cover (usually 2 to 5 screws), and physically pull the battery out.
- Expert Tip: Inspect the gold-colored leaves/contacts inside the battery compartment. If they look flattened, gently pull them upward with a small flathead screwdriver to ensure they exert more pressure on the battery when it is reinstalled.
3. The 10-Second Hard Reset (The Logic Clear)
If your roomba won't charge due to a software glitch, a reboot is mandatory.
- For S and I Series: Press and hold the CLEAN button for 20 seconds. The light ring will swirl; wait for it to shut off and restart.
- For 600/700/800 Series: Press and hold the "Spot" and "Dock" buttons simultaneously for 10-15 seconds until you hear the reboot tone.
4. Dock Environment & "Sag" Assessment
Roombas are heavy. If the Home Base is placed on a thick, plush carpet, the dock can tilt slightly backward when the Roomba climbs onto it.
- The Fix: Move the dock to a hard floor surface. If it must be on carpet, place a thin piece of plexiglass or a hard plastic mat under the dock to ensure the robot stays level during the charging handshake.
5. The "Pulse Charge" (For Deeply Discharged Batteries)
If your Roomba has been dead for weeks, the battery might be below the "detection" voltage.
- The Hack: Place the Roomba on the dock. If the light blinks once and goes out, it may be trying to "trickle charge." Leave it for 48 hours uninterrupted. Sometimes, the charger will pulse small amounts of current until the battery reaches a voltage high enough to be recognized for a full charge.
6. Power Cord Integrity Check
The power cord leading into the Home Base is often neglected.
- The Inspection: Unplug the cord from both the wall and the side of the dock. Look for fraying or "kinks" (often caused by the Roomba itself running over its own cord). Ensure the plug is seated completely into the dock; it requires a firm "click" that many users miss.
7. Removing the Yellow Pull-Tab Remnants
On newer units, a yellow plastic tab prevents the battery from connecting during shipping.
- The Issue: Sometimes a small piece of this plastic tears off and remains stuck inside the battery terminal, acting as an insulator. Open the battery door and ensure no plastic debris is blocking the metal-on-metal connection.
8. The "Direct Plug" Bypass (Older Models Only)
If you have an older 500 or 600 series Roomba, there is often a charging port on the side of the robot.
- The Test: Plug the power brick directly into the robot, bypassing the Home Base. If the robot charges this way, your Home Base is defective and needs replacement. If it still doesn't charge, the internal charging circuitry or battery is the culprit.
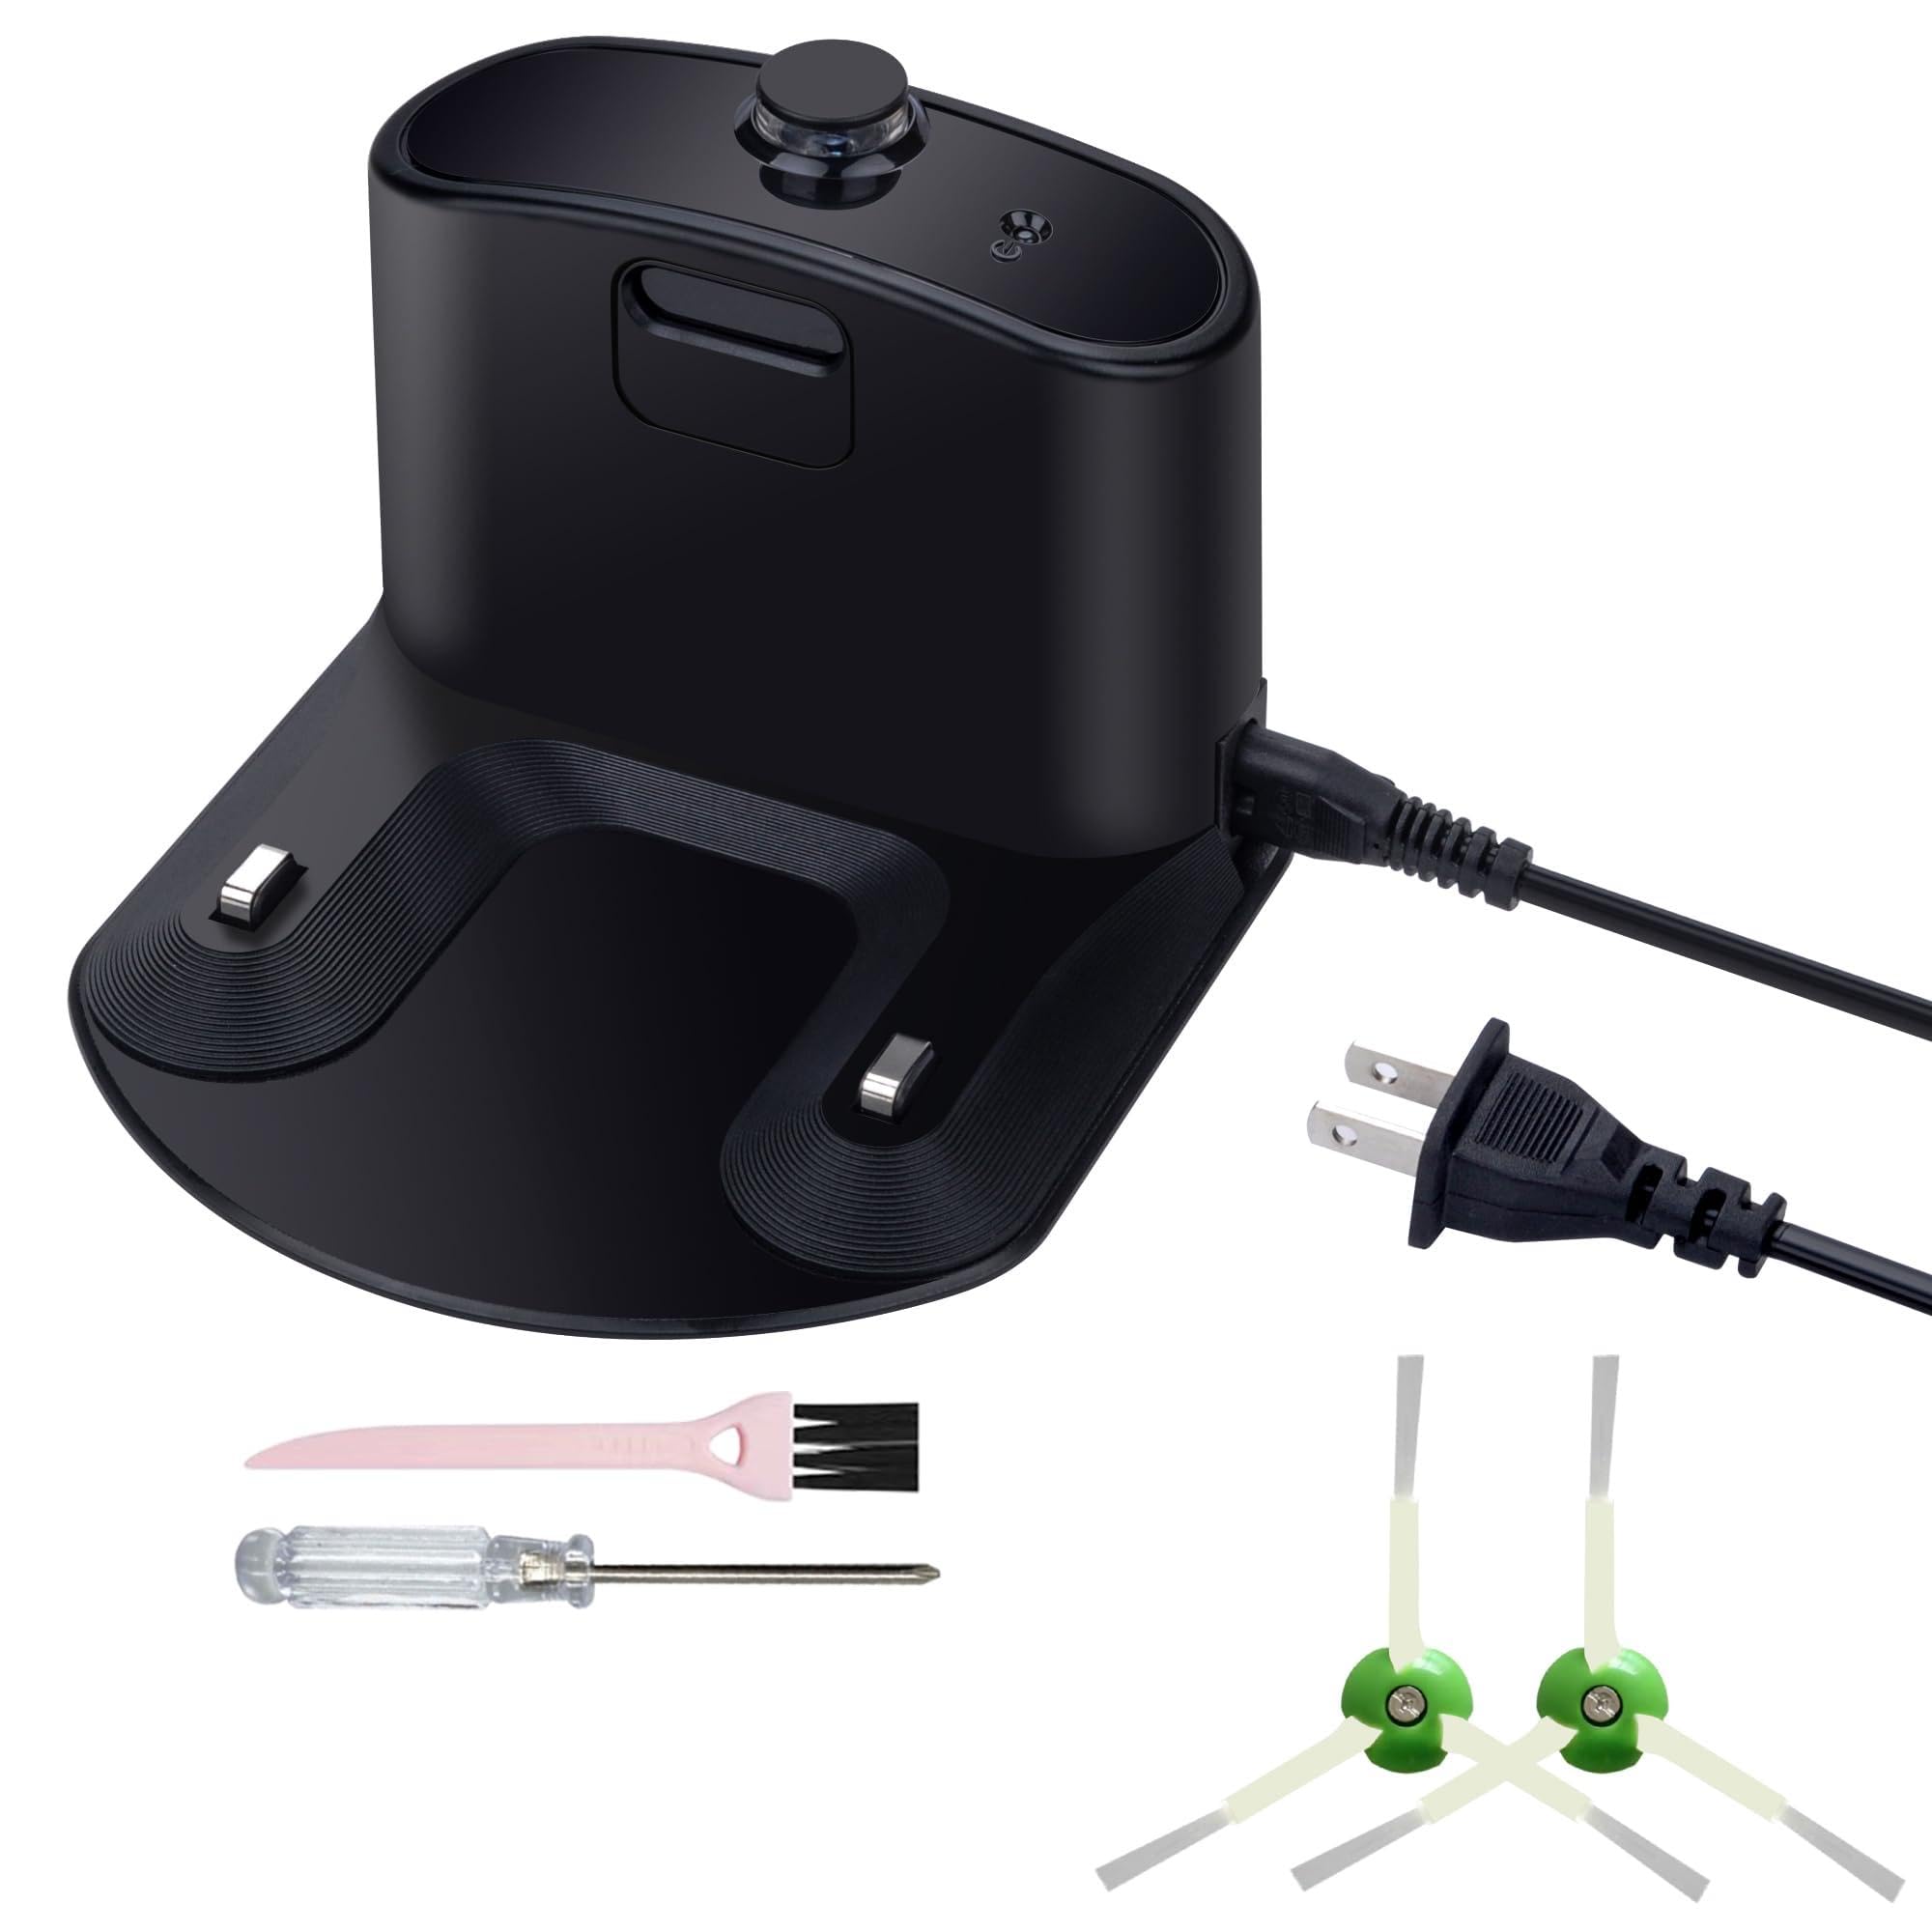
Charging Base, Charger Dock, Docking Station, for Roomba Charger, for iRobot Roomba 500 600 700 800
- High-quality product
- Customer favorite
- Best value option
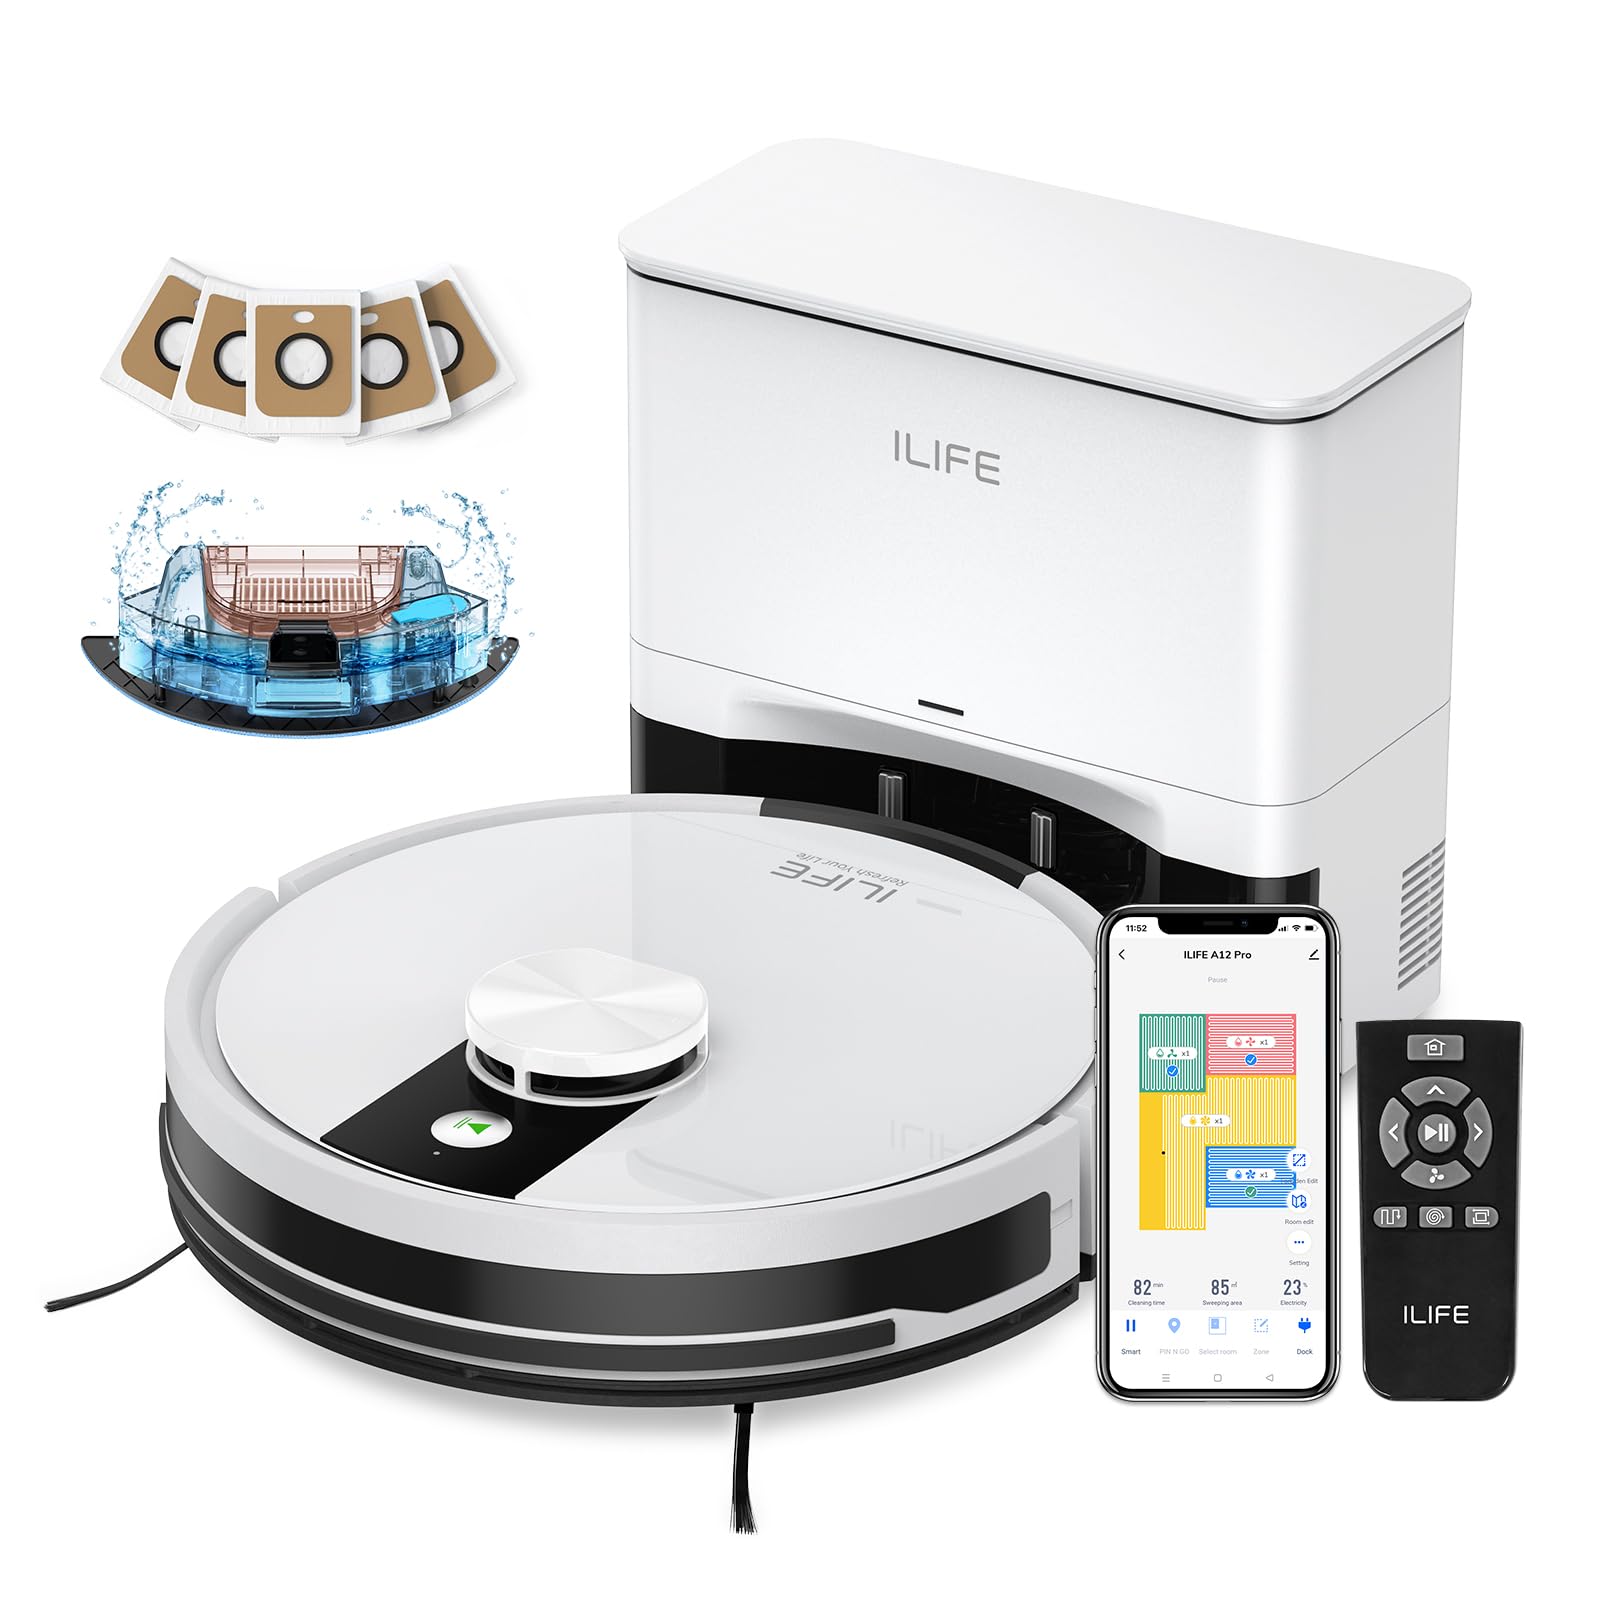
ILIFE A12 Pro Robot Vacuum and Mop Combo, Self Emptying Station for 60 Days, LiDAR Navigation, Home
- High-quality product
- Customer favorite
- Best value option
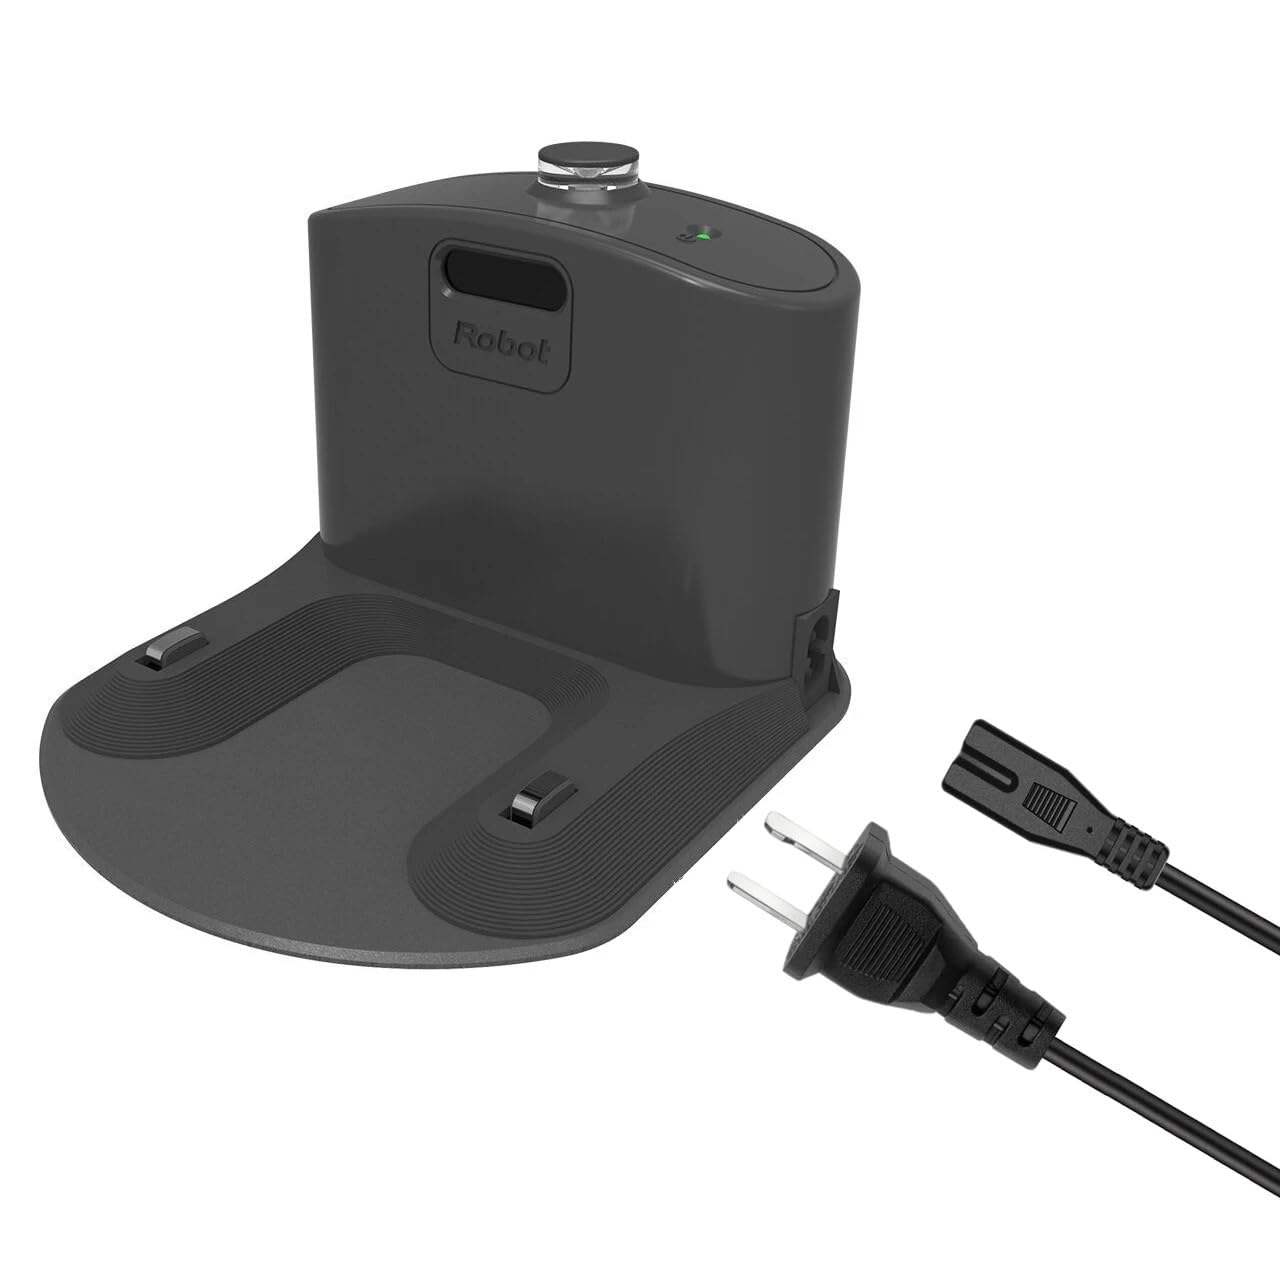
Charger Dock Charging Base, Docking Station with Charger Cord Compatible with Roomba for iRobot Room
- High-quality product
- Customer favorite
- Best value option
Expert Hacks & Advanced Maintenance
For those who have tried the basics and still find their Roomba not charging, we must delve into advanced diagnostics.
The Multimeter Test
If you want to stop guessing, use a digital multimeter. Set it to DC Voltage (20V range). Touch the probes to the two large metal plates on the Home Base.
- The Reading: You should see a reading between 2.5V and 5V DC when the robot is not on the dock (this is the "detect" signal). If you see 0V, the Home Base or its power adapter is dead.
Internal Thermal Management
Li-ion batteries are extremely sensitive to heat. If you run your Roomba in a very hot environment or near a floor heater, the internal thermistor may prevent charging to avoid a fire hazard.
- The Hack: If your Roomba feels warm to the touch and won't charge, move it to a cool, tiled area and let it sit for two hours before placing it back on the dock.
Software "Ghosting"
Sometimes the iRobot Home App shows "Not Charging" even when the robot is physically charging. This is a cloud sync error.
- The Fix: Force close the app, toggle your phone's Wi-Fi off and on, and check the physical light on the Roomba. If the Roomba's light is pulsing amber or green, it is charging, regardless of what the app says.
Mega FAQ: 12+ Expert Questions Answered
1. Why is my Roomba blinking red while charging?
A blinking red light usually indicates a battery error. If it blinks once, the battery is not connected. If it blinks multiple times, it’s an error code (Error 5, 6, 7, or 8), typically relating to temperature or communication.
2. Can I use a 3rd-party battery?
While cheaper, 3rd-party batteries often lack the sophisticated thermistors found in official iRobot packs. This can lead to the "roomba won't charge" error because the robot doesn't recognize the battery's safety data.
3. How long does a Roomba battery typically last?
Expect 2 to 4 years of life. If your robot is older than 3 years and won't charge, the chemical capacity has likely degraded to the point where the internal resistance is too high for the charger to overcome.
4. My dock light is on, but the Roomba is dead. Why?
The dock light only indicates the dock has power. It does not mean the power is reaching the robot. Refer to the "Contact Cleaning" section above.
5. What does "Error 1" mean?
Error 1 means the battery is not detected. This is almost always due to the yellow pull-tab or flattened contact springs in the battery compartment.
6. Can I leave my Roomba on the dock all the time?
Yes. iRobot designed the system to be "always on." It uses a trickle-maintenance charge that is healthier for the battery than letting it sit in a discharged state.
7. Does the Roomba charge faster if the "Clean" light is off?
No. The light usually turns off after 60 seconds to save energy, but the charging rate remains the same.
8. Why does my Roomba move away from the dock by itself?
It is likely trying to re-seat itself because it detected a "dirty" electrical connection. Clean the contacts immediately.
9. What is "Deep Discharge Recovery Mode"?
When the battery is nearly 0%, the Roomba enters a special mode where the light ring pulses quickly. It may take 16 hours in this mode before the robot even attempts to turn on.
10. Can a software update fix charging issues?
Yes. iRobot occasionally releases firmware to optimize charging algorithms for aging batteries. Ensure your robot is connected to Wi-Fi.
11. Is it safe to clean the contacts with a wire brush?
No. A wire brush is too abrasive and can strip the nickel plating off the contacts, leading to rapid corrosion. Use a Magic Eraser or alcohol.
12. My Roomba says "Error 8." What do I do?
Error 8 is a communication error between the battery and the logic board. Try a hard reset (Solution 3) and reseat the battery (Solution 2).
13. Does cold weather affect charging?
Yes. If your Roomba is in a garage or basement below 50°F (10°C), the chemical reaction required for charging slows down, and the robot may refuse to charge to protect the cells.
Closing Thoughts
A Roomba not charging is rarely a sign that your vacuum has reached its end of life. More often, it is a cry for basic maintenance—a cleaning of the contacts, a reseating of the battery, or a simple logic reset. By understanding the "Charging Handshake" and the electrical requirements of your robot, you can save yourself hundreds of dollars in unnecessary replacements.
Remember that these robots live in a world of dust; their very job is to collect the substances that interfere with electrical conductivity. Establishing a monthly routine where you wipe down the charging plates will prevent 99% of "roomba won't charge" issues before they even begin. If you've followed this guide and your unit still won't power up, only then should you consider a hardware failure of the Home Base or the internal PCB. Stay proactive, keep those contacts shining, and let your Roomba do the work it was designed to do.